I don’t think its any secret that I love mushrooms, foraging and eating them, making art with them and generally just finding and observing them. They seem to me having a moment right now too. At the same time I am slowly becoming one of those crazy old ladies who has a tree in every room of her house with a different theme. I’m at three now. (Is there a threshold for when it becomes crazy? Like cats?) The family tree is in the living room and has all of our special ornaments, there is a sunny solstice tree and last is this tree. I live in an old Victorian house with a tower… so it clearly needed a tree. And obviously that tree needed to be a mushroom tree. The fly agaric is the reason red and white are associated with Christmas, also we love mushrooms.
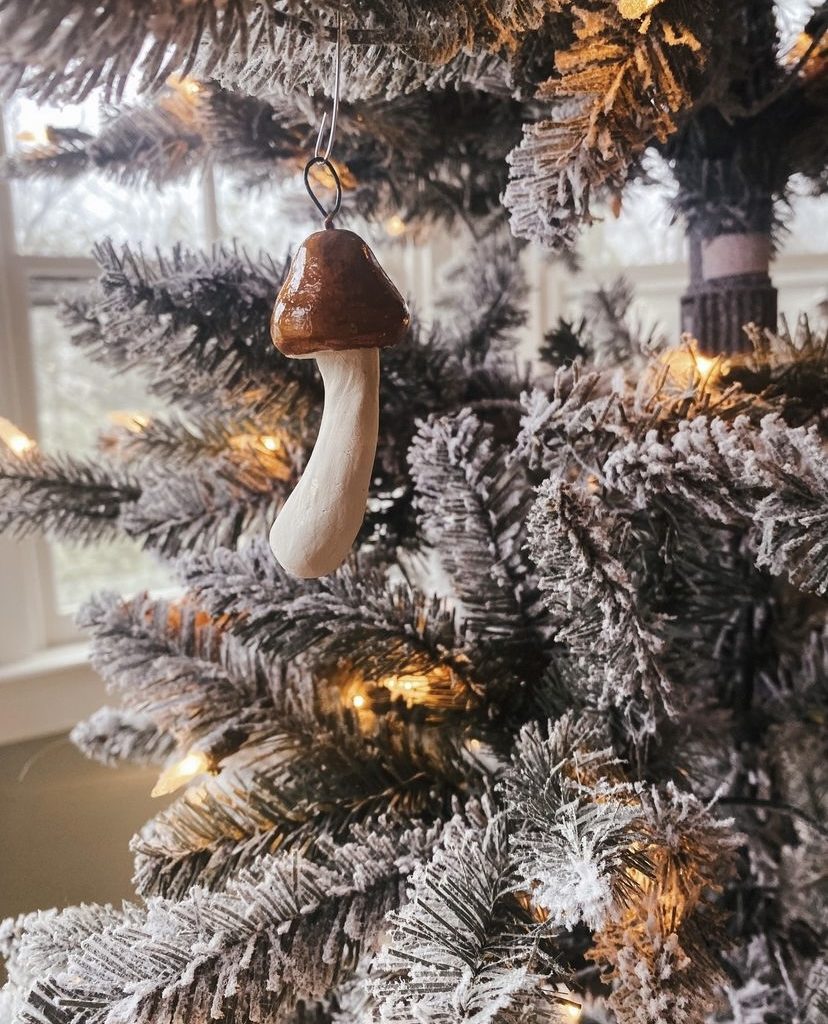
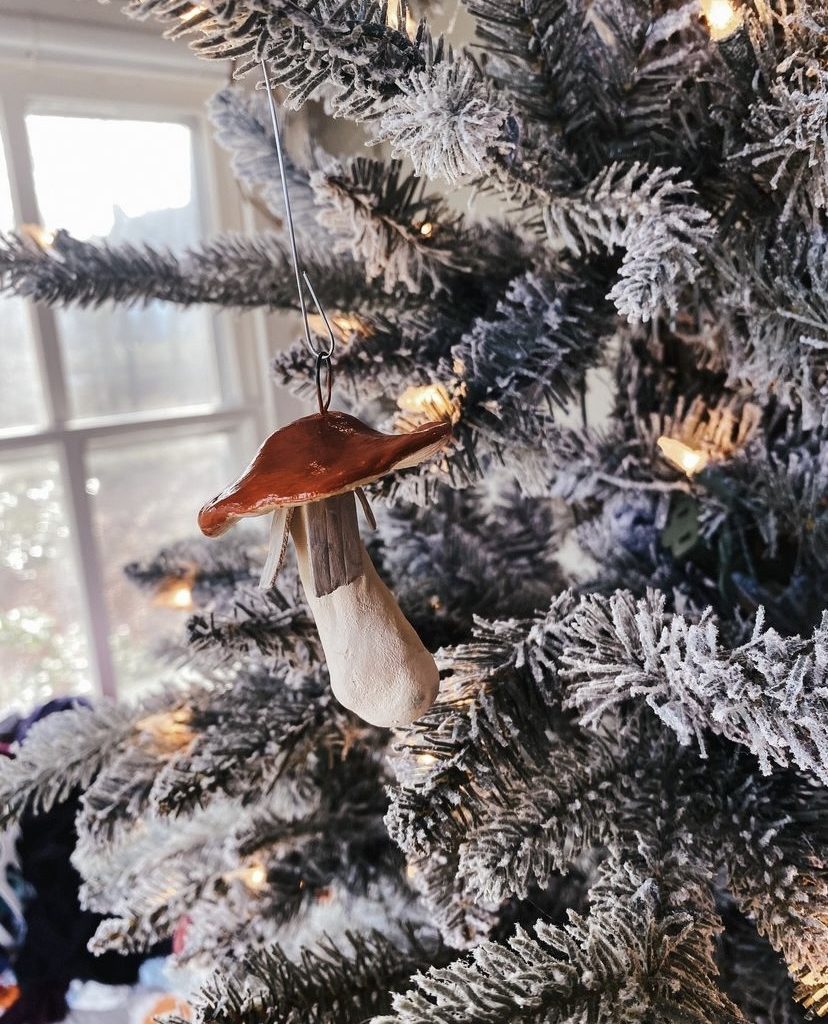
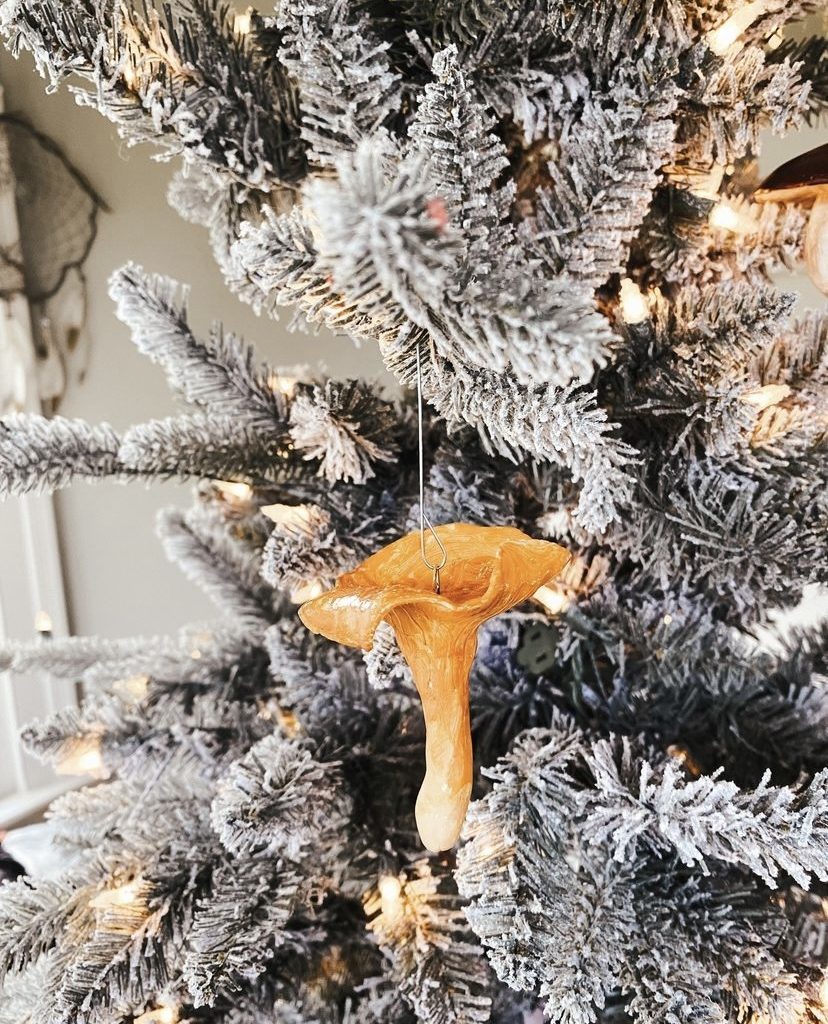
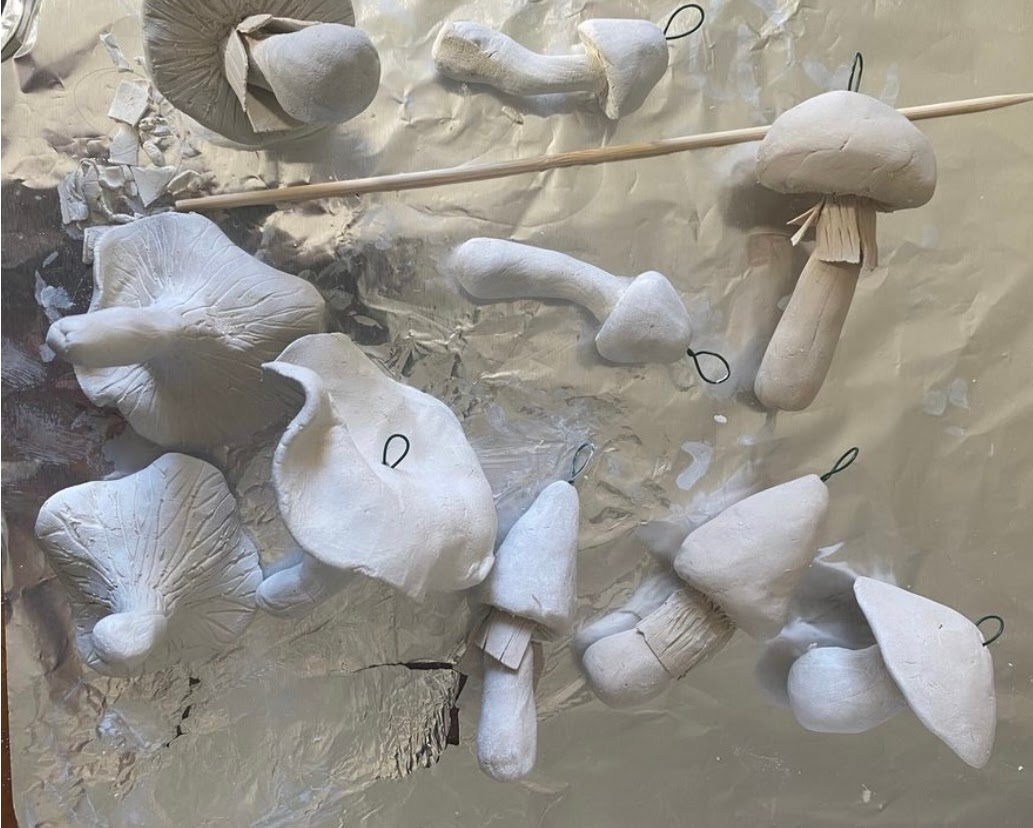
There are a few glass ornaments on the tree, but since I have committed to being a crazy tree lady I have also committed to making most of the ornaments myself because those glass ones are not cheap. Ornament making is also a great easy craft for kids! There are two types of homemade ornaments on this tree: air dry clay mushrooms based on real mushrooms we found over the last year. (and a few imaginary ones…) The second ornament uses uses real mushrooms!If you aren’t a crazy tree lady, both of these sweet nature ornaments would make lovely gift tags or gifts.

Air Dry Clay Mushroom Ornaments
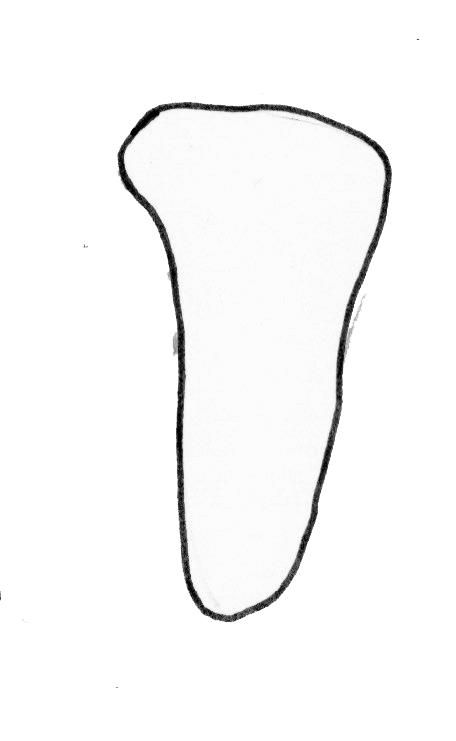
These clay mushrooms are easy to form– especially the chanterelles– and simple for kids to make. The best part is that they are supposed to look natural and different from each other so any imperfections just make them better! Make them look professional by twisting a piece of wire and sticking it in the top before they dry. A spray of glossy sealer also goes a long way.
Materials:
- white air dry clay
- skewer or toothpick
- florist wire or eye pins
- acrylic craft paint
- clear sealant
Method:
Decide which types of mushrooms you want to make and get yourself some reference photos if you are concerned about accuracy. (Or just make mushrooms from your imagination!
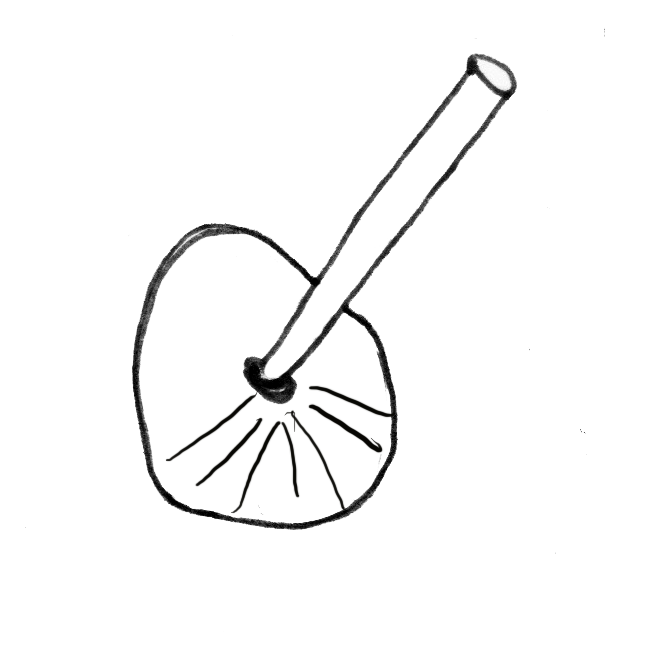
To make gilled type mushrooms first roll a ball and flatten it into the shape of a mushroom cap. You can can make it thick or thing depending on teh type of mushroom you are depicting. Poke a hole in the center (where the stem will go) and score lines radiating from the center like gills if desired.
Next make a lumpy log for the stem. pinch the top so that its narrower and can fit into the hole you made in the cap.

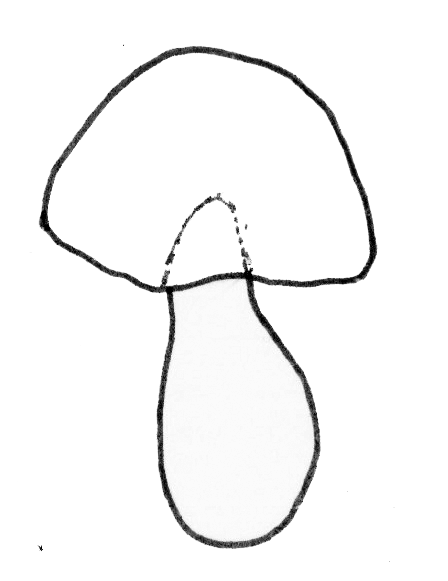
Squish the stem into the cap so that they connect securely and the base gets a little chunkier. Many mushrooms have a rounded base like this– if you are making one with a slimmer base thin it back out again after the two pieces have made good contact.
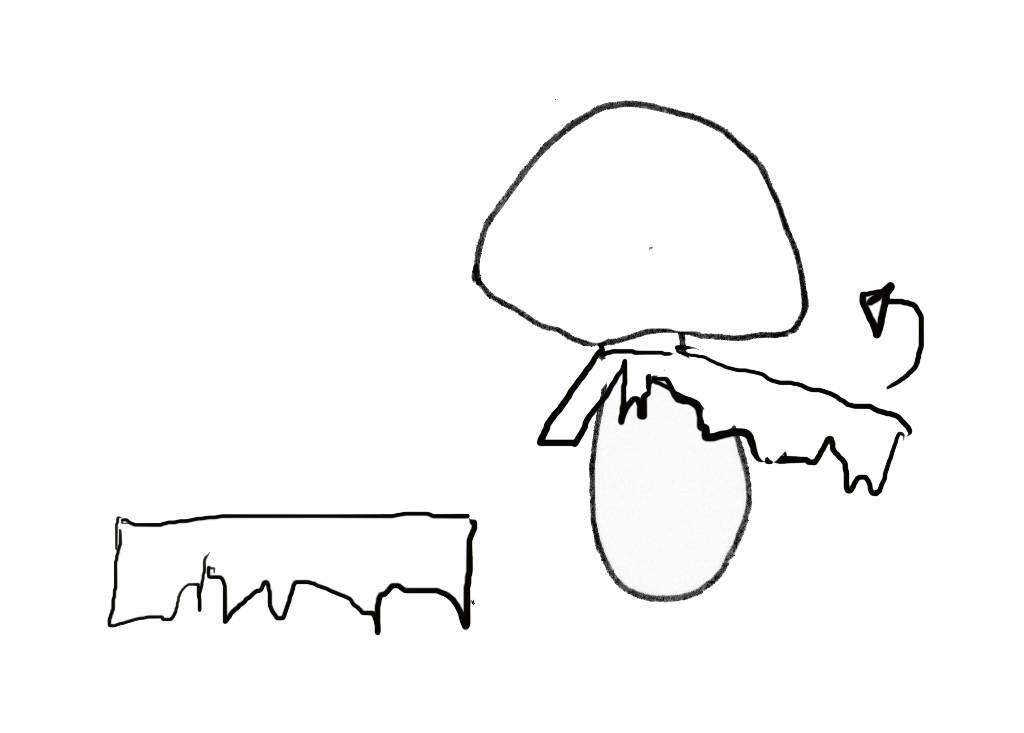
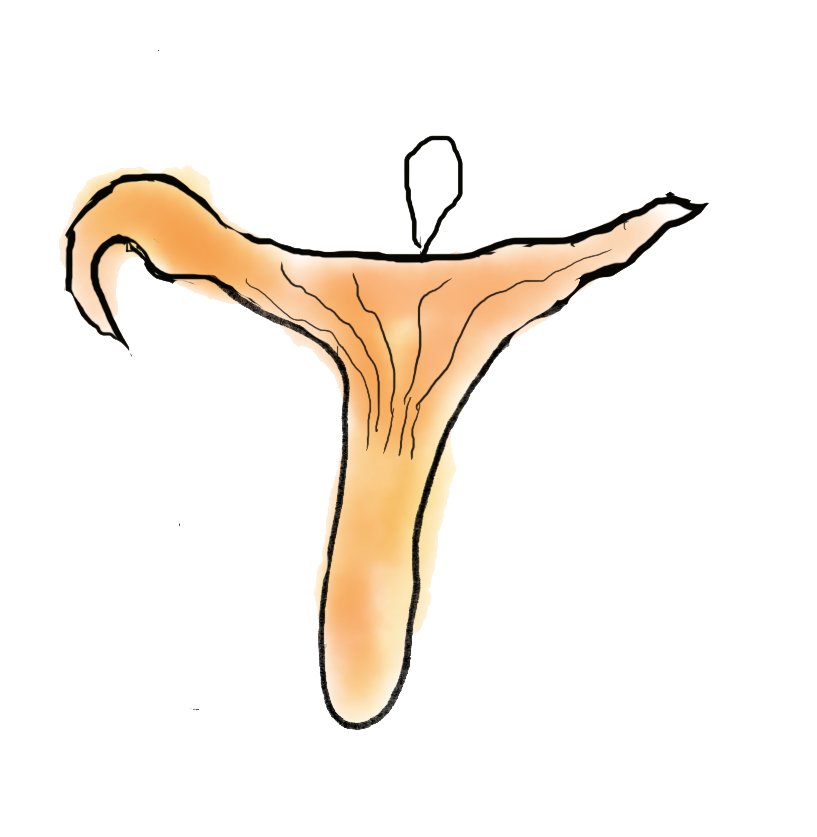
If you are making a fly agaric or a mushroom with a veil, roll a long thin rectangular piece of clay out. You want it to be broken in places so don’t try and make it perfect. attach it around the base of the stem pressing to make sure it makes contact. A clay tool or skewer can help here. (Skip if your mushroom doesn’t have a veil!)
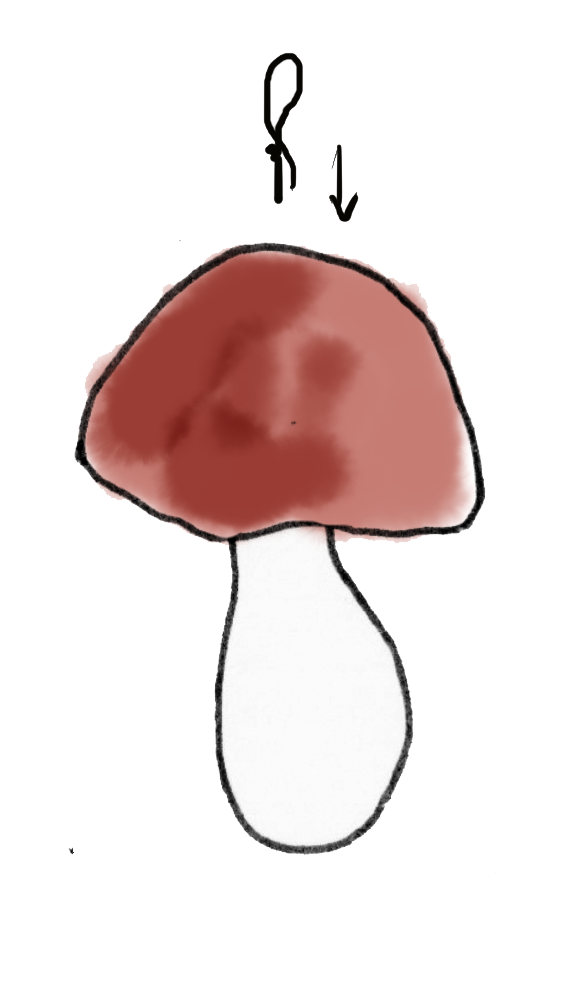
While the clay is still soft, twist a little loop of florist’s wire (or use an eye pin) and stick it into the top of your mushroom so you’ll have a place to hang them from. Allow to dry throughly for several days then paint and seal with a clear sealant.
To make a chanterelle type mushroom, start with a piece of clay that is wider on the top than the bottom.
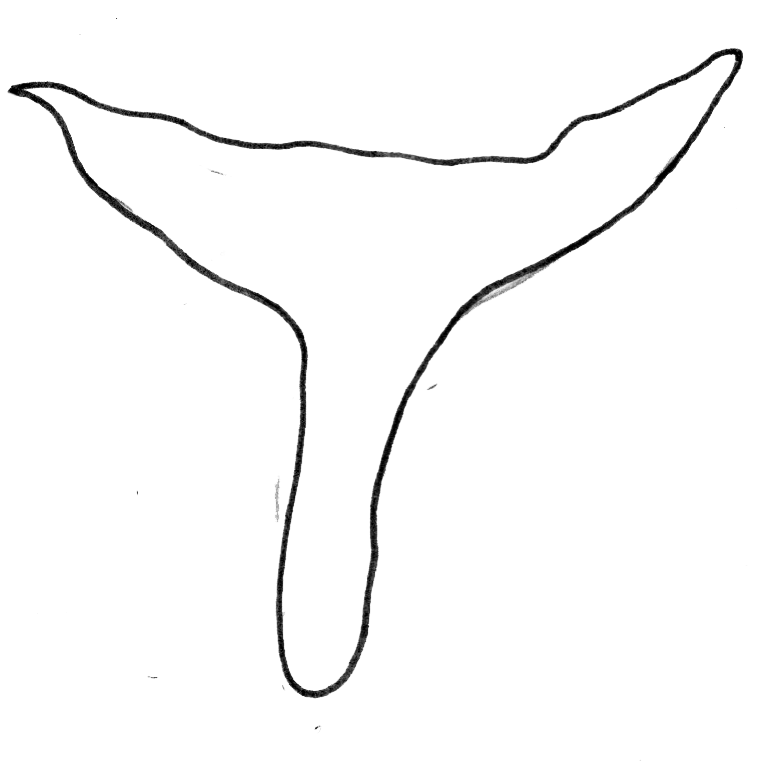
Start squishing the blob of clay at the top out to look like the ruffly top of a chanterelle mushroom. You really can’t go wrong here– the wonkier and rufflier the better. You can fold the cap up and manipulate it however you want. Use a toothpick to draw the gills on the underside of the cap.
While the clay is still soft, twist a little loop of florist’s wire (or use an eye pin) and stick it into the top of your mushroom so you’ll have a place to hang them from. Allow to dry throughly for several days– the tops of these are fairly thin and floppy so you can prop them up while they dry in the correct shape. Then paint and seal with a clear sealant.
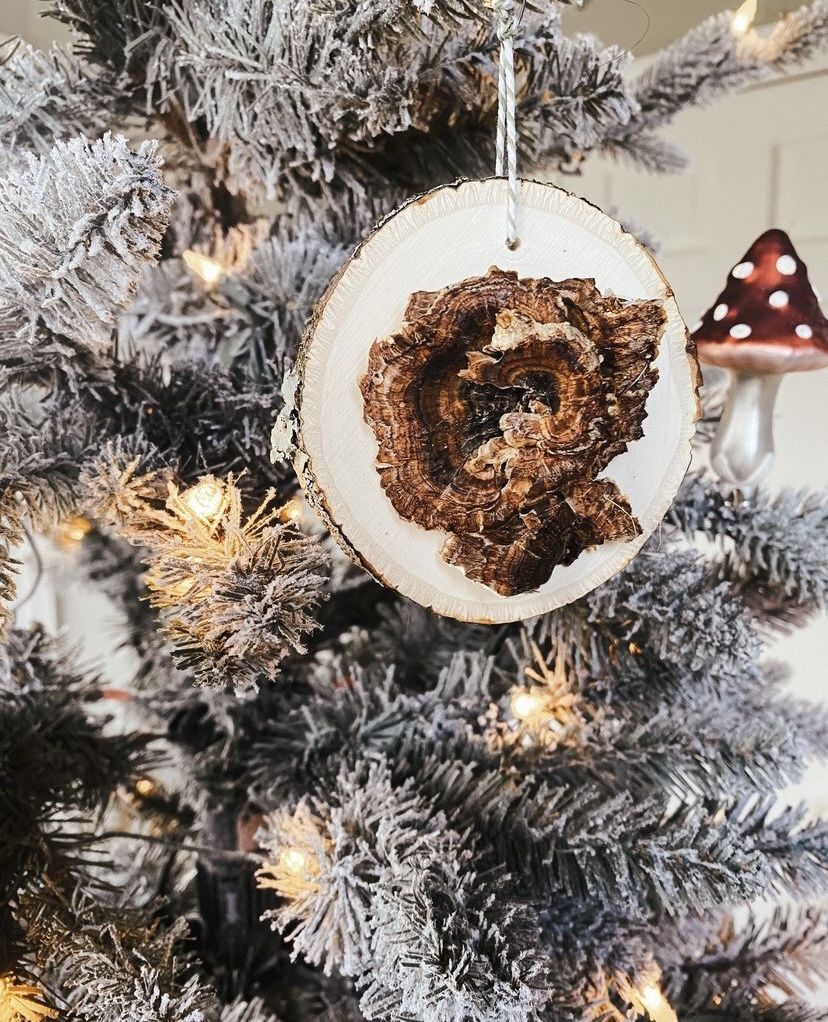
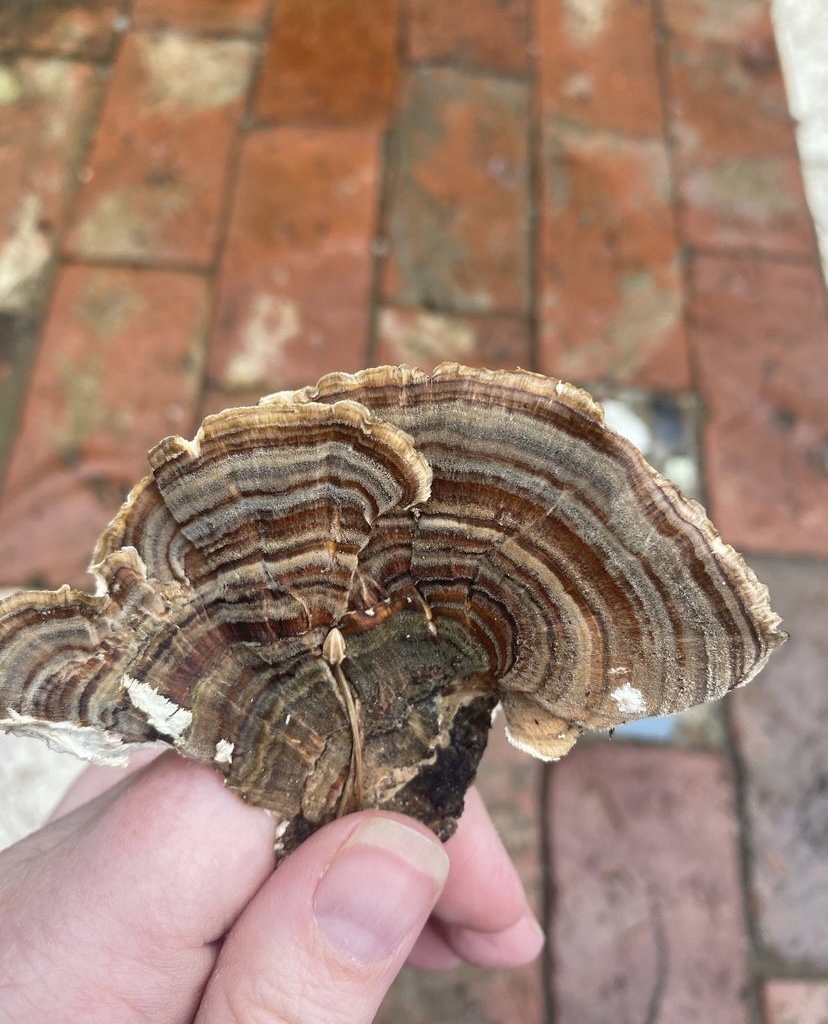
Turkey Tail Ornaments
These are super simple to make and a great way to show off nature finds. We used turkey tail mushrooms, but most the the thin leathery shelf mushrooms will dry out nicely. They are especially nice when you can find them growing in little rosettes— usually on the top of stumps. If there hasn’t yet been a hard frost where you live, pop them in your freezer in a bag overnight to kill and hitchhikers.
Materials:
- shelf mushrooms (like turkey tail)
- wood slices with a hole drilled in the top for hanging
- hot glue
- clear sealant (optional)
Method:
First, collect your your mushrooms and let them dry out for a few days.
Next, glue them to a wood slice.
Drill a hole in the wood slice if you haven’t already and hang on the tree!
You can spray these with clear sealant if you like, but I actually love the fuzzy texture of turkey tail so I prefer them natural.