
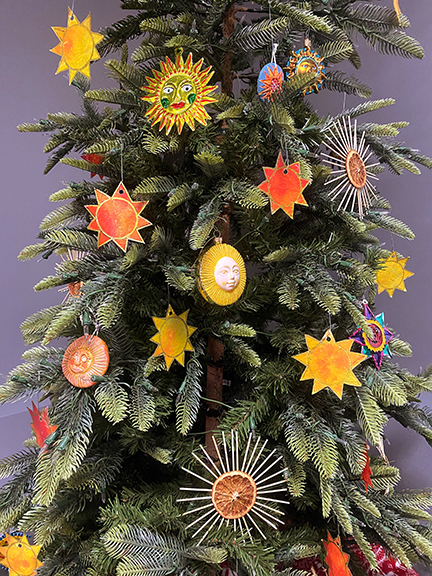
I have been meaning for years to make a dedicated Winter Solstice tree. Our family tree has solstice-y vibes but really focuses more on ornaments that we design together to commemorate each year. It’s already packed full of ornaments and we add a few more each year. So last year I got another tree for another room and dubbed it the solstice tree. That December got away from me as the often do and I only managed to buy one blown glass ornament. This year, not wanting to buy a million expensive ornaments, I decided to make the bulk of them and I am beyond thrilled with how them came out. All of the crafts are super kid friendly, but can just as easily be done by adults. My Solstice tree celebrates the sun in all of it’s glory. The Winter Solstice is the longest darkest night of the year, but every day thereafter is a little bit longer and brighter until the Summer Solstice in June. Ancient people though the sun was dying and being reborn on the Winter Solstice and so many of the traditions around this time of year celebrate the sun and light in the dark.
Dried Orange Suns

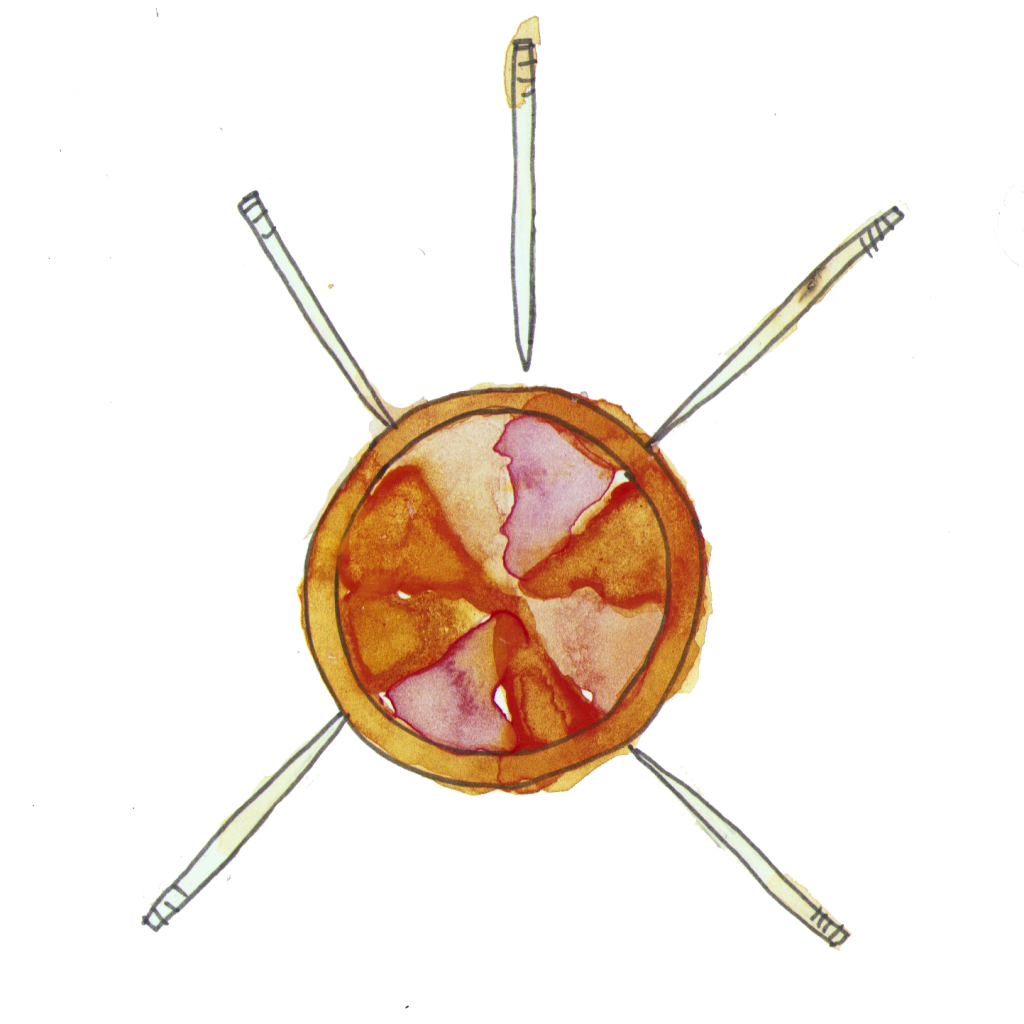
Dried oranges are supposed to be representative of the sun, but they never went quite far enough for my taste. I took them a step further by sticking toothpicks into the rinds before drying them to give them beautiful rays! I debated a little gold paint, but ultimately stuck with natural. I also considered alternation with cloves, but again decided to stick fairly minimalist.
Materials:
- Oranges cut in 1/8- 1/4 inch slices
- Wooden toothpicks
Method:
Stick your toothpicks about a 1/4 inch into the rind all the way around the fruit. I found it helpful to start with a cross and then halve each section to keep them fairly even.
Lay flat on a baking sheet and cook at 200°f for 3-4 hours flipping every half hour or so to discourage curling OR
Lay in a dehydrator and cook at 135°f for 12- 24 hours.
Once the oranges are fully dried out you can place them on the tree! The toothpicks stick nestle branches quite well on their own, I didn’t add hangers to these.
Crayon Sun Ornaments
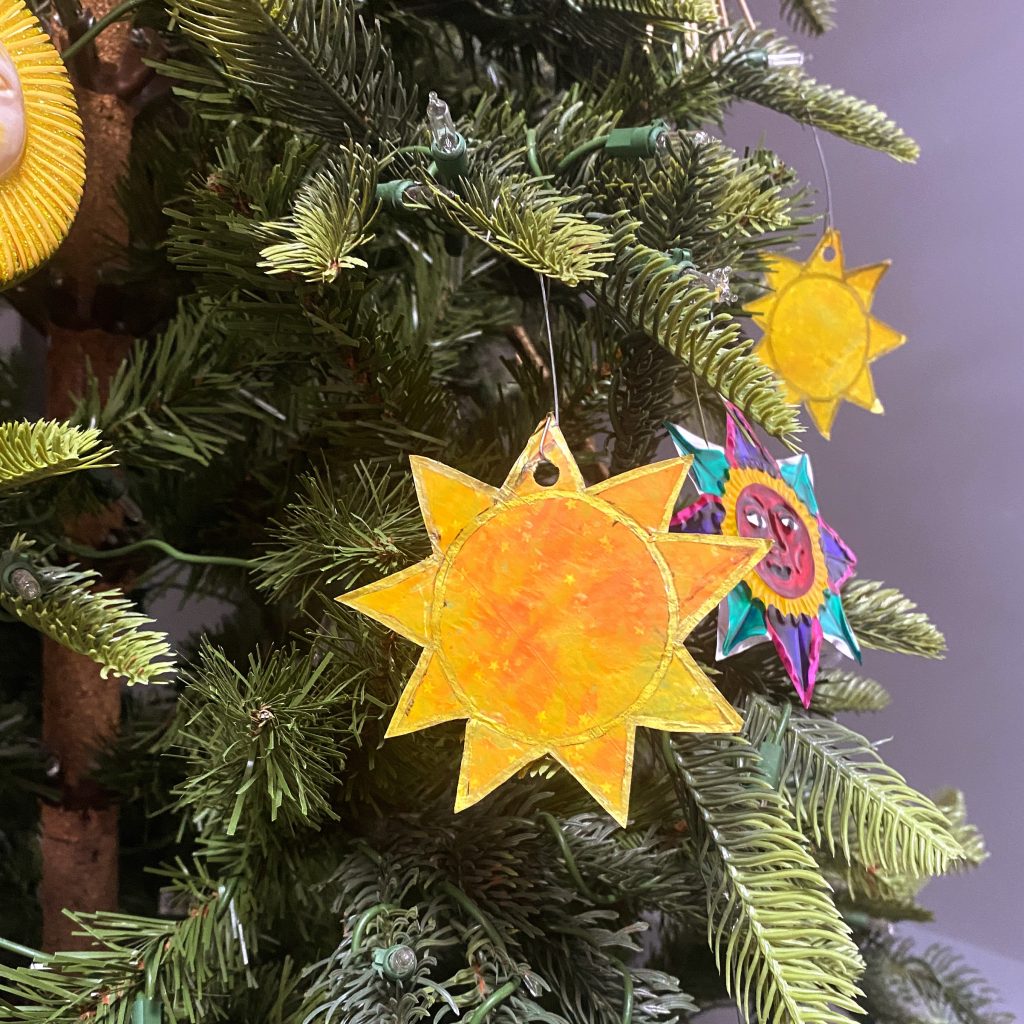
This is a super easy craft to make with kids but looks surprisingly elegant and allows you to add a ton of ornaments without all that much work. Don’t do what I did and draw your suns with black sharpie and then go over them all with gold later- just use gold from the beginning. The gold elevates these and really makes them shine.
Materials:
- Wax paper cut into sheets
- Old broken crayons in sunny colors
- Gold Paint Pen
- Iron
- Old towel (it will most certainly get crayon on it)
- Peeler or crayon sharpener
Method:
Lay one sheet of wax paper over an old towel. Peel or sharpen crayon shavings randomly over the whole surface of the wax paper. It doesn’t need to be completely covered just reasonably even. Many places will tell you to do this with a cheese grater but I found that to be wildly unproductive and did not enjoy cleaning crayon off of my grater either. I found a vegetable peeler much easier to use and I think a crayon sharpener would work well for kids who can’t manage the peeler. I did some of them with a box knife myself, but that is obviously an adult only method. Make sure you remove any paper from the crayons before you start.
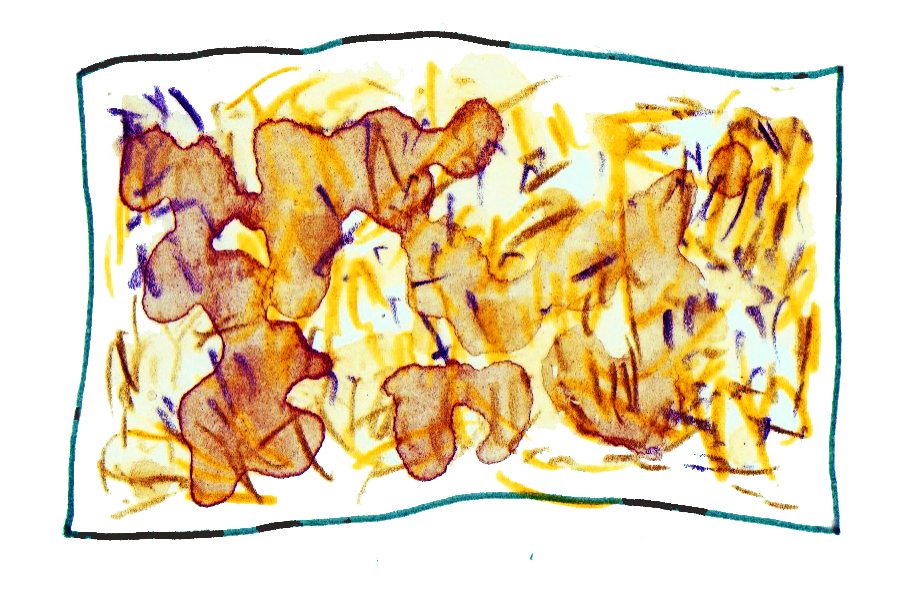
Once you are happy with your crayon shaving coverage, place another sheet of wax paper on top and gently iron the two pieces together. I do this right on top of the wax paper directly so I can see what is happening, but I also have a crafts only iron. I did end up up with some wax on my iron. You can move the colors around a little with the iron, but generally you just want to get everything nicely and evenly melted. Let the now single sheet cool. (Do this however many times you would like)
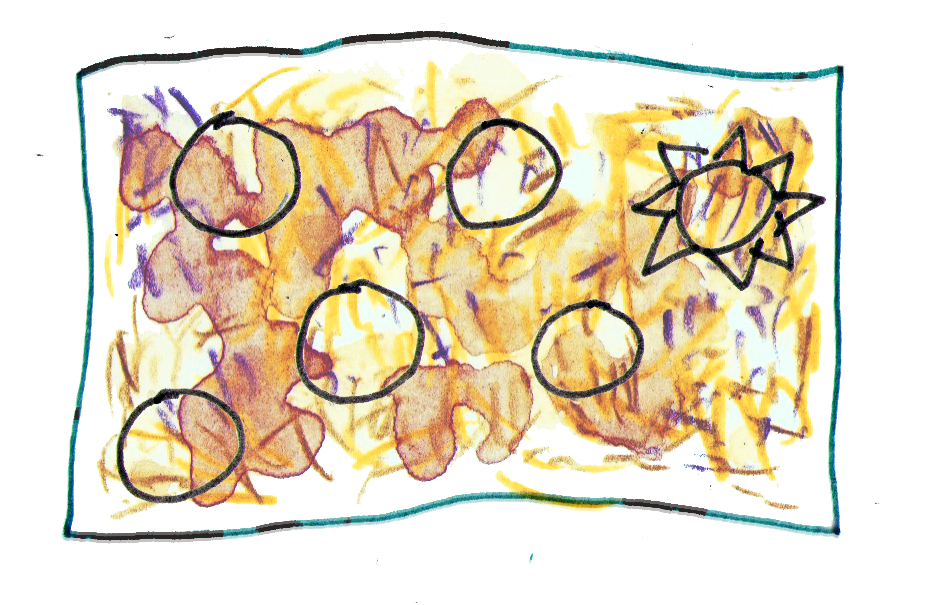
Once your waxy sheet has completely cooled trace circles with gold paint pen. (The surface is very waxy and I ruined a sharpie doing this but the paint pen held up admirably) Leave enough space between your circles for the rays. next draw triangles around the circles with gold paint pen to finish teh rays. You can add a face or any other details you like or keep it simple.
Cut your suns out with scissors and use a hole punch to make a hole for the hanger. Hang on your tree!
Stick Sun Topper & Ornaments
This is the very same topper we have on our family tree and I love it. It’s simple, cheap and easy to make and looks stunning. Find the full directions here. For the Solstice tree I made a few ornament sized versions as well. I just cut a 1.5″ish circle of cardboard, glued my sticks down to it and spray painted them gold. I am not usually someone to care about brands, but I have found this gold spray paint to be so superior to other versions that it’s worth a mention. These can also be nestled into the tree without a proper hanger.
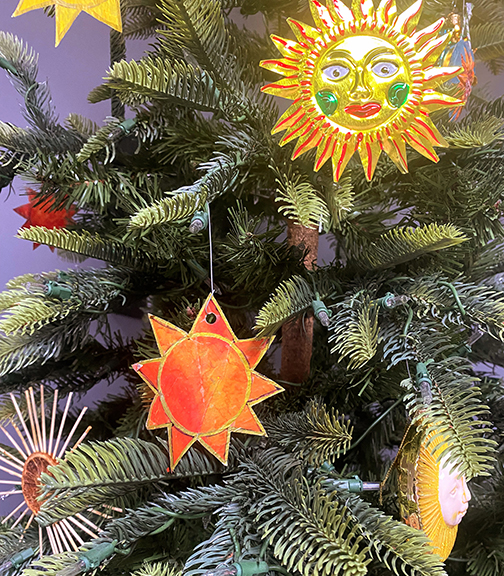
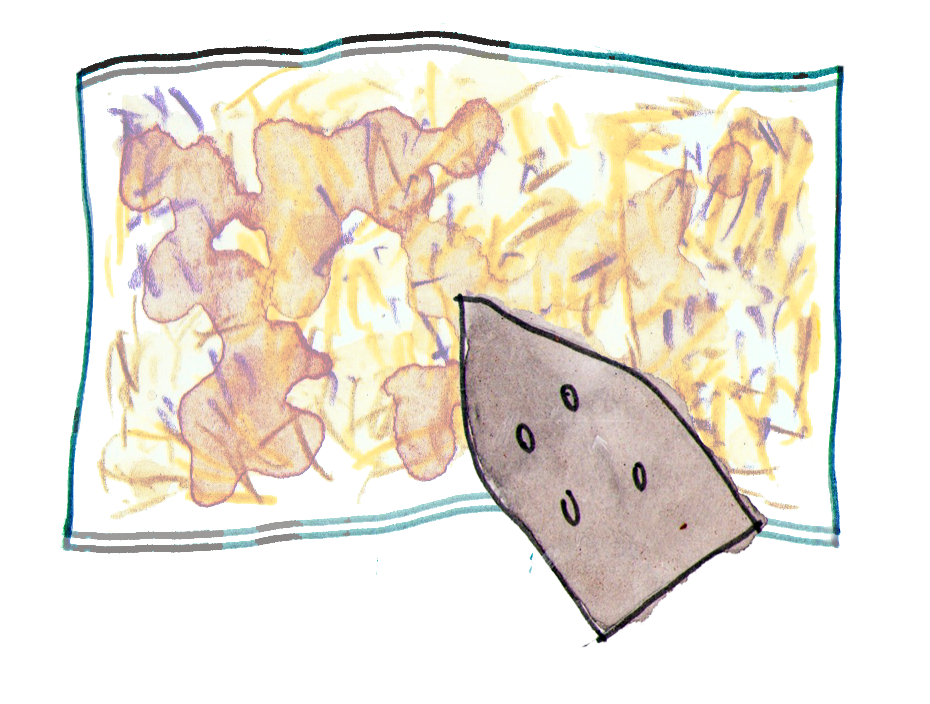
Air Dry Clay & Tin Suns

Another simple kid craft is to make suns from air dry clay. This one is pretty self explanatory, just don’t forget to make a hole for the hanger. I had a plan to make Oaxaca style tin ornaments from old soda cans, but honestly we don’t really drink soda and I ran out of steam so I bought a few from a little store that imports them and they were very reasonable. I love them so much I may try and make some next year!
Merry Solstice!!
[…] Make sun ornaments for a Winter Solstice tree […]
[…] the sun and make note of it’s position. In winter, we make images of the sun (sunbread, sun tree, solstice countdown, ice lanterns) because it is the darkest day of the year and we want to welcome […]
[…] Sun Ornaments […]