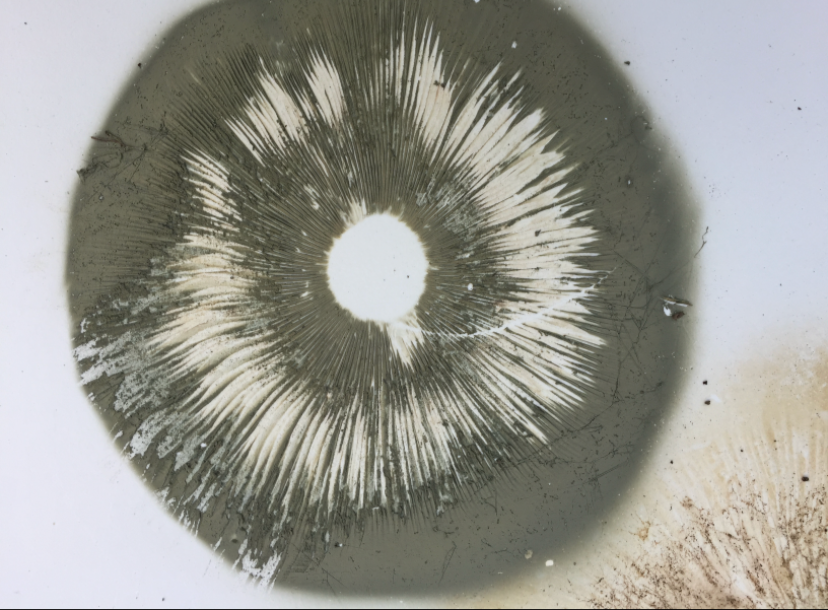
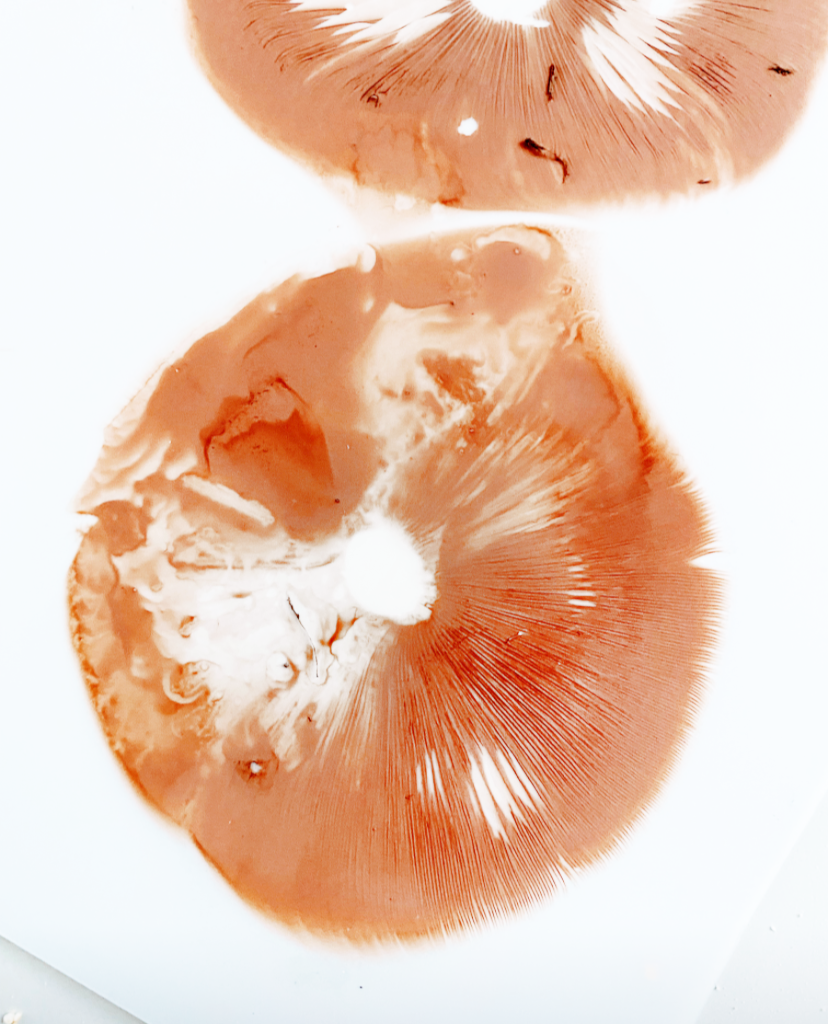
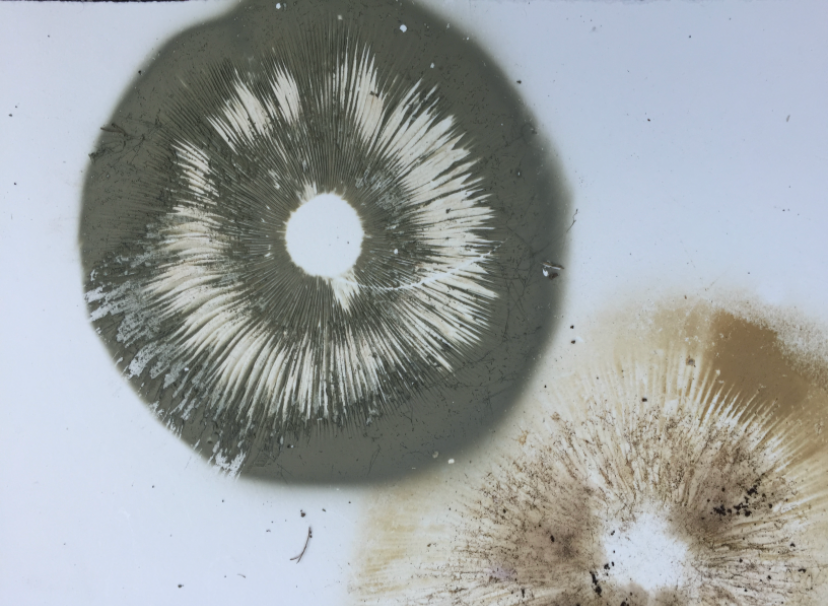
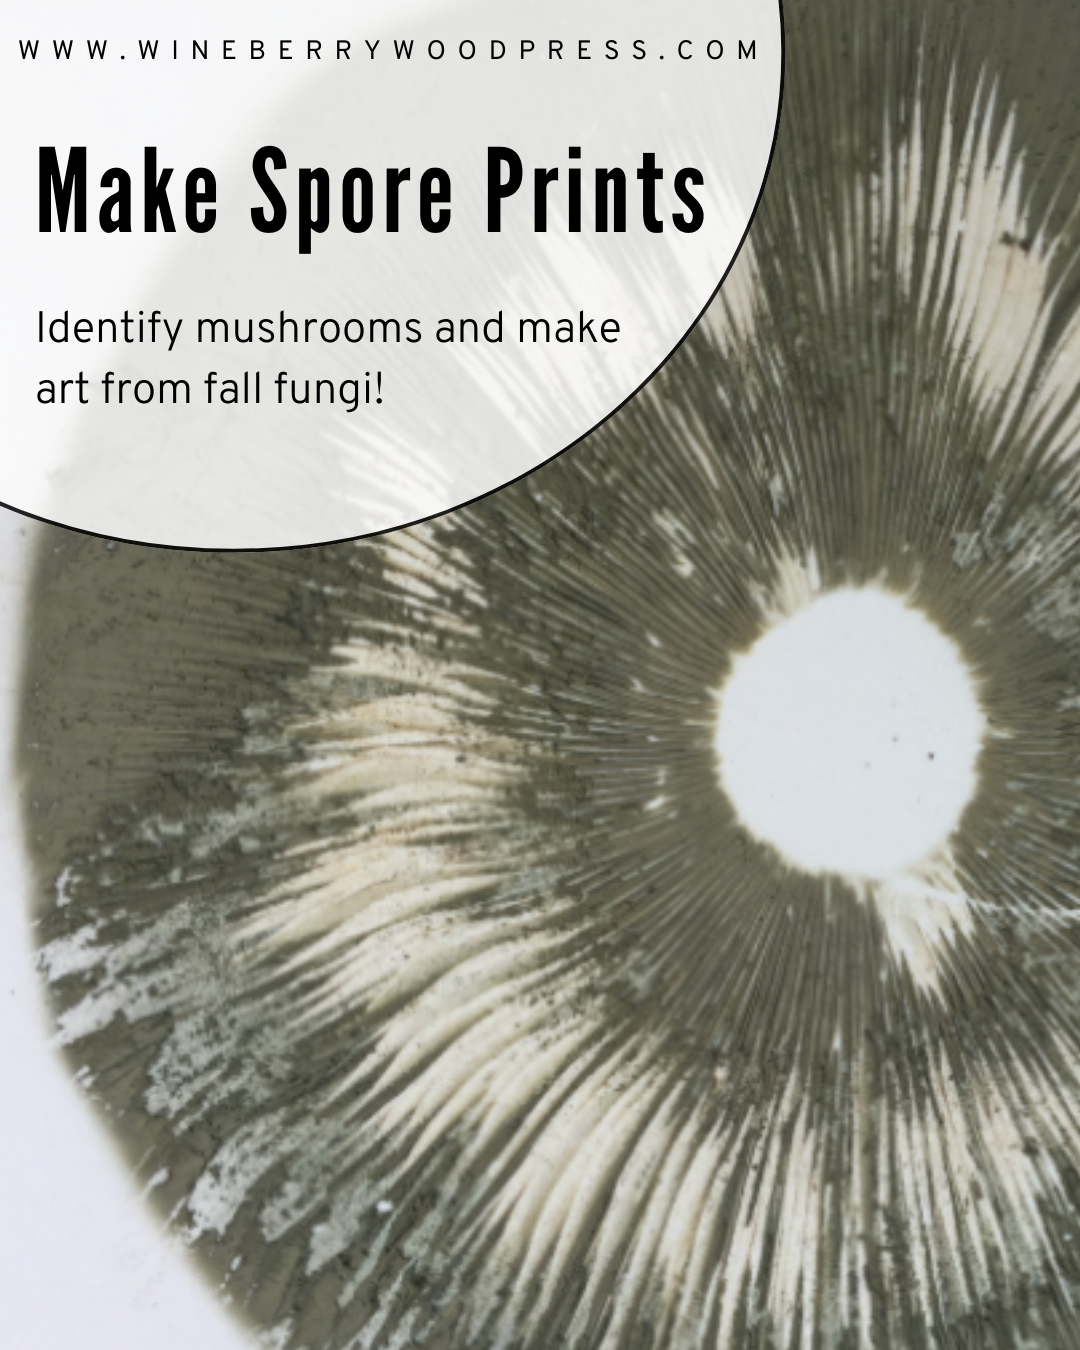
Spore prints are useful tools for identifying mushrooms you find, they also make lovely ephemeral artwork. Fall is a fantastic time to search for mushrooms, it feels like the woods are covered in them this time of year. (And lawns too for that matter.) The “print” part of the spore print is the spores that dropped from the mushroom. The different colors aren’t just nice to look at, but a key way to identify mushrooms that look similar. The green prints in this post are from chlorophyllum molybdites common name “the vomiter.” As the common name indicates this is absolutely not a mushroom you want to eat, but it looks very similar to others that are edible. Never, ever eat a mushroom without confirmation from an expert.
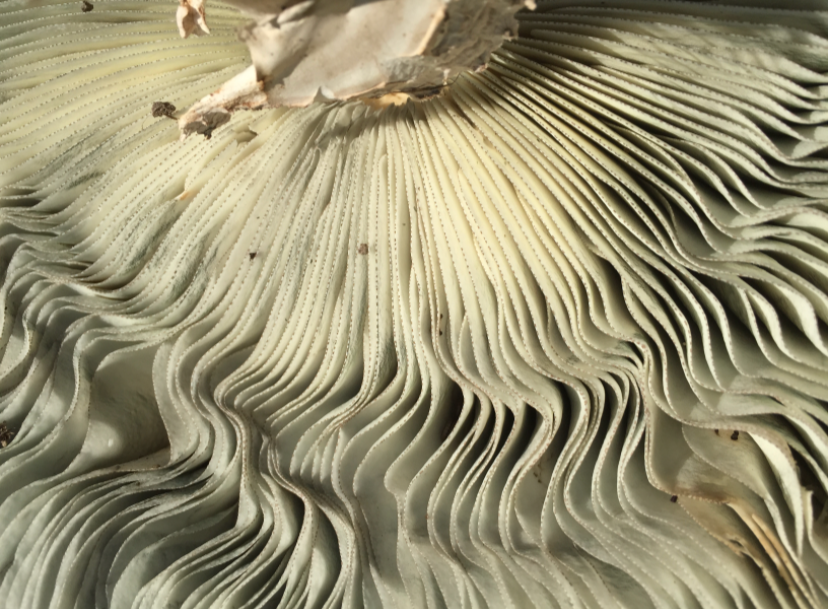
Back to the spores- they are like the seed or pollen of the mushroom, except mushrooms do things a little differently than plants. The spore of a mushroom contains all of the necessary materials to form a new fungus. Once the spore has been released and is settled on the forest floor, it will begin sending out hyphae to help establish the fungus and gather food. Hyphae are the branching filaments that make up the mycelium of a fungus and mycelium are the underground part of a fungus, consisting of a network of fine white filaments. Mushrooms are the above-ground fruiting body primarily identified by their shafts and stems. Spores are located in the pores, teeth or grooves of the underside of the mushroom cap.
Make Spore Print Art
If you are making a spore print to identify a mushroom you’ll want to place a bowl over the mushroom to prevent air currents and and cross contamination. If you are making art then you don’t really need to worry so much about the air and can place lots of different mushrooms in interesting patterns on the same paper.
Materials:
- assorted mushrooms, you can even use mushrooms from the grocery store provided they are fresh
- paper- I like a thick drawing paper or vellum but anything will work)
- workable fixative/ hairspray (optional)
- a bowl (optional)
Method:
Remove the stem from your mushroom(s) and place them gill side down on a piece of paper. Conventional wisdom suggests you put a bowl over each cap to prevent air currents, but if you are are arranging many mushrooms in a pattern this may be impractical and you’ll still get a spore print without it. The fresher the mushroom is the more spores it will contain.
Leave the mushrooms for an hour or two (Although I routinely forget them for the whole day and doesn’t seem to be an issue.)
Carefully remove the caps and compost. Examine the spore prints they left behind- what colors did they produce? Can you figure out what types you found based on their prints? If you want to preserve your art for longer spray it with some workable artists fixative or hairspray, but know that the color is no permanent and will eventually fade.
[…] Spore Prints […]
[…] Get the full instructions here. […]
[…] Spore prints […]