Picture Book Hikes are a fun and easy way to bring learning outside. Read a book (you can even read it outside!) and then enjoy the related hike, activity and snack suggestions!
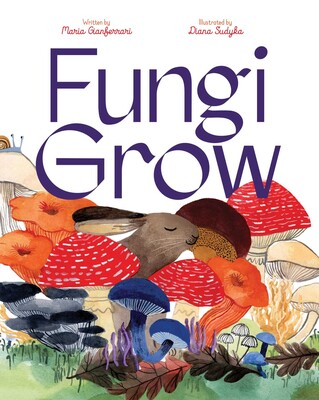
Fungi Grow
Written by: Maria Gianferrari & Illustrated by: Diana Sudyka
Maria Gianferrari is one of my favorite nonfiction authors and Diana Sudyka is one of my favorite illustrators so I I had high hopes for this book. It didn’t disappoint– it has simple kind friendly explanations of how mushrooms and mycelium grow and live. It is of course a perfect excuse to take a mushroom hike! I usually think of this as a fall activity because so many edible mushrooms fruit in late summer/ early fall, but there are mushrooms fruiting nearly year round. I love crafting and cooking with mushrooms and you can find more mushroom centric ideas here.
Mushroom Hike
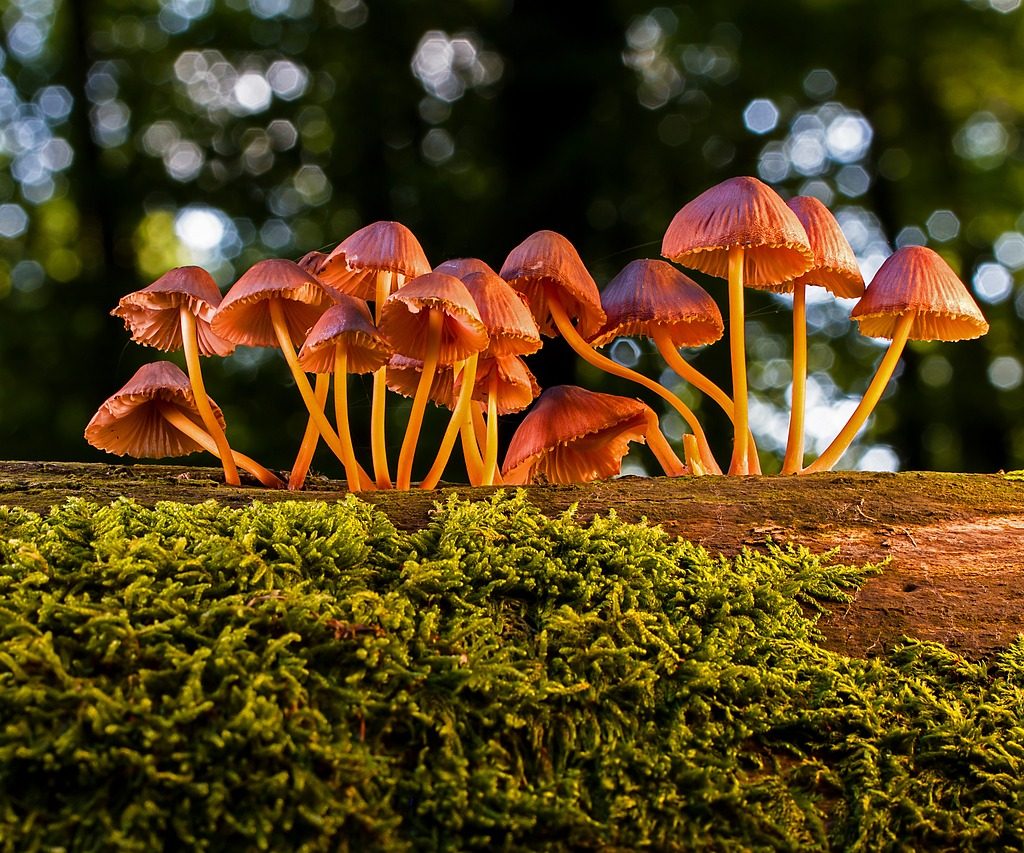
First read “Fungi Grow” preferably while sitting on a nice log in the woods.
Next, start hiking. Keep your eyes peeled and don’t walk so fast that you miss the mushrooms! They can be tiny, huge, colorful or drab, keep your eagle eyes on! My kids and I are always searching for mushrooms while we hike, and I find they are generally superior at spotting them! Bring a magnifying glass, a mesh bag if you plan to collect anything, and a mushroom field guide for your area. A nature journal is also a great tool! Observe, identify and record the different mushrooms you find. You can collect some mushrooms to bring home and make spore prints with too!
Read more here.
Printable mushroom “badges” here.
Spore Prints
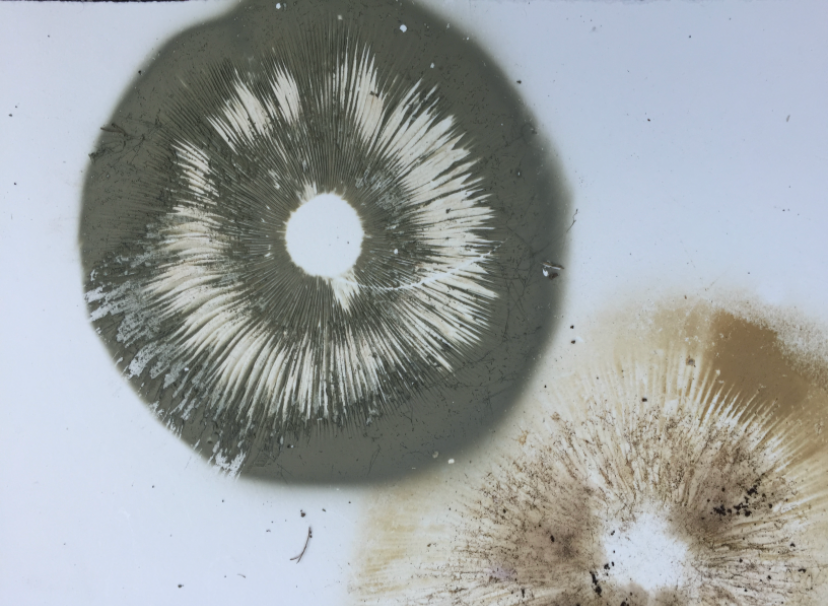
Spore prints are useful tools for identifying mushrooms you find, they also make lovely ephemeral artwork. The “print” part of the spore print is the spores that drop from the mushroom. The different colors aren’t just nice to look at, but a key way to identify mushrooms that look similar. The green print above is from chlorophyllum molybdites, common name, “the vomiter.” As the common name indicates this is absolutely not a mushroom you want to eat, but it looks very similar to others that are edible. Never, ever eat a mushroom without confirmation from an expert. Collect a few types of mushroom on your hike and use them to make some spore print art!
Get the full instructions here.
Mushroom Jerky
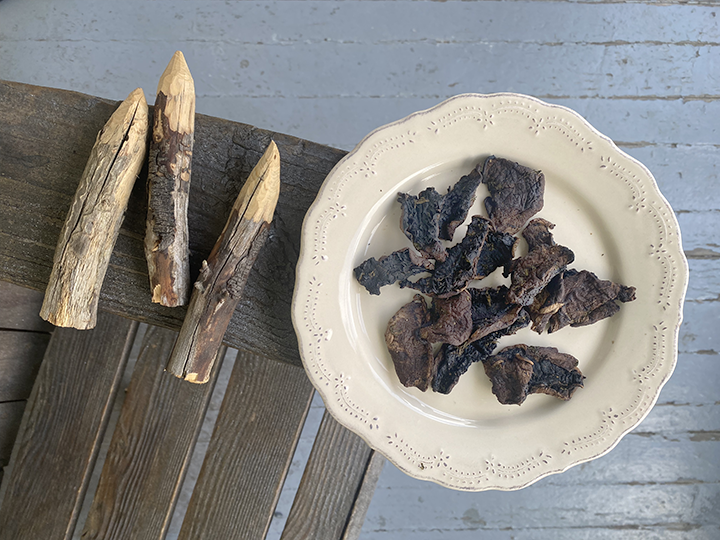
While there are tons and tons of cute mushroom shaped treats all over the internet, I wanted to make something that was suitable for hiking and also actually contained mushroom. Cue mushroom jerky, a quintessential hiking snack and a fun kid friendly way to eat mushrooms. I usually use foraged mushrooms for jerky, but in the interest of both safety and convenience have used store bought mushrooms here.
Ingredients:
- 1 pound portabello mushrooms
- 1/4 cup soy sauce
- 1/2 cup water
- 1/4 cup worchesterchire sauce
- 2 tablespoon apple cider vinegar
- ¼ cup maple syrup
- 1 tablespoon garlic powder
- 1 Tablespoon smoked paprika
Method:
Preheat the oven to 350° F.
Remove any stems and clean the mushrooms. Tear them into 1/2″ ish strips. This doesn’t need to be terribly exact. They will shrink by almost half when you cook them so keep that in mind. Place them on a baking sheet and pop them into the oven for 10 minutes unti they wilt a bit.
Meanwhile combine the rest of the ingredients in a freezer bag and mix it up. When the mushrooms are done slide them right into the bag with the marinade and stick them in the fridge at least overnight, preferably 2 days or so. Mushrooms are basically sponges and will pick up a ton of flavor while they marinate.
When you are ready to make the jerky you have two options- dehydrator or oven. Either way remove the mushroom pieces from the marinade and shake off the excess. Then, place them in a dehydrator at 100° F for around 6 hours on in a teh oven at the lowest temperature it will allow (usually 175° or 200°) for around the same time. If you use the oven, you’ll want to flip the mushrooms every hour or so. Mushrooms vary quite a bit in size and thickness, so if they don’t feel done after 6 hours keep going until they do. They should be dried out and visably much smaller, but still flexible and chewy, not brittle.
Store in a airtight container and enjoy!
Mushroom Energy Balls
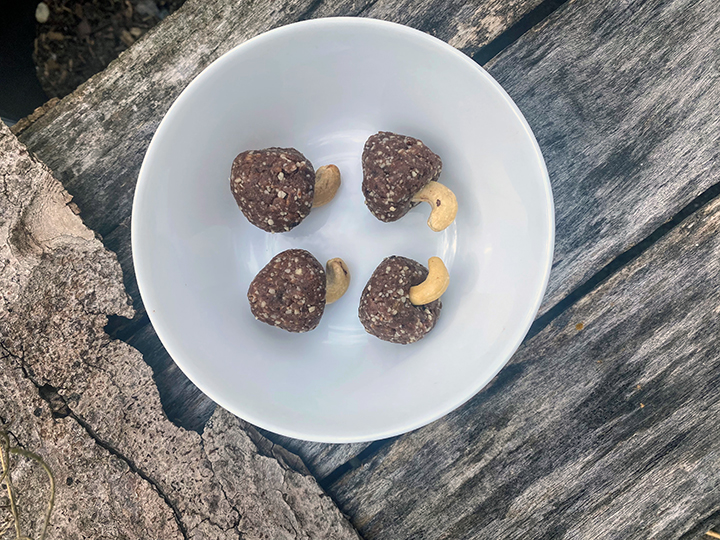
I only meant to make one snack for this Picture Book Hike, but I couldn’t help myself! These super cute energy balls are perfect for hiking and contain some medicinal mushroom powder. Even the pickiest eater will love these!
Ingredients:
- 1/2 cup almonds
- 1/2 cup cashew pieces
- 1/4 cup rolled oats
- 3/4 cup pitted dates
- 1/4 cup raisins
- 3 TBS honey ( or to taste)
- 1/4 cup hot chocolate mix with medicinal mushrooms*
- 1/4 tsp vanilla extract
- cashew halves
Method:
Add everything except the cashew halves to a food processor and blitz until its homogenous and clumping togther. This can take a few minutes.
Scoop out roughly 2 tsp sized portions and roll into a ball. Flatten one side of the ball and stick the narrow part of a cashew into it like a mushroom stem. You can pinch the “cap” to make it more triangular or leave it rounded. Lay the “mushrooms” on a plate and place in the fridge to firm them up. After they are firm you can store them in a freezer bag or tupperware. You can even freeze them if you want them to stay cold on your hike!
* I use a hot chocolate mixture with mushroom powder because it’s super easy. (Something like this, although its not the brand I used- there are quite a few options) You could sub powdered reishi, chaga or lion’s mane and cocoa or chocolate chips if you preferred.