Here is a fun and easy way to make plant markers for your garden out of recycled materials. I use really utilitarian markers for the most part, but my kids always want to make some for their garden and I have been trying to think of a way to make markers that are both beautiful to look at and simple to make. These check all the boxes, they are simple enough for kids to make, they look amazing–almost like enamel I think–and they use repurposed seltzer cans. Kids don’t need to be able to write letters to make them, although they work with words as well. (You just have to write them backwards… more on that below.) This is a great project for early spring when there is lots of enthusiasm for garden, but not much actually happening in the garden yet. I think we have more markers than plants right now!
Recycled Can Garden Markers
The only trick to making these is to remember that you are drawing (or writing) backwards. You can write plant names, but you have to do it backwards which is tricky. If you want words try printing them out on the computer in reverse to help you. The other trick isn’t so much a trick as a tool– tinsnips. They are a worthwhile investment if you craft with any kind of repurposed metal. You absolutely can cut cans with scissors, but they will have very sharp edges. Tinsnips leave a dull edge and are really essential in my opinion. Like I told a room full of 5th graders recently– just because you can cut it with scissors, doesn’t mean you should.
Materials:
- seltzer or soda cans washed
- ballpoint pen
- cardboard scrap (to protect work surface)
- exterior craft paint (I used this, alternatively you could use a regular paint and seal it)
- tinsnips
- paintbrush
- sticks
- glue
- clippers (to clip sticks)
Method:
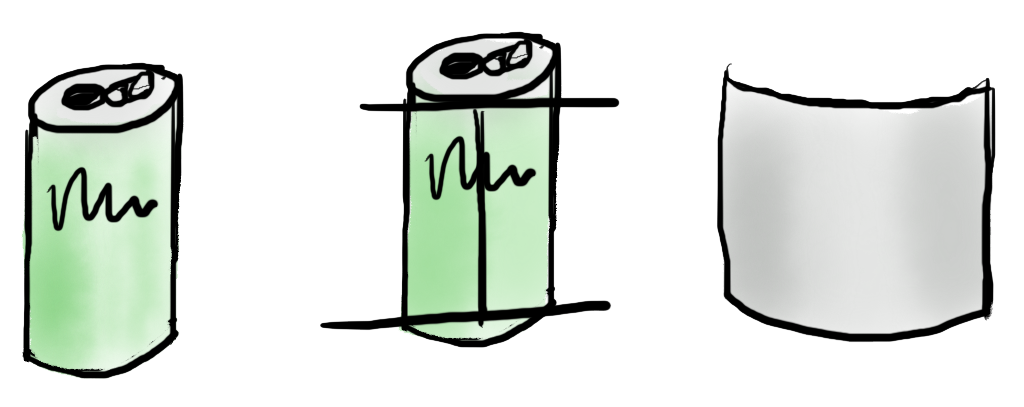
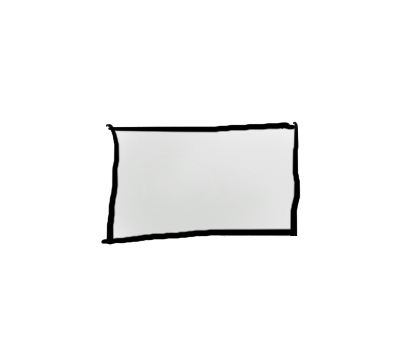
First prepare your cans. Cut off the top and bottom, you can cut right from the hole on top through to the edge to cut the top off. Then cut a vertical line down the can and cut the bottom off. It’s ok if your cuts are not super straight you can clean it up once you get the thicker metal off. Once the top and bottom are removed flatten out the resulting rectangle straighten up any edges that might be wonky from cutting it open.
Next, cut your tag shaped out. Depending on teh size of your can you can probably get four nice sized rectangles. You can also opt to cut larger pieces and fold them in half if you don’t want the writing from the can to show. (The metal inside of the can is the side we will use)
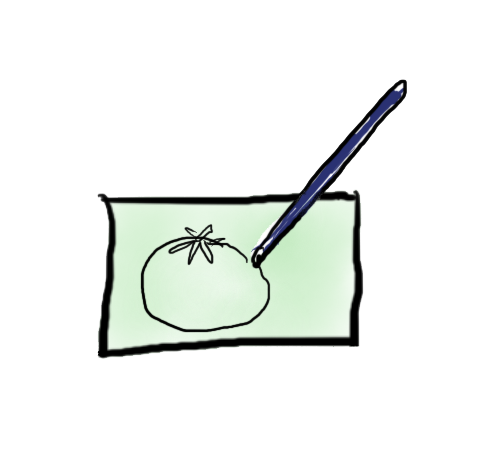
Now put a piece of cardboard down to protect your work surface and flip your tags over to the printed side of the can (this is the back) and place them on the cardboard. Using a ballpoint pen draw a picture of your fruit or vegetable onto the metal. You are using the pressure from the pen to emboss the metal so press down hard and don’t be afraid to go over it a few times.
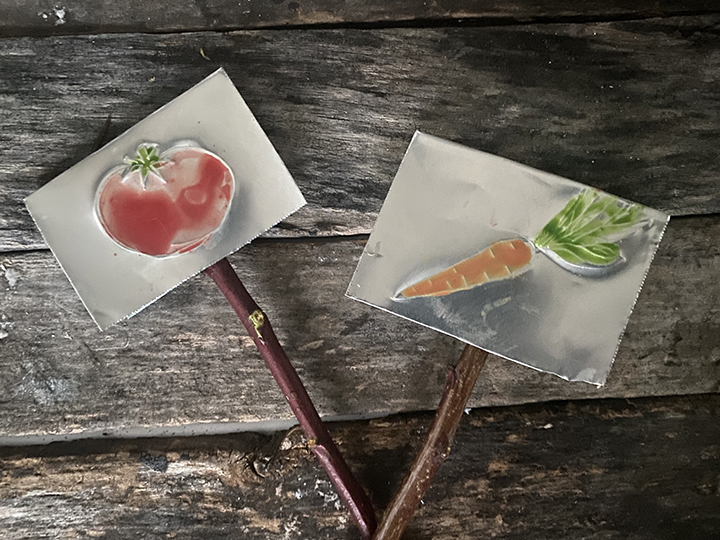
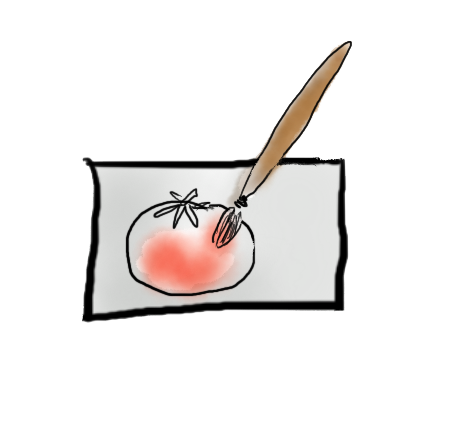
Flip your tag over and marvel at the beautiful embossed drawing you just made! They already look awesome like this, but painting on a little color makes them look amazing. Just use a few drop of the exterior craft paint and add a little water so it’s a fairly runny paint. This will mean that it sinks into the lower parts of the drawing and the embossed or high areas remain silver. You can also dab with your finger if you get too much paint on the outline.
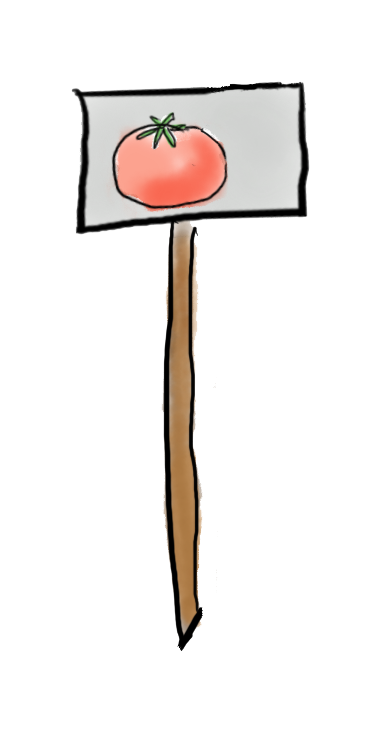
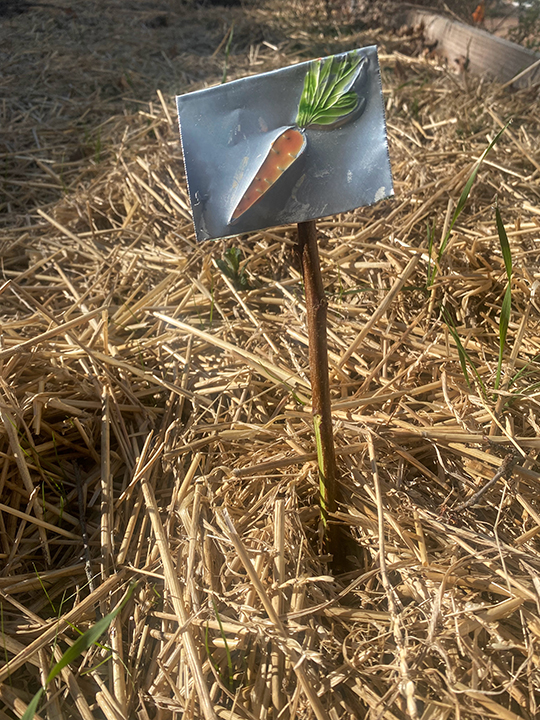
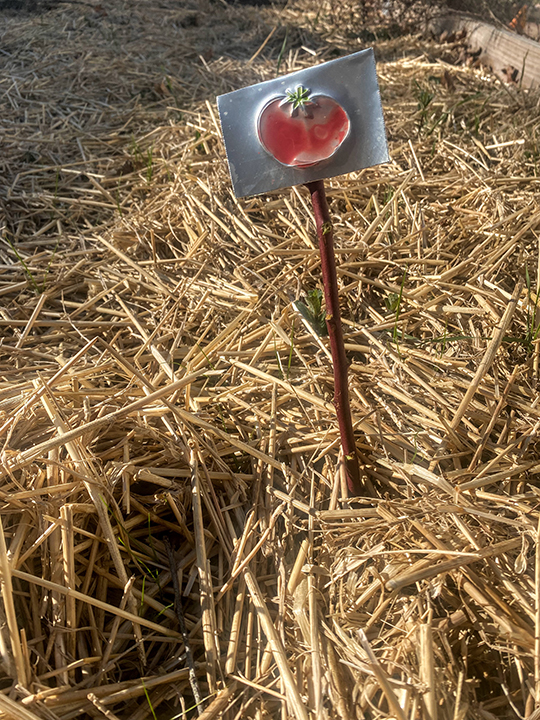
Let everything dry flat. If you folded your tag in half (so that the back would be silver) glue the two halves together after embossing and painting. I started out doing this, but honestly I kind of like being able to see that they were once cans! Grab some sticks and cut one end on an angle so it’s easier to put into the ground. Glue the tag to the top. Hot glue is easy and fast, but won’t hold up well, use a multi surface glue for better results. Place in your garden and enjoy!!
[…] Learn how to make garden markers with ol soda cans here. […]
[…] Craft recycled Plant Markers […]