I can still remember the first time my mom showed me the star the seeds make in the center of an apple when you cut it crosswise, and it was magical. I still love to cut apples open to see the star inside. Sometimes people call the Autumn Equinox the apple harvest and that makes sense to me because it’s the start or peak apple season where I live. I have struggled to think of some good apple crafts to mark this holiday because I feel quite strongly that food is for eating. I don’t like to use food for things that render them inedible (like making apple prints.) I will occasionally make exceptions, but I am generally of the the opinion that there are too many people in the world who struggle to get enough food to be using it in craft projects. (Apple dolls are an exception for me, but even so I try to use subpar fruit that wouldn’t get eaten, which has the benefit of making cooler, wonkier faces!) All of this to say that I finally figured out a good way to make apple prints that still allows you to eat the apple! Since I find the seed stars the most magical part of the apple anyway, it seemed perfect to use them as the print. At first I just printed them on paper, which looked cool and kind of unexpectedly modern, but I wanted to make something with the paper. Ergo, a sweet little five pointed star lantern for the five pointed apple star! Perfect for a Autumn Equinox celebration! I have been wanting to do a star lantern that is simple to construct (this one is awesome, but a little tricky) and after testing a bunch of prototypes this one is it.
Apple Star Lantern
Materials:
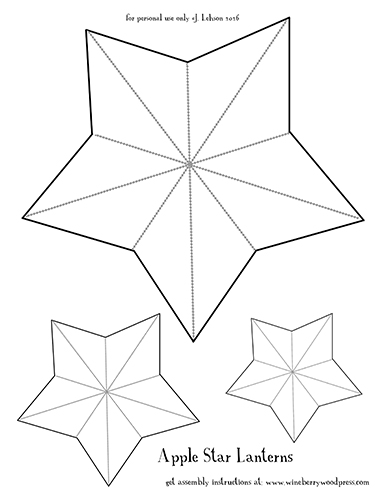
- star template (download below)
- cardstock
- apple core
- stamp pad (we used metallic gold)
- battery operated fairy lights (something like these)
- twine
- hot glue
Method:
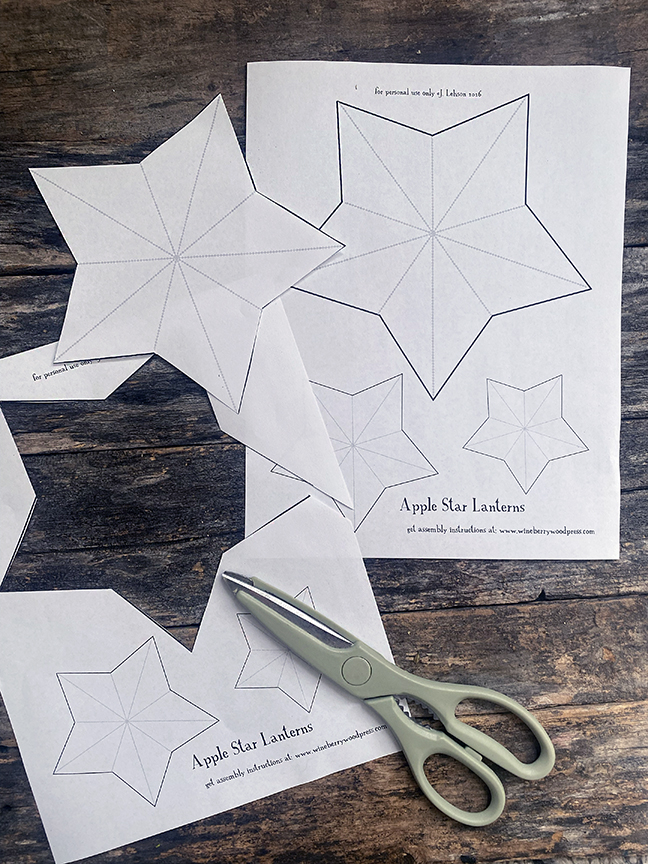
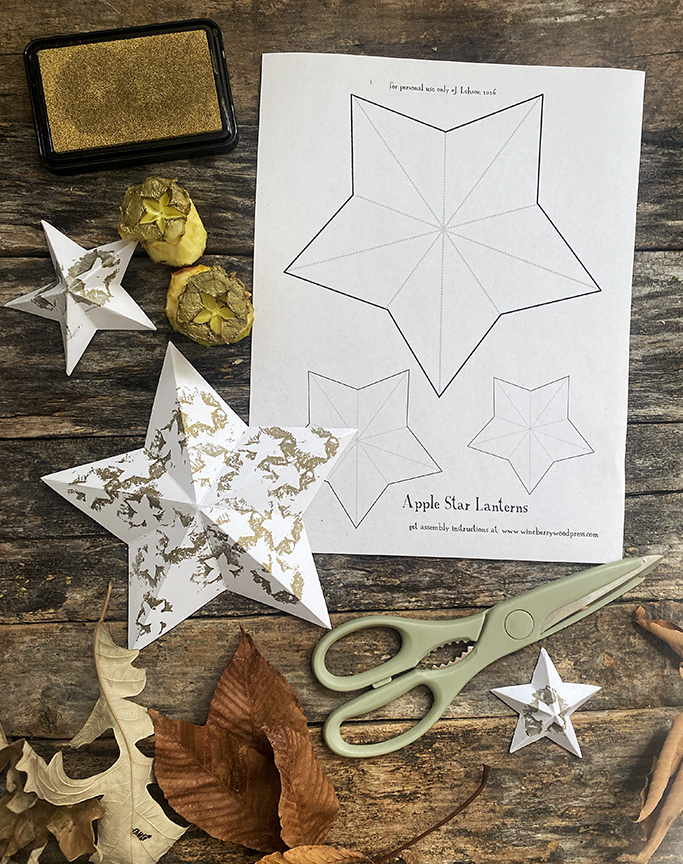
Print out two copies of the star template onto cardstock. Cut out two pieces of the size you want to use for your lantern on the solid black line.
Next, cut an apple core in half so you have two stamps. You can either use a core that you have gnawed at, or slice the fruit away from the core with a knife if you want a more geometric look.
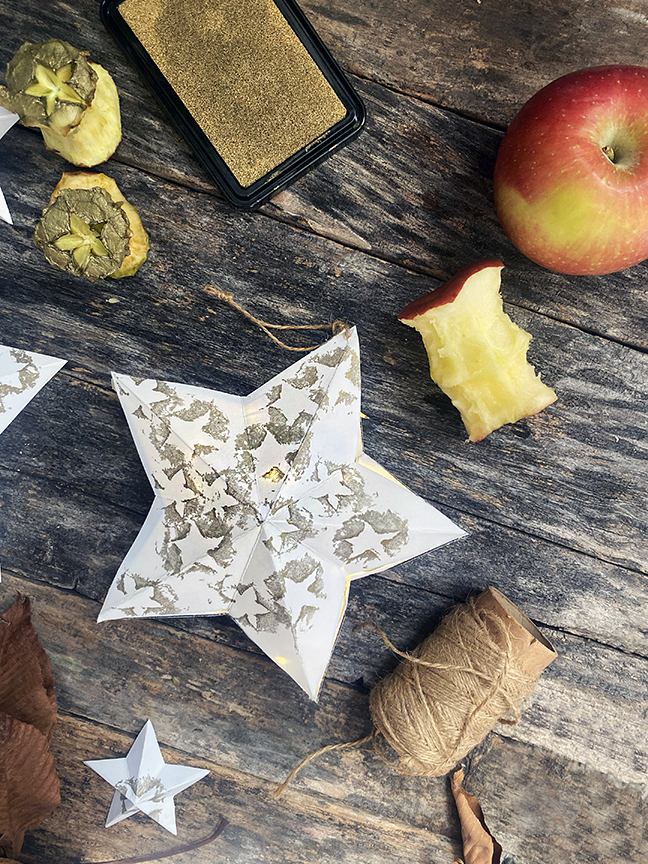
Press the apple cores onto the stamp pad and then onto your paper. You may have to wobble them around a little because they won’t be perfectly flat like a stamp from a store. Stamp as many apple stars as you’d like all over the paper star.
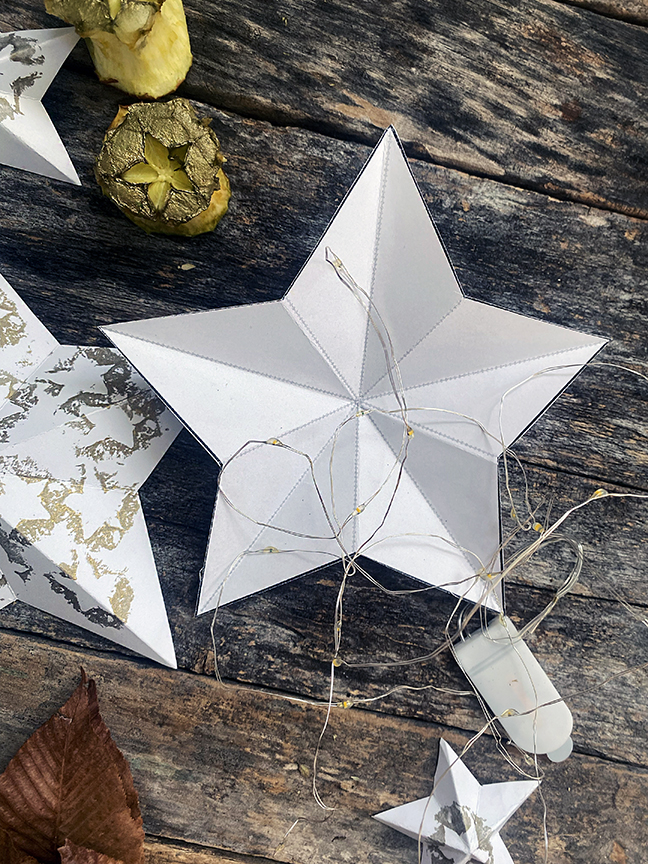
Now fold the stars. Using the dotted grey lines as a guide, fold each point in half and then unfold again. Then, with the grey lines facing down, go around and make sure that all of the folds on the points are mountain folds (ie the point up in a mountain shape) and all of the folds in the star’s “armpit” fold down (like a valley.) Repeat with the second star.
Carefully glue four of the five point of the star together with a dab of hot glue. (This is a grownup only job, if you wanted to have kids do this step, use white glue and clothespins to hold the pieces in place as they dry) The whole thing is probably a little wonky no matter how carefully you cut and folded, so just line it up as best you can and embrace the handmade-ness.
Stuff the fairy lights into the space between the unglued points. I like to glue the on/off switch to the side of the star so it’s easy to reach.
Poke a hole in the top of the two unglued points and tie them together with twine. (You’ll then be able to untie them to access the switch.) Tip: put a little tape around the end of your twine so it’s stiff and easier to push through the holes.
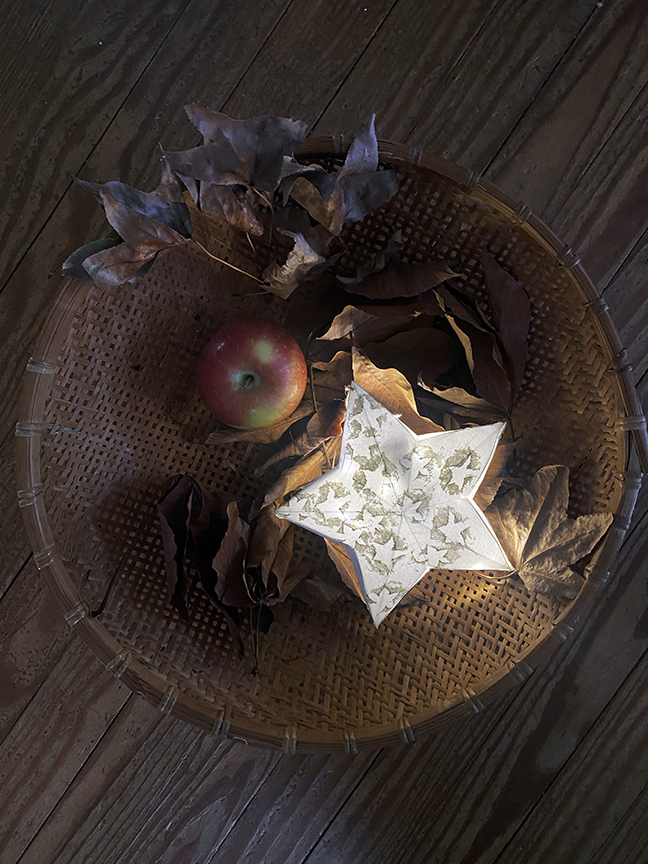
Turn on the lantern and make merry!