Picture Book Buds are a fun and easy way to incorporate literacy into nature study. Read a book (you can even read it outside!) and then enjoy the related activity and snack suggestions!
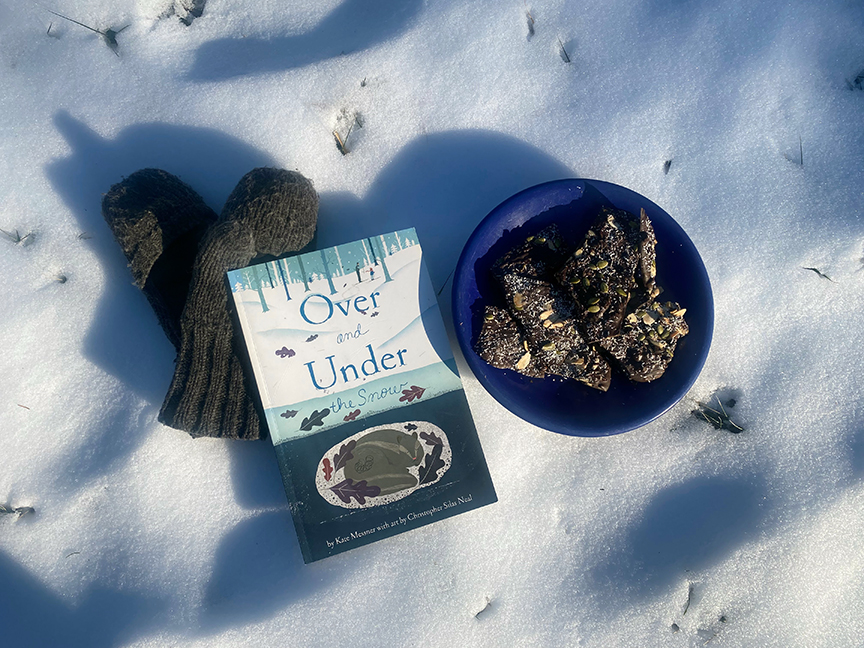
Over and Under the Snow
Written by: Kate Messner, Illustrated by: Christopher Silas Neal
Over and Under the Snow is a classic winter time picture book read. It manages to be both fun to read and packed with information about what various animals do to survive during the winter, making it great for mixed age groups. I always include it in my hibernation study recommendations, but where is really shines in my opinion is in it’s description of the Subnivean Zone. The hibernators seem to get all the love this time of year, and all while the shrews, mice and voles are carving out a magical network of tunnels right under our noses! Maybe it’s because I loved Brambly Hedge Winter Story so much as a child, but the science of this really captivates me and I find that it captivates children as well. (Whereas adults are more likely to dream of hibernation,,, lol) I should also note that I live in a place where it snows, but not enough for a snowpack to build up which is what makes this possible. I mention this so as not to disappoint kiddos who don’t live in cold enough places for this phenomenon. Hunting for animal tracks is always a good substitute though! Back to the book– a child and a parent are skiing through the winter woods and noticing (or not noticing) all of the animals on their journey. The back matter will get you started with the science. The illustrations are stunning, stylized but accurate.
Subnivean Zone: “Sub” means beneath, and “niv” translates from Latin as snow. The subnivean zone is an opening beneath the snow where small mammals live during winter, with connecting tunnels made by them to travel through, hunt prey, and gather plant material. In snow of six inches or more, the subnivean zone maintains a temperature at the ground surface around 32 degrees Fahrenheit, regardless of the air temperature above the snow. (Schilitz Audubon Center)
Hike:
Animal Track Hike
First read Over and Under the Snow, preferably while sitting on a nice snowy log in the woods. Or try reading it around a campfire!
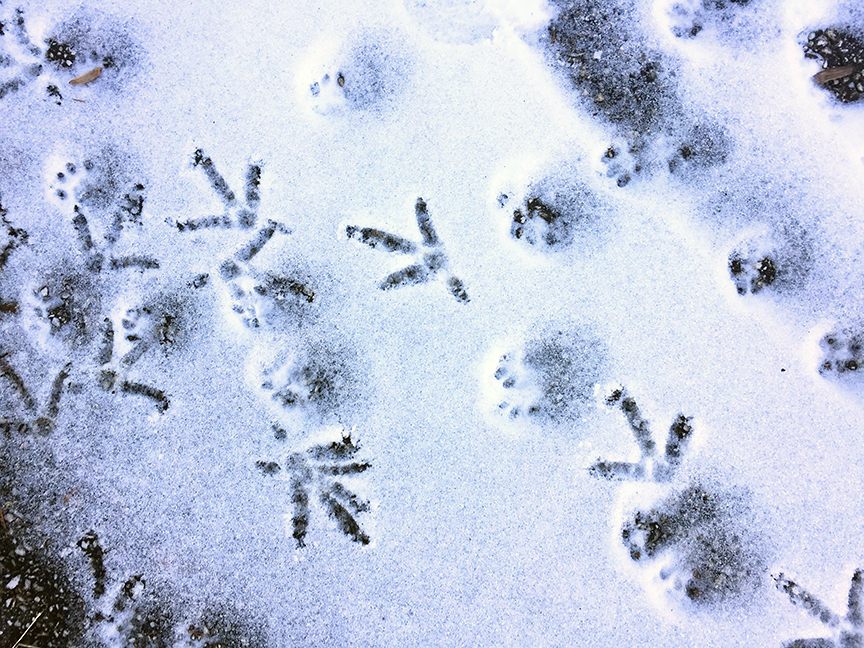
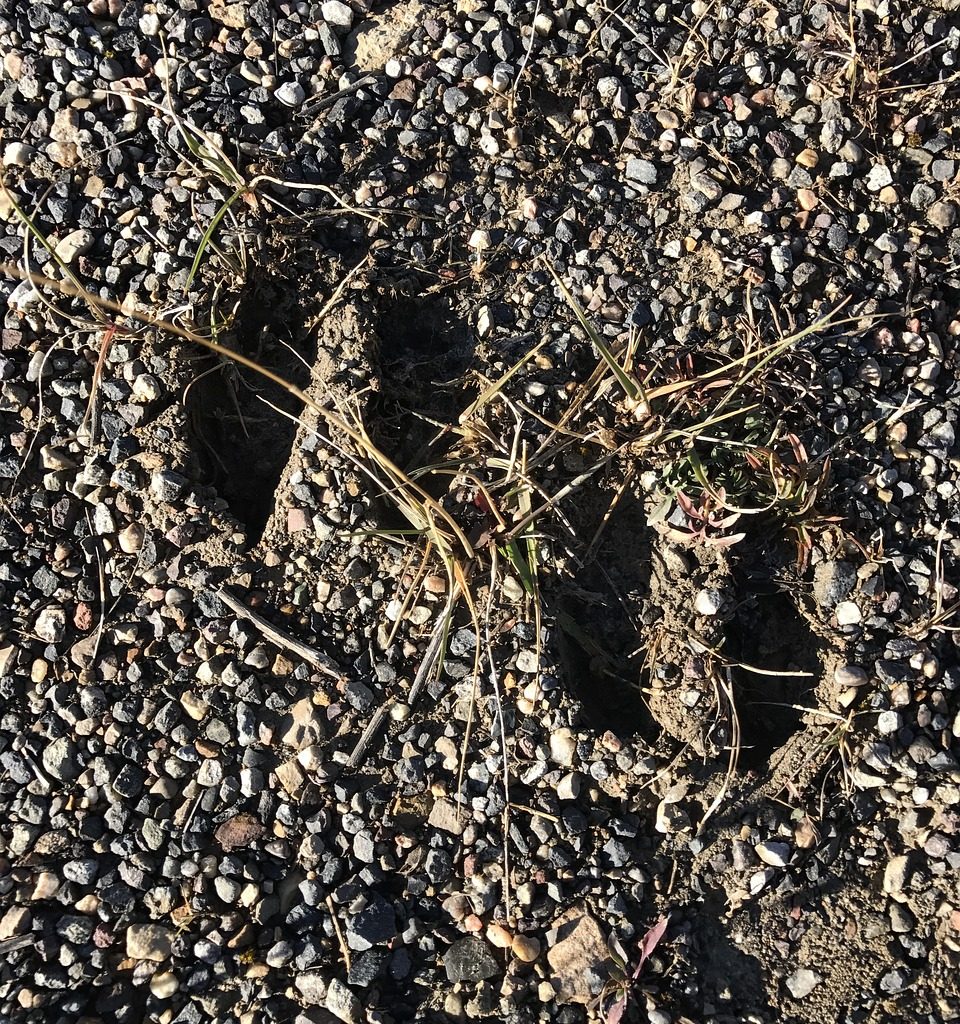
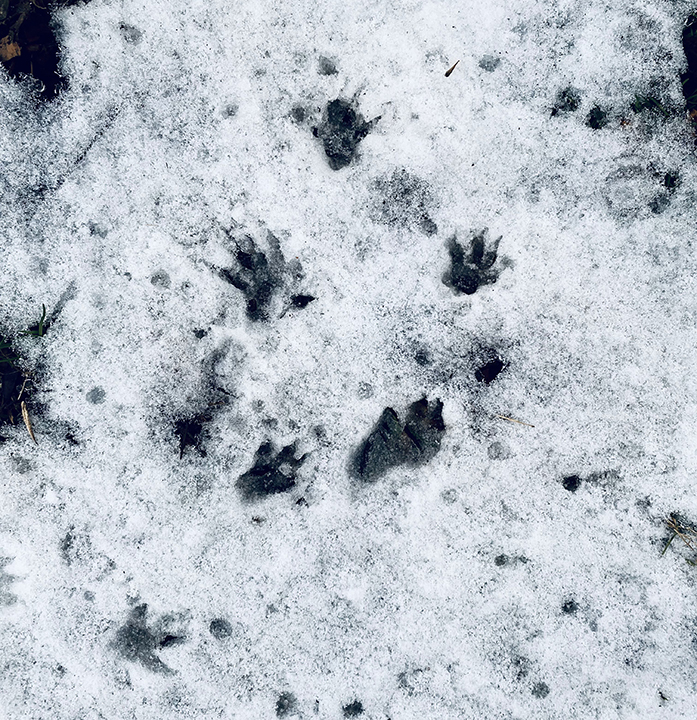
Next, start hiking. Whether it’s snowy or muddy where you live, winter is a great time to hunt for animal tracks. The lack of underbrush makes them much easier to spot. If you live some place very snowy, you can also look for the entrances to subnivean tunnels, which conveniently is best done by following tracks! Look for other signs of animal life, broken branches, scat, potential food sources. Remind children to put on their eagle eyes and look carefully and closely as you walk.
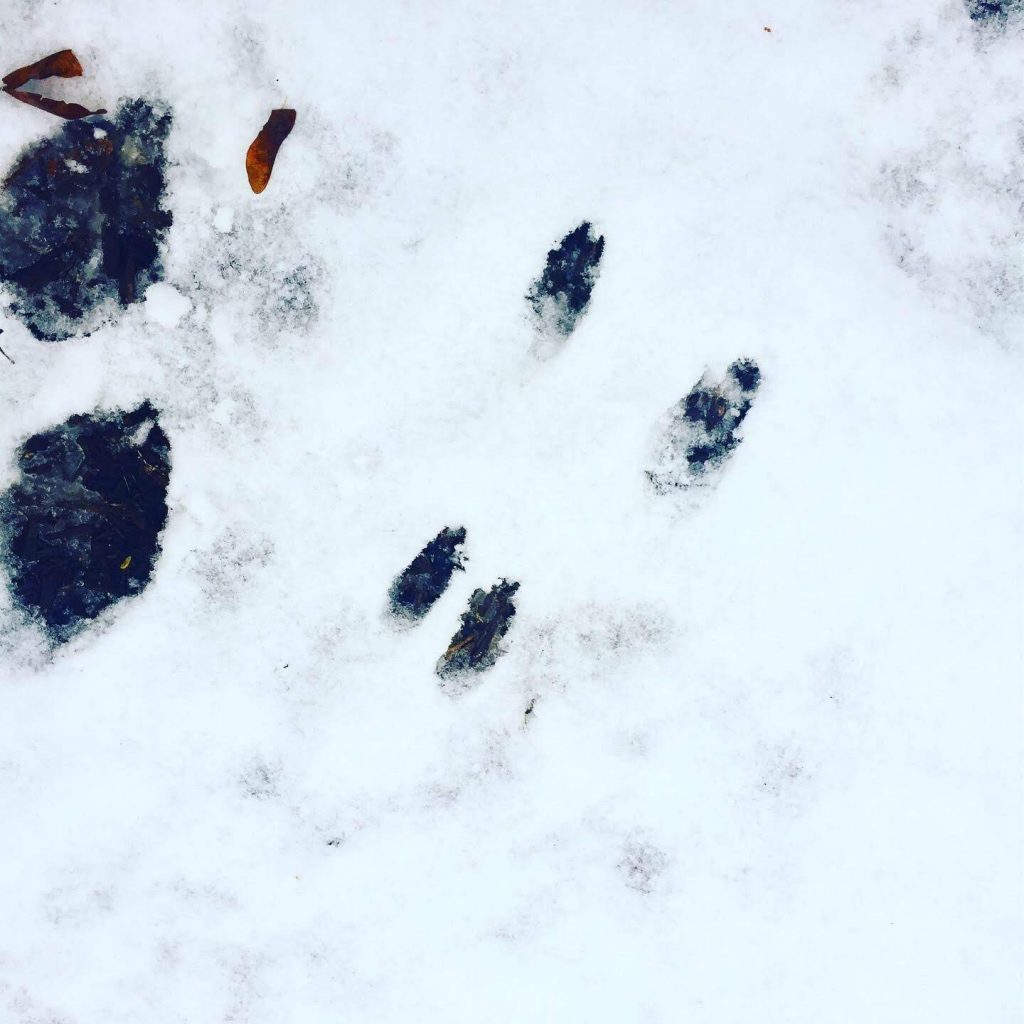
Younger friends will likely just be excited to find and identify some tracks, but older friends might enjoy tracking the paths the prints take and trying to reconstruct what the animal might have been doing and/or where it is living. We spent literally hours following those raccoon tracks pictured below around the forest and mapped out what we hypothesized was a whole community of raccoons. They went to the water, they went to different trees that appeared to have dwellings in them, it was pretty fascinating. If this resonates you may also want to try drawing or writing a story about what you found, in our case a little village of raccoons! This can stick to the facts or be imaginary like brambly Hedge.
Last, head back to home base for a warm beverage and a craft.
Craft:
Make a Quinzee
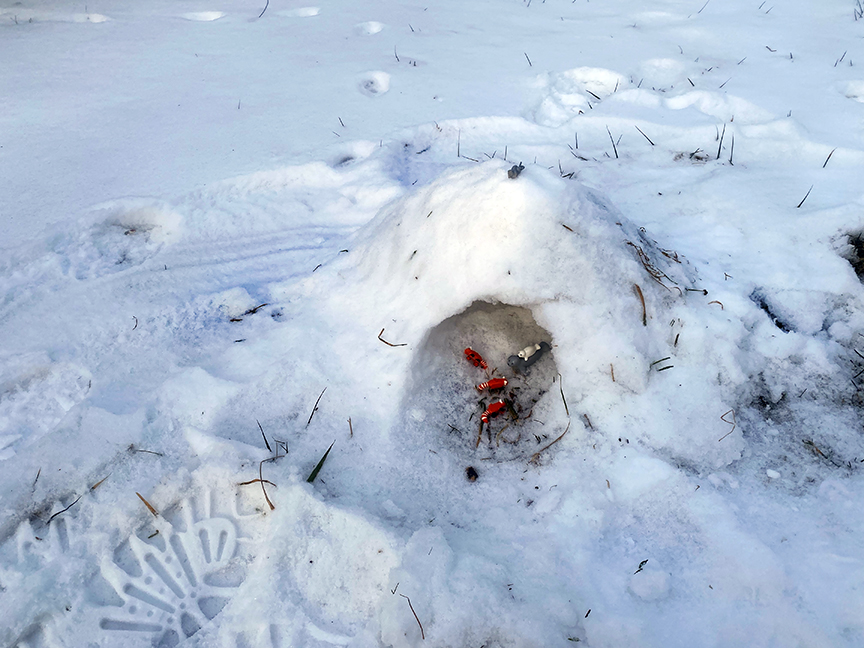
A quinzee is an indigenous Canadian snow shelter. The word is of Athabaskan origin. It’s a simpler and more temporary type of shelter than the igloo we so often picture in that part of the world. This makes it much easier for kids to make themselves. It also is built through a very similar, but man made, version of the process that forms the subnivean zone making it a fun way to demonstrate this concept without having to find (or invade) animal homes. The general idea is that you make a pile of snow and then let it settle or “sinter*” for several hours. It forms a hard icy crust, allowing you to hollow out the soft snow on the inside. In nature, with sufficient snow and temperatures, this happens on its own to create the subnivean zone. A hard crust forms on the surface of the snow and as it melts and re-freezes spaces are formed underneath. Sometimes the temperature of the ground causes heat under the snow which causes a cavity to from through a process called sublimation. You can spend some time reviewing the science, or you can dive right in and make some cool tiny forts for all of your lego characters! (or whatever toy you prefer)
*Sintering is the process of compacting and forming a solid mass of material by pressure or heat without melting it to the point of liquefaction.
SAFETY NOTE: I have designed this project to be made on a small scale for a toy. This makes this project doable for younger kids. It’s also because these shelters if not made correctly at full scale can be dangerous. If you decide that you’d like to attempt a person sized quinzee, please read up on them, ensure it’s cold enough where you live, ensure that the snow has settled and hardened enough and never leave children unattended inside.
Materials:
- snow
- small shovels
- water in a spray bottle
- toy characters
Method:
This is a very simple project to make, but you need to factor in settling time for the snow. Perfect for a hot cocoa break!
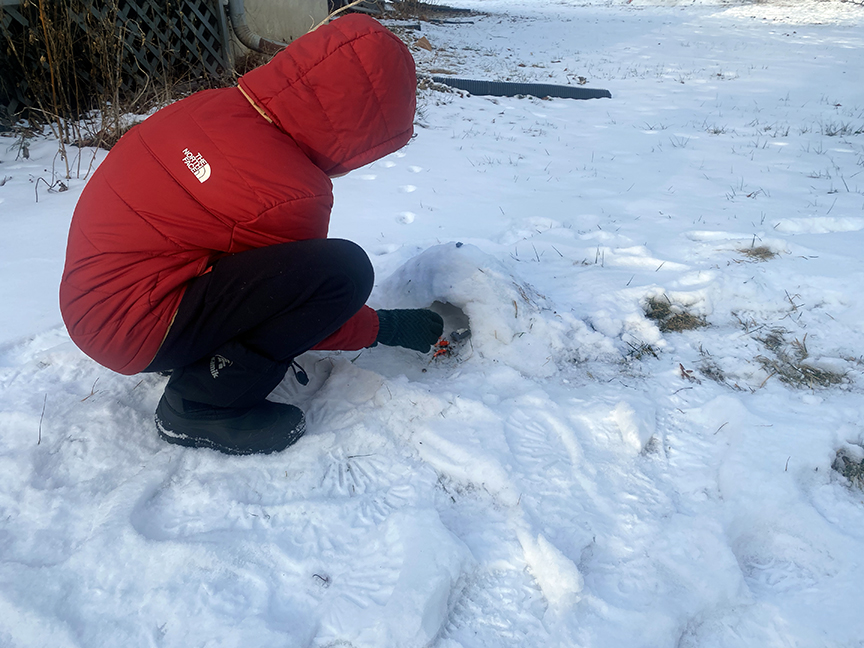
Pile up a small mound of snow with your hands or a shovel. Match the size to whatever toy you would like to put inside. Pack it down as much as you can even if it’s the soft fluffy sort of snow. You can mix icy crusty snow with the softer snow underneath by crunching it up. (And I saw that people often do this on purpose to make it stronger)
When you are happy with the size of your snow mound, spray it all over with the spray bottle. This isn’t strictly necessary but will help it crust faster which is beneficial when working with impatient kiddos. Now wait a few hours. (This is the hardest part…)
Touch your snow and ensure that it feels icy. Assuming that it does, use a small garden shovel to start carving out the inside. You can make one opening into the shelter or several if you prefer. (Just don’t make too many or it will collapse.) You can stick a gloved hand inside to really clean out the center. Keep the walls at least 2-3 inches thick so they stay strong. (for a toy scale quinzee only– much thicker on a larger structure)
Introduce you toys to their new snowy home!
Snack:
Winter Animals “Tree” Bark
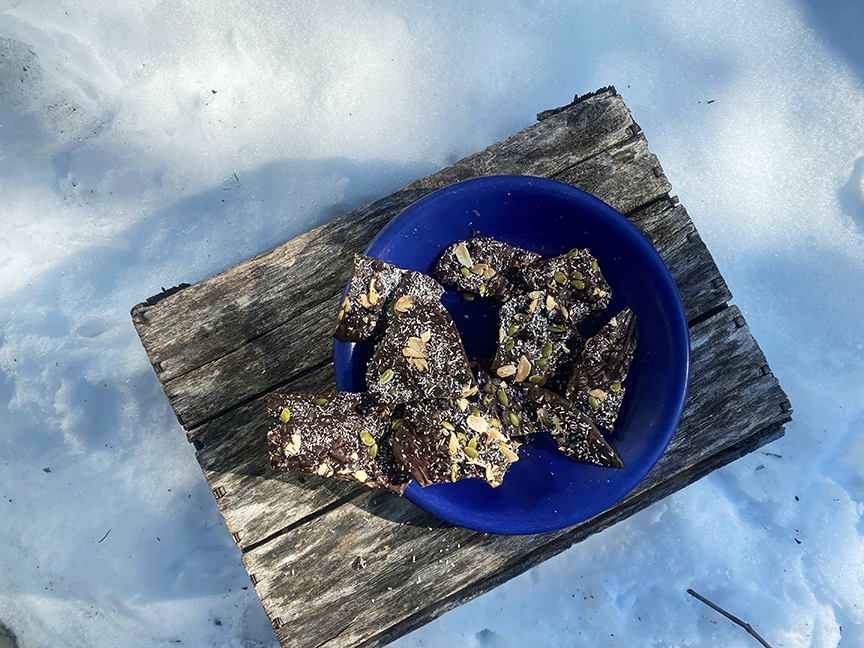
I like to make the book hike snacks something you could actually bring on a hike, which is how I arrived at the yummy chocolate bark. (You could also have hot dogs and s’mores over a campfire like they do in the book) It makes use of several of the foods that animals are gathering or storing in the story; beaver is eating aspen bark (aspen bark is technically edible, but not very accessible so I went with chocolate,) red squirrels and voles cache nuts and seeds (summer feasts,) bear is full of blueberries, and coconut is my stand in for snow! I considered adding spruce tips to ramp up the snowy woods vibe, but they are something you would have needed to collect and dry in the spring so I left them out. But if you have access to them they make this treat extra woodsy and delicious.
Ingredients:
- 16 oz of dark chocolate (or milk chocolate if you prefer)
- 1 tsp of coconut oil
- salted roasted almonds
- roasted pepita seeds
- unsweetened flaked coconut
- dried wild blueberries
Method:
Chop up the chocolate with a serrated knife. Place the chocolate chunks in a glass (microwaveable) bowl and add a teaspoon or so of coconut oil. This just prevents the chocolate from crystalizing and stops you from having to temper it. Butter and peanut butter will do the same thing.
Place in the microwave and cook in 30 second increments until most, but not all of the chocolate is melted. Stir until the last bits have melted completed.
Turn the chocolate out on a parchment covered baking sheet. Spread into an evenish layer with a spatula covering most of the sheet. You are aiming for around a 1/4 inch or so in thickness, but some variation makes it look more natural.
Take a fork and drag it across the surface to make a “bark-like” pattern.
Sprinkle the nuts, seeds, berries and coconut over top to taste. Press them in a little to ensure they are making contact with the chocolate. If desired, use the fork to rough up the bark texture again.
Allow to set at room temperature until hardened.
Peel the chocolate off the parchment and break into jagged bark like chunks.
NOTE: You can vary the toppings to suit your taste and/or allergies.