Next up in middle grade book buds, is Greenglass House. I have been reading a ton of middle grade books lately, but would love to hear your suggestions for more book buds! Middle grade books are substantially longer, so I have broken the middle grade book buds into a lesson, a craft or two, and a snack. All are driven by the themes and ideas in the respective book. These could be the jumping off point for a more in depth academic book study, or just a fun project to further immerse yourself in the worlds of your favorite books!
Greenglass House
Written by: Kate Milford
Greenglass House is sort of an unusual choice for me, it’s not particularly nature focused and it falls pretty solidly into the mystery genre, but there is something deeply cozy about it that really spoke to me (as well as it’s sequel The Ghosts of Greenglass House). Both of my kids loved it as well. It centers on an inn run by the protagonist’s parents in the imaginary world of Nagspeake. The inn itself is old and mysterious and covered in elaborate stained glass windows. Milo, our hero, is adopted and struggling a bit with his heritage and unknown pieces of his history. The book takes place over winter vacation, and the holiday setting really adds to the cozy feel. Th inn is frequented by smugglers and suspicious types, and Milo and his friend Meddy spend most of the book trying to unravel a mystery involving a map and the guests. To do so they take on dungeons and dragons-like personas, which is initially why i suggested it to me D&D obsessed kiddo. (Who has in fact since repeatedly asked that we play a real life D&D game like they do in the book…lol) I also liked the way Milo uses his role playing persona to help him deal with his anxiety, it’s subtle and always a good thing for kids to think about. There are a few scary moments and a little bit of the supernatural to be aware of for sensitive kids. I talked with my somewhat sensitive kids about it before we read the scary parts and they were both comfortable with them. We really enjoyed and recommend Greenglass House— it also make s a great holiday read! (Perfect for a middle grade jolabokaflod package!)
*Ghosts of Greenglass House is a little heavier on the supernatural, but still not too scary for my kids.
Winter Break!
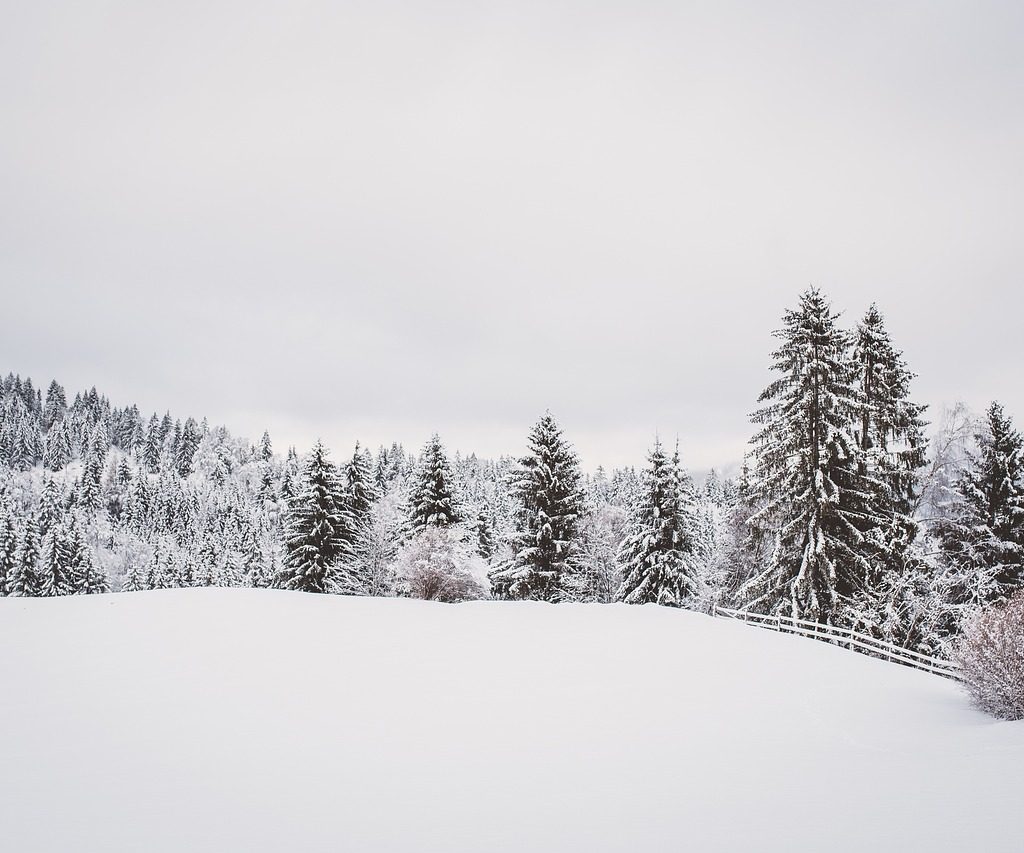
“This evening, the first of winter vacation, was cold and brittle, the snow has just begun to fall. […] He liked to get his homework out of the way right off the bat so he could enjoy the holidays without thinking about school.” pgs 2-3
So this is where I would usually include a lesson idea, but since this book is set over winter break, I decided it would be our winter vacation too! That said, there is a very clear path to use this book to introduce a until on folktale and/or oral storytelling that could be really fun. From a classroom perspective, Kate Milford has actually written the Raconteur’s Commonplace Book, the collection of folktales that this story and it’s sequel both reference, and it would be a fun project to write a class collection of folktales that all exist in the same universe and follow the same rules. The ties to personal heritage, oral histories, and social studies would also make for a really solid multidisciplinary unit. Making a pinhole camera like Georgie does would be another fun tie-in and it’s easier than you think. (I may come back to this and write out directions later because my kids want to make one.) Both books, but particularly the second also lend themselves to a fun mapping project and in fact the author has a series of letterboxing clues on her website. If you aren’t familiar with letterboxing, it’s a bit like geocaching, only instead of just going to coordinates, you have to figure out clues and has more of a scavenger hunt type flair. I am a big fan, not just because I love scavenger hunts, but because letterboxing is a great way to create engagement in the classroom.
Or just enjoy winter vacation and hibernate!!!
Crafts
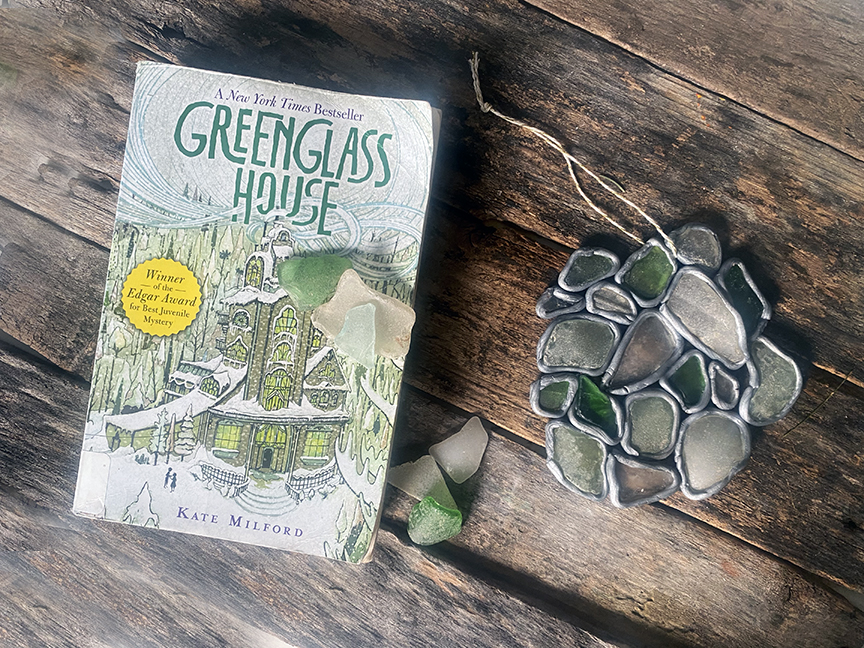
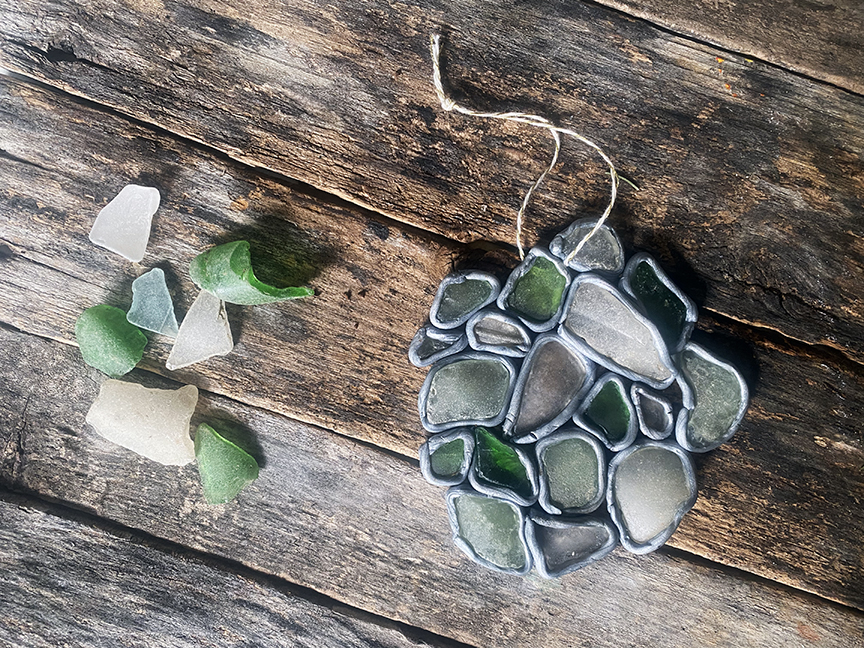
Stained Seaglass Suncatcher
“Milo turned and saw only the stained-glass window and the snowy night beyond, tinged in shades of pale, pale greens: celery and celadon and tones like old bottle glass.” pg 10
As soon as I started reading this book I knew I wanted to put together a craft with stained glass, but since it’s not a super accessible craft I wanted to figure out a way to make it more user friendly. I could have used that stained glass paint, but that seemed kind of boring. I also knew I wanted to use sea glass, it feels very coastal-town-appropriate, and I imagine the Greenglass House windows as that same sort of frosty glass. Most of my sea glass collection also happens to actually be river glass which seems like a fitting tribute to the Skidwrack River. Finally I arrived on polymer clay– I had used it for another project recently in which I baked it onto glass and was impressed with how easily it bonded. To make this sun catcher sturdier, I used bake and bond adhesive and it is essential for this one. The end result is a pretty convincing stained glass effect that I was really excited about! I would not go making a window or anything big this way, but it’s great for small projects and I’m honestly a little shocked I’ve never seen it before. The clay method is actually better suited to seaglass which it hard to use in traditional stained glass because it doesn’t lay flat. The clay allows for more play which makes it much easier to work with.
Materials:
- silver polymer clay
- bake and bond adhesive
- seaglass
- twine
- foil
- baking sheet
Notes:
If you happen to have polymer clay lin another color laying around you could use it and paint it silver afterwards.
If you don’t have seaglass you can purchase it at craft stores and you don’t need all that much for this project.
Method:
Lay out your seaglass on a flat surface and move the pieces around until you have an arrangement you like. You’ll want it to be vaguely circular, and more importantly, for the pieces to fit together reasonably well. This isn’t a jigsaw puzzle, but you need each piece to make solid contact with at least one other, preferably two others. Take your time on this– it will save you trouble later.
Once you are happy with your layout, begin kneading a small piece of polymer clay in your hands until it warms up and becomes flexible. Roll it into a long skinny snake. Pick up a piece of seaglass and wrap the clay around the outside. It won’t stick very well yet, you are just essentially dry fitting it, getting it generally the right shape and size. Nip off the excess.
Next, run a thin bead of the adhesive around the outside edge of the glass. Press the clay you just fitted back into place. It will stick this time and you will be able to mold it to the outside of the glass. Smooth the joint closed and set in down on a foil cover baking tray.
Repeat with the pieces of glass next to the first one and when you set them down on teh baking tray, press them together.
Continue wrapping each piece of glass, moving from one side of the suncatcher to the other. Once each piece is wrapped, press the whole thing together towards the center making sure that all the pieces are making good contact. You can also smooth out anything that may have gotten nicked or rippled.
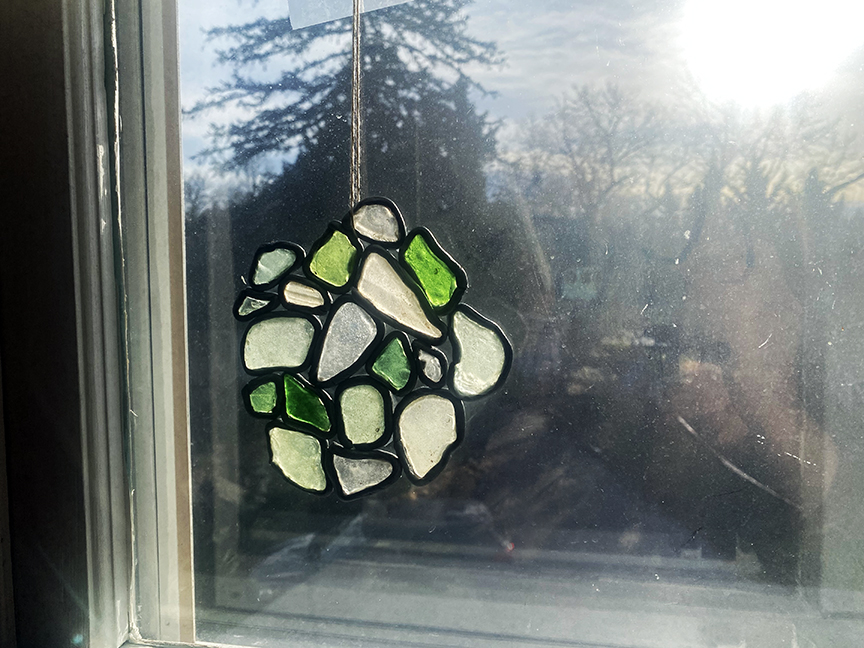
Bake according to the directions on the polymer clay you are using. (Usually 275° f for around 30 minutes or 15 minutes per 1/4 inch) Remove carefully from the oven– the glass will be quite hot!! Allow to cool completely.
Thread a piece of twine through one of the gaps, tie off, and hang in a sunny window!
Snacks
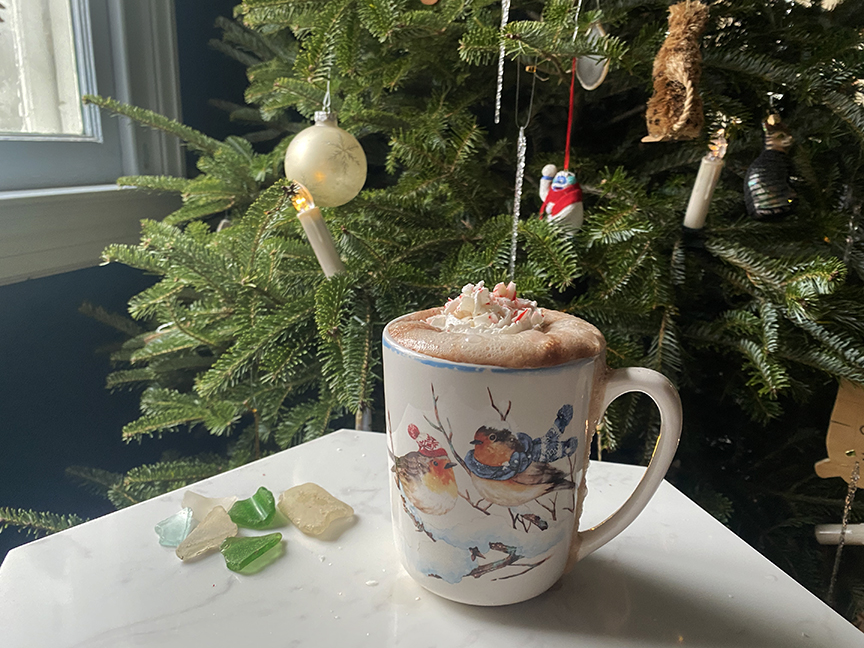
Hot Chocolate
“The hot chocolate had a sharp peppermint bite to it, and there was whopped cream on top– the homeamde kind that had to be dolloped on with a spoon and took longer to melt.” pg 304
“The whipped cream was dusted with candy cane bits which was probably his mother’s touch.” pg 3 Ghosts of Greenglass House
There is something so cozy about this book, I found myself constantly wanting a cup of hot chocolate when we read it. Probably because Milo and his family talk about hot chocolate and warm holiday beverages over and over! In honor of Milo’s favorite way to have his hot chocolate, I have made this version with whipped cream and crushed candy canes although it’s delicious with marshmallows too if you prefer! This is my favorite hot chocolate recipe, but feel free to substitute your own or use a mix. And as a member of the lactose intolerant club, I never use real whipped cream, but a great substitute is a dollop of the creamy top of a can of coconut milk right from the can. You can also now find coconut whipped “cream” in cans which 11 year old me would have loved.
Ingredients:
- 1/4 cup cocoa powder
- 1/4 cup brown sugar
- pinch salt
- 1/3 cup hot water
- 2 cups milk (or plant milk, the ones that say “barista style” generally do better with heat)
- 3/4 tsp vanilla extract
- 1 cup heavy whipping cream
- 2 TBS sugar
- crushed candy canes
Method:
This makes 2 servings and scales up easily.
Add the cocoa, sugar, salt and water to a small saucepan and cook, stirring over medium high heat for around two minutes. It will bubble furiously and thicken considerably.
Pour in the milk and stir. Allow it to warm up to proper hot cocoa temperature, but don’t let it come to a boil. (A fine line…) Stir in the vanilla off the heat and pour into mugs. Top with whipped cream and crushed candy canes.
To whip the cream: place the cream and sugar in a mixer and whip to medium peaks. (You can also whip by hand with a whisk if you prefer) You can scale the proportions up or down as needed– this makes far more than you need for two cups of hot chocolate, but whipping a single serving of cream also feels slightly impractical.
[…] are infinitely entertaining on their own.) You can find some of our favorite cocoa recipes here: regular hot chocolate, Yule hot cocoa, and crockpot hot chocolate for a […]