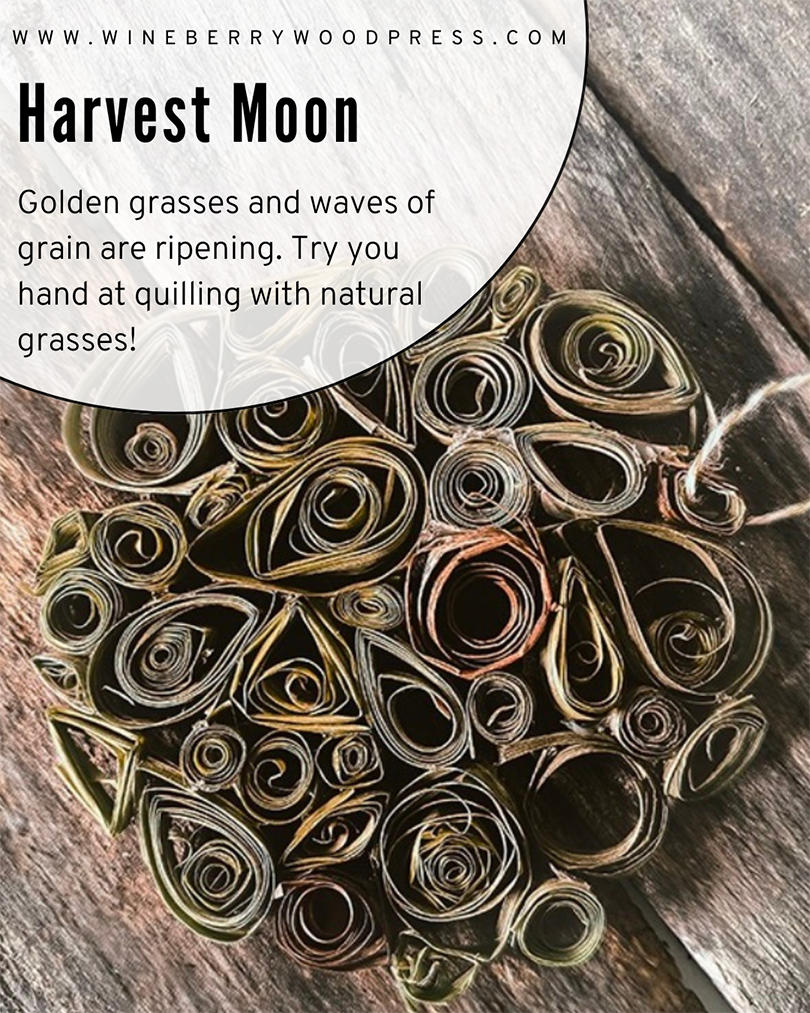
The Harvest Moon was so named in Europe because the light of the moon allowed farmers to work into the night to bring in the harvest. This full moon is always the one closer to the Autumnal Equinox, so although it most often occurs in September, it sneaks into October every now and again. The Diné call September’s moon the Big Harvest Moon. The Shoshone and the Passamaquoddy call September the Fall Moon, the Algonquin refer to the Middle Between Harvest and Eating Corn, and the Hopi people call this the Moon of the Full Harvest. In many places September is a time of Harvest and there are countless ways to celebrate the bounty of this time of year. I have been increasingly planting native ornamental grasses in my garden lately– they always seemed sort of boring to my before, but maybe part of getting older is developing an affection for ornamental grasses lol? They provide great food for wildlife and in the Fall turn lovely subtle shades of gold and brown. I knew I wanted to use them for a craft project, but didn’t know what. Suddenly inspiration struck and I decided to try quilling them!
Quilling is one of those crafts that I have messed around with a time or two, but never gotten very invested in because it always felt a little limiting to me. By bringing in a natural material it became more intriguing and less predictable. I also learned more about it’s history, it’s actually a fairly old craft that was born out of monks and calligraphers not wanting to waste the strips of gold paper they trimmed while making books.I always appreciate a reuse craft, so that appealed to me. It’s worth looking up a some historical examples- they are fascinating and generally quite sculptural.
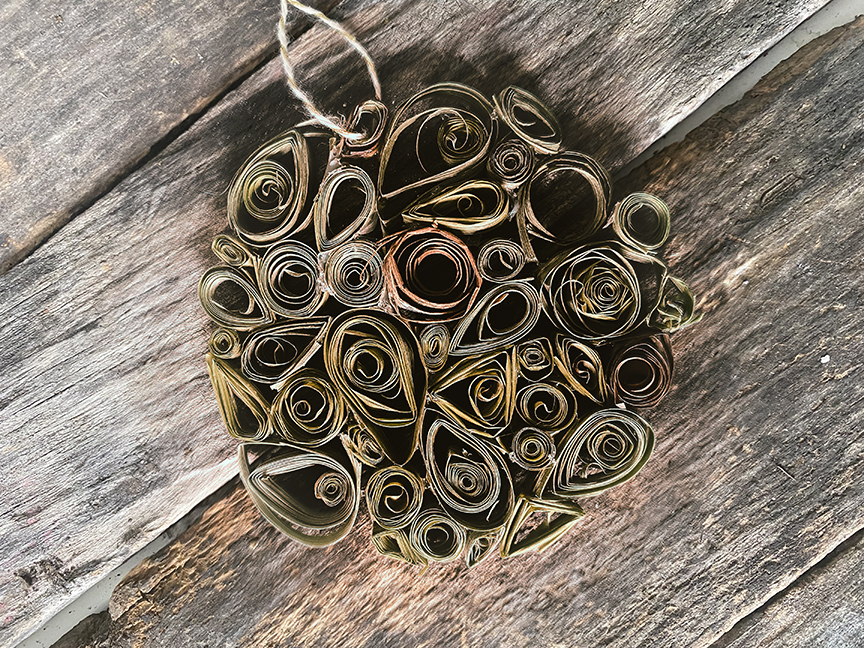
Quilled Grass Moon
You can use any ornamental or weedy grass for this project. I also tried some lemongrass which worked well. I tried to use pieces with a variety of color and they will continue to change as they dry out. You can start with fresh green grass or use already dry grass and just soak it for a minute or two so it’s pliable. I didn’t find any significant difference in performance so use what you have. Quilling with grass will not be as precise as paper, embrace the wonkiness. I love the character it adds. This project is fiddly and would too frustrating for younger friends. To modify for younger children (or adults) I would cut out circles of paper or acetate and glue glasses onto them in shapes or patterns.
Materials:
- Long grasses dried or fresh, (see note above)
- a sheet of acetate with a circle marked out in sharpie (trace a plate)
- a quilling tool (optional, but cheap and helpful. alternatively you could use a skewer or toothpick)
- quilling glue (optional, but useful beyond quilling for any precision application. I am kind of obsessed now.)
- tiny clothespins (optional, I probably wouldn’t have bought these if I didn’t already have them, but found them immensely useful for holding the glue while it dried.)
Method:
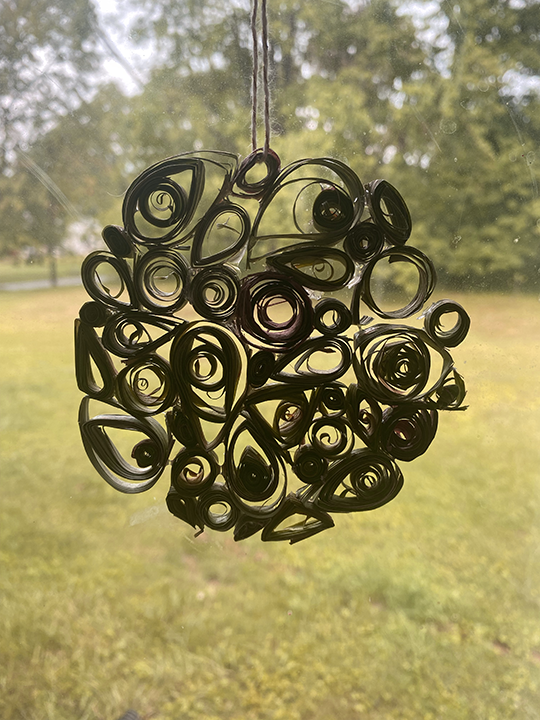
Set up your workspace. The sheet of acetate gives you a template and a space to glue all of your pieces on top of and any glue that drips onto it will be easy to peel off. This allows you to have a piece that light shines through when you are done, as opposed to glueing everything to a sheet of paper. If your grass is dried give it a quick soak so that it is pliable.
To make the quilled shapes: Slide one end of your grass into the slit on the quilling tool. Because grass has less consistent thickness than paper I found the top of the grass worked better. Twist the grass tightly around the tool and then slide off. (Keeping it pinched so it doesn’t unroll) Here is where grass is trickier than paper, it doesn’t really want to stay rolled up.
Next, let it start to unroll a bit until you like way it looks. You can keep it rolled pretty tightly or let it get super loose. I tried to do some of each because I like the look of both together. You can also pinch one end of of a partially unrolled piece to make a teardrop shape, both ends to make an eye shape or pinch three to make a triangle. There are tons of traditional quilling shapes you can try making as you experiment. Once you get a shape you like glue the end in place. I like to hold it with a tiny clothespin so I don’t have to keep holding it while it dries.
As you start to assemble a number of grass quills, start arranging them into a circle on your acetate template and gluing them to each other. As you get near the end you may need to make specific shapes to fit into the spaces you have left.
Once the whole thing is filled in squeeze a little more glue anyplace that looks like it might be weak and let everything dry. Once dry peel it off the acetate and add a piece of twine to hang it up.
[…] American Indian tribes use full moon names referencing the harvest this time of year. (Read more here) In China and much of Southeast Asia there is the Mid-Autumn Festival. (In Japan its called: […]