In spring we talk about spring showers, but that is a gentle kind of rain, whereas in summer it’s a wild downpour with huge fat drops of water and thunder and lightning, and it feels completely different. The science backs that up– generally it rains the most frequently in spring, but the most rain falls in summer. There really are more thunderstorms in summer in temperate parts of the world– summer brings humid warm air up from the south, which then bumps into cooler, drier air from the north. Whenever two air masses meet like this the air becomes unstable. The cooler, denser air wedges itself under the warmer humid air and lifts it up. (Called an updraft.) As all that moisture rises up in the atmosphere, it begins to cool down. This cooling makes the water vapor condense and form cumulonimbus clouds. The rising water vapor continues to condense and form liquid water droplets until those droplets get too heavy to be lifted any further by the air currents. They then fall as rain. Cumulonimbus clouds often rise high enough to encounter freezing temperatures. Because of this, most rain in thunderstorms actually starts out as snow, even on the warmest summer days. It melts and becomes rain as it falls down to the ground.
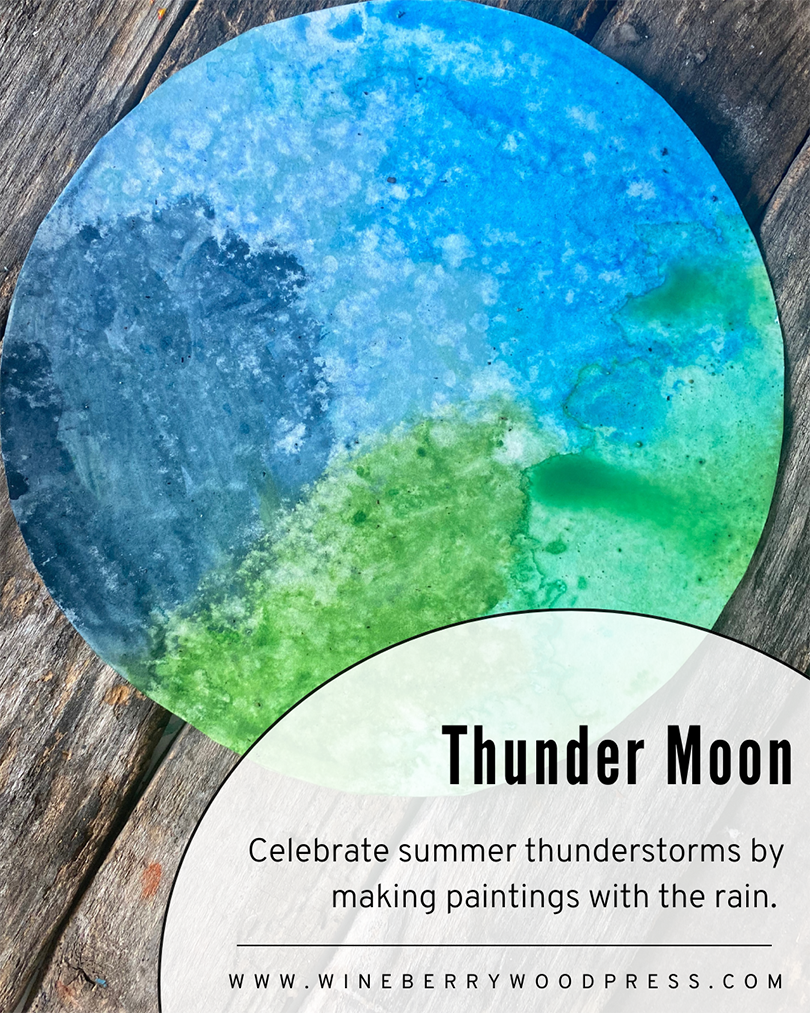
One of our favorite ways to celebrate the Thunder Moon is to make rain paintings!
Rain Paintings
This is a project that you can do with any age group from littles to adults. When working with younger kids, make sure you emphasize that the rain is doing the painting not them. If they spend a lot of time making a very particular drawing and then the rain makes it blurry that can lead to upset. When they understand that they are just preparing the canvas and the rain is doing the painting it becomes an exciting collaboration. Rain painting is a simple for of process art, or art in which the process of making it is as important or more important than the final product. It is both seen in early childhood classrooms and contemporary art galleries.
Materials:
- thicker paper (like watercolor paper)
- washable markers
- watercolor (optional)
- watercolor sticks (optional)
- bleeding tissue (optional)
- a good thunderstorm
Method:
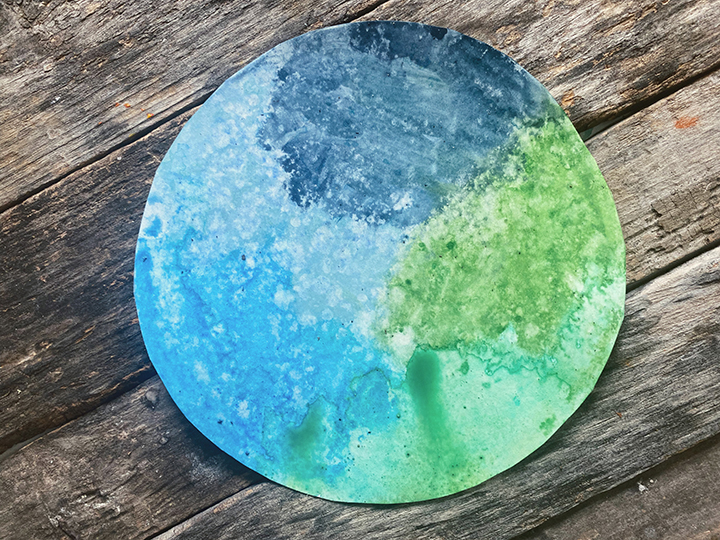
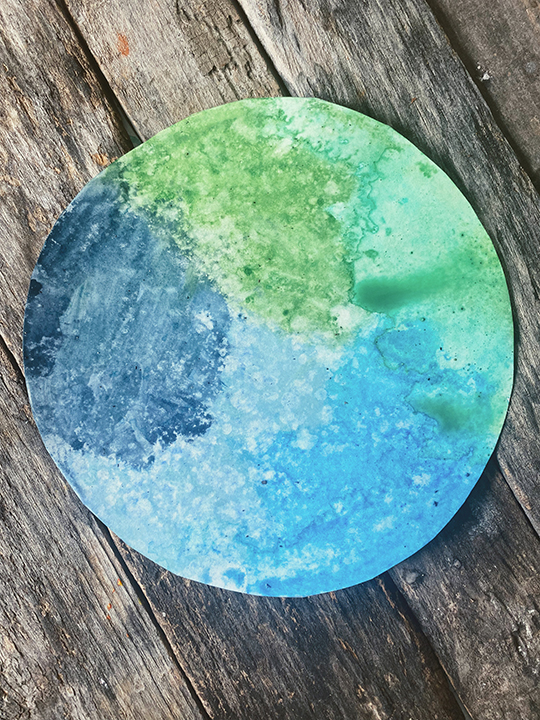
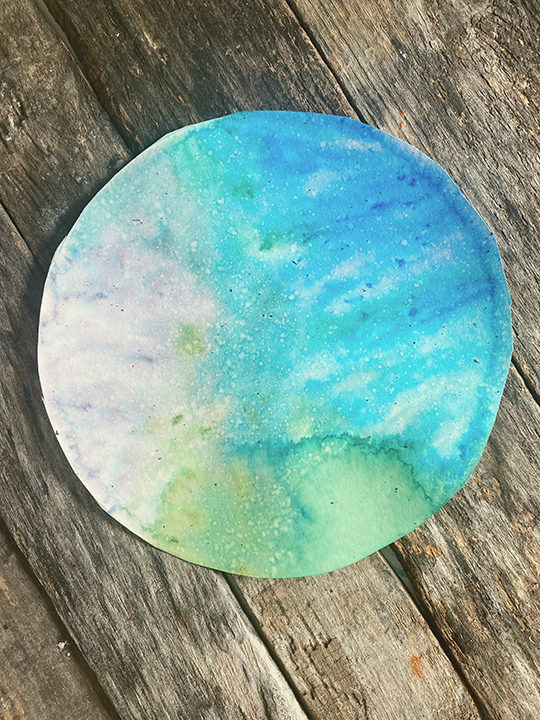
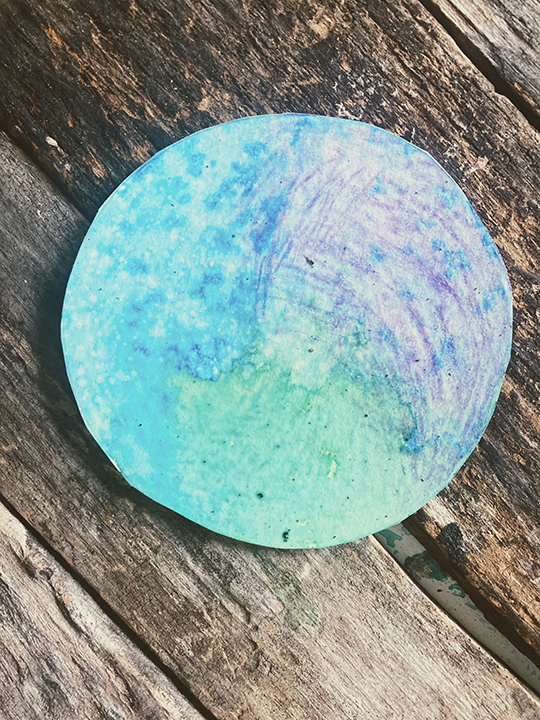
Rain painting is quite simple as the rain does most of the work! First cut your paper in a circle (trace a plate to make it easier.) You can also leave it rectangular but we liked the idea of making full moon shapes. Watercolor paper is ideal for the project, but I have used printer paper in a pinch. You just can’t leave it out very long because it starts to tear quickly.
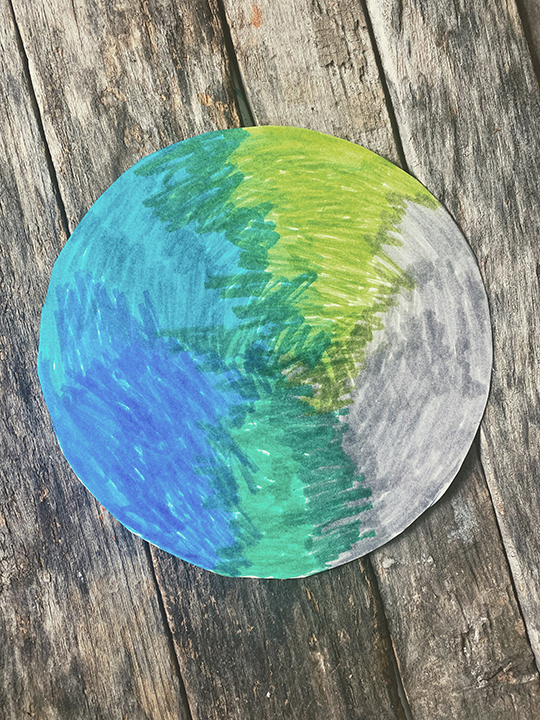
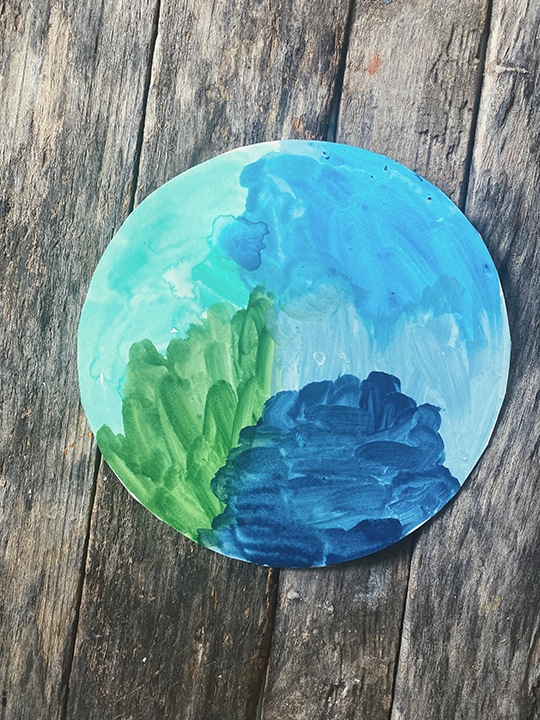
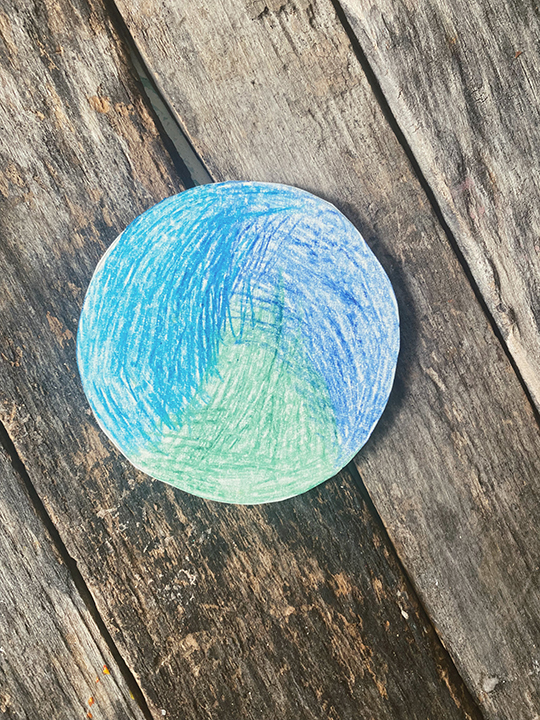
Draw all over your paper with washable marker. You are NOT drawing a picture, just laying down areas of color. It doesn’t have to be very neat. I find washable marker to be the easiest and best result, but you can also try watercolor paint for a different effect (just let it dry before putting it outside.) You can also use watercolor sticks which eliminates the drying step.
Now put your prepared paper outside in the rain, somewhere that you can keep an eye on it. The rain will start to make the colors bleed and create crater like marks on your paper as it hits the surface. How long you leave your paper outside depends entirely on your preference and the severity of the storm– a light rain can take quite awhile to bleed and mix the colors while a downpour may only need a few minutes. Once you like how your painting looks carefully bring it indoors and allow to dry.
A fourth option is use plain white paper and bleeding tissue. Arrange the tissue on the paper and place outside as before. The color in the tissue will bleed all over the paper as it gets wet.
[…] Another fun way to enjoy the rain is by making rain paintings. Get the instructions here. […]
[…] 62. Try rain painting. […]