I am always trying to think of new ways to make sun catchers this time of year- it’s the perfect easy craft to celebrate the sun. I also try and stay away from the contact paper method and excessive waste plastic (no shade though we’ve all been there.) This is one of my favorite sun catchers to date– it’s simple enough for littles and engaging enough, well for adults honestly. It makes use of waste plastic in the form of those terrible plastic grocery bags that just never seem to go away. (My county has banned them and yet they are still everywhere?) You first cut the bags into strips and make a type of yarn (plastic + yarn = plarn) and then weave them around sticks. It’s a very simple first weaving project and because of the nature of the material is transparent. The only tricky part of this project is coloring the bags, actually its not tricky so much as tedious. If you get lucky and find already yellow bags you could skip it entirely. Or have fun with a blue or white sun!
Coloring Plarn
After you color your bags, follow the instructions here to cut and make your bags into plarn.
Materials:
- white plastic grocery bags (I needed two bags for my sun catcher, you may need more or less depending on the ultimate size)
- rubbing alcohol and a cloth
- permanent markers (yellow, orange and red)
- scissors
Method:
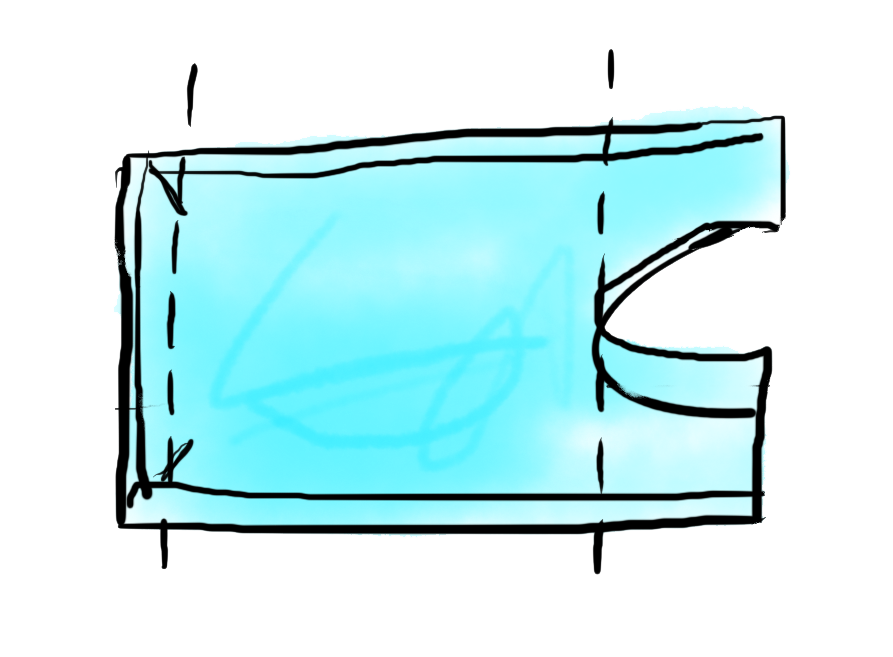
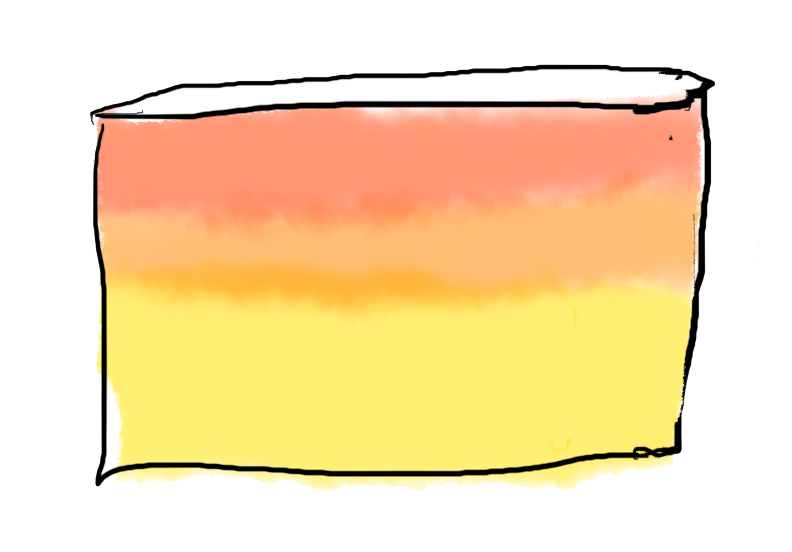
To start, fold your bags into thirds and cut off the top with the handles and the base where it’s fused together. Open it up so you have one big loop of plastic and flatten it in half. You can rub the printing off the bag with rubbing alcohol, elbow grease and a cloth. It definitely takes some work, but looks really nice blank.
Use the permanent marker to color big solid blocks of color on the bag. I do a strip of all three colors or you can do a bag in each color, depending on how much you want of each. Keep letting it dry and rotating it around until you have colored the whole thing. Dry.
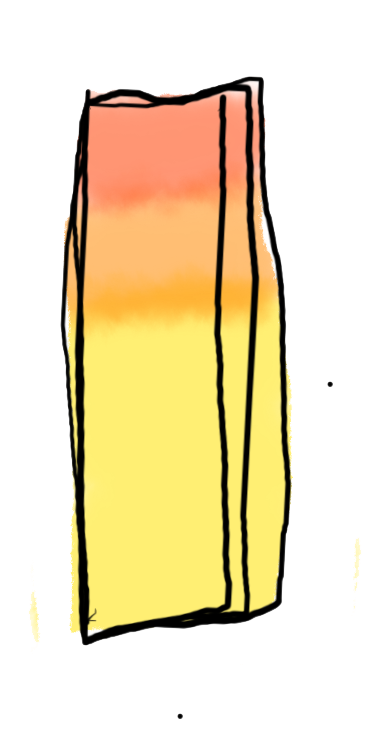
Now fold your bags back into thirds and continue with the plarn tutorial. You can make a separate plarn with each color or mix them all up so you get random colors as you are weaving.
Plarn Sun Catchers
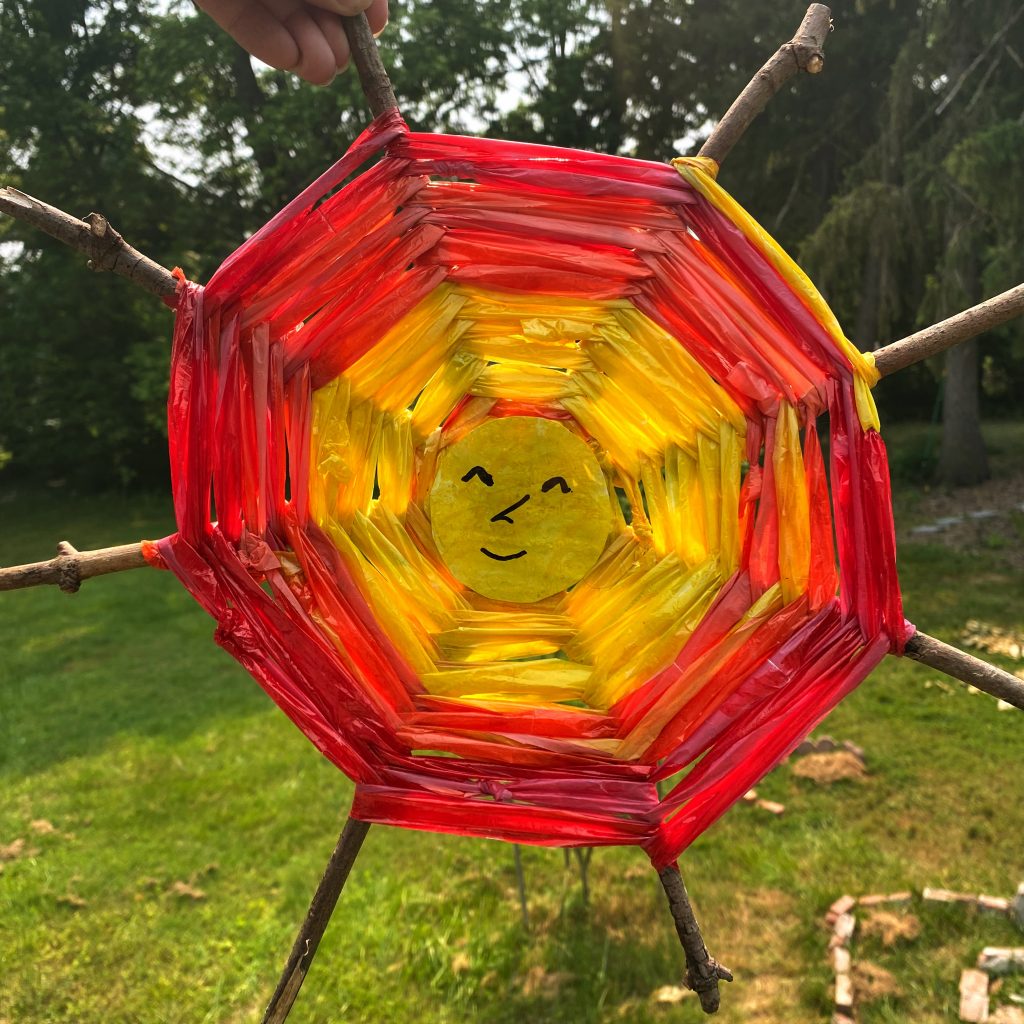
Use the brightly colored yellow, orange and red plarn from above or use whatever you can find! You can make this whatever size you like depending on the sticks you choose. We went pretty big!
Materials:
- plarn, colored as above (or not)
- 8 straightish sticks
- glue (optional)
- an additional plastic bag to fuse (optional)
Method:

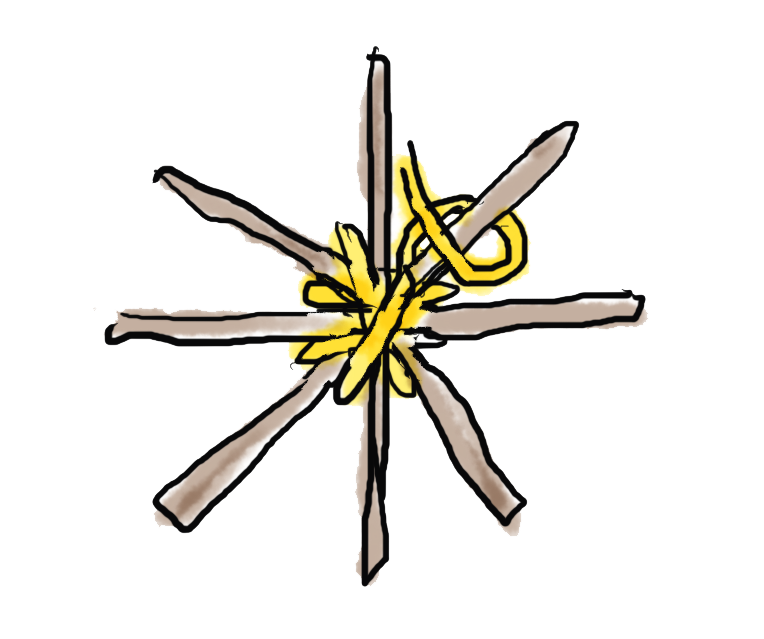
Arrange your sticks like the spokes of a wheel and glue them together in the center. Alternatively, you can use 4 sticks and lay them on top of each other, but they won’t lay flat the same way.
Loop your plarn over one of teh spoke and then wrap it around each of the middle sections. It doesn’t really matter which order you do it in, just make sure you wrap each space. Next, start the proper weaving, loop under and around one stick then come back under and around the next spoke.
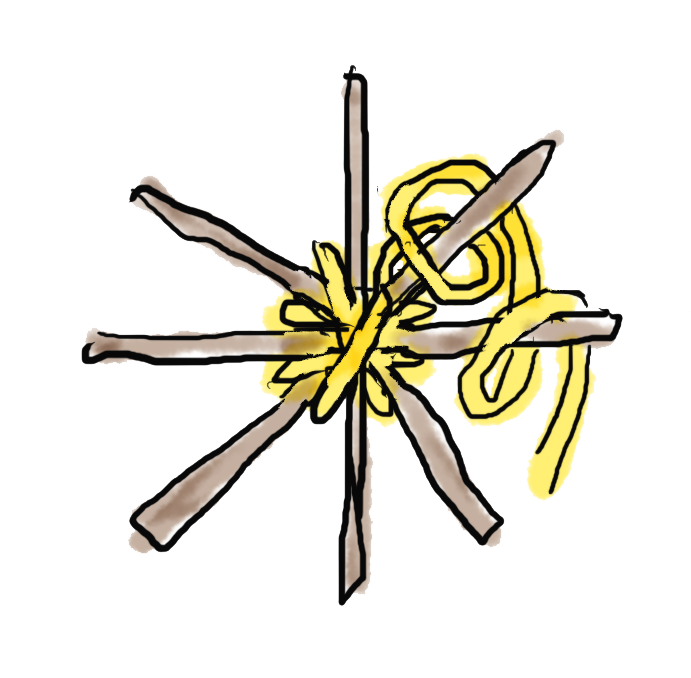
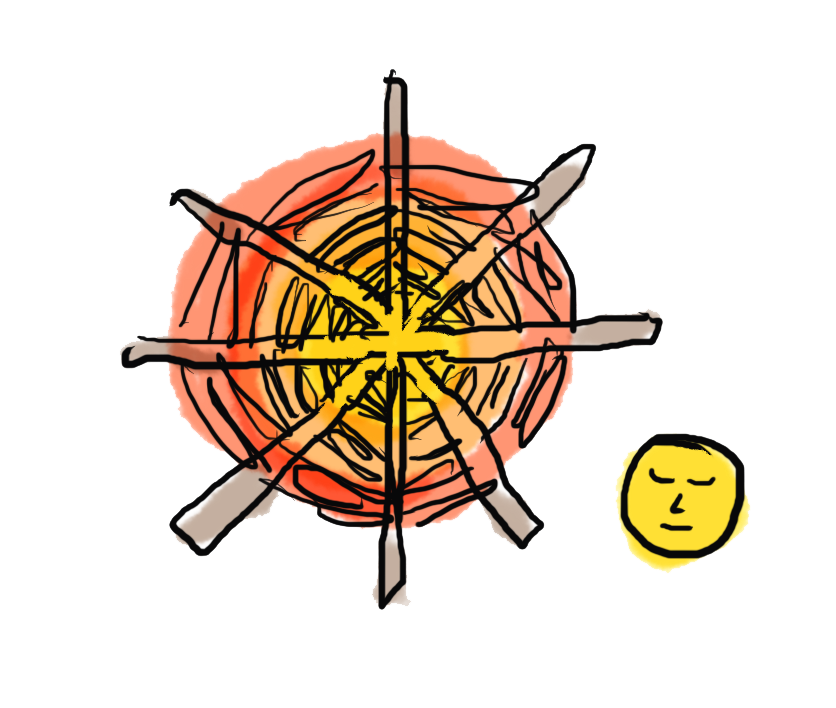
Keep weaving under and around all the way around the spokes until you reach your desired thickness. (Pulling it tight after each loop.) Once you have finished weaving just tie the tail to one of the sticks and poke the ends in. You can change colors as you weave by tying the next color onto your existing weaver.
I felt like my sun catcher needed a face, so as a optional embellishment, you can fuse some plastic bags to cut out a circle for the center. To make, fold a plastic bag over 4-8 times. (I just used one bag folded over several times) place it between two sheets of parchment and gently iron it. It will shrink and fuse together. (Make sure you have good ventilation) once it has become one solid piece let it cool and then cut out a circle. decorate with the permanent markers and glue in the center. Hang in a sunny window and enjoy!
[…] Plarn Sun Catcher […]