
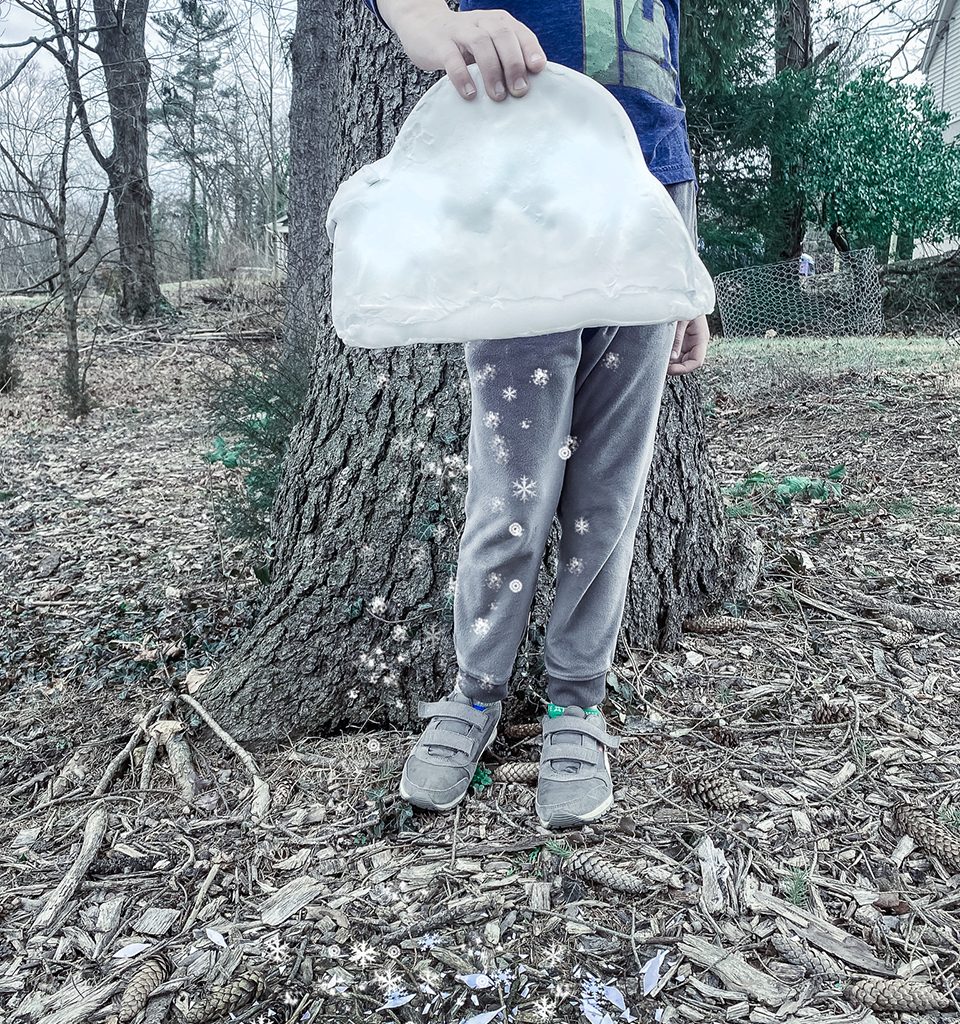
After making the Edible Meringue Clouds I was still thinking about Frau Holle shaking her feather quilt and making it snow. I love the image of the feathers turning to snow and wanted to do something more literal with it. I came across some writing about the goddess version of Holle that talked about her flying over fields at Midwinter to make them fertile. My rather practical scientific mind was immediately struck by the idea of seed starting in relation to this myth. Most native seeds require a period of cold to germinate, gardeners call this cold stratification. This is why I paradoxically love seed projects in the winter, there are many plants that actually grow better when planted in the cold and snow. So I came up with another snowing cloud, but this time it snows seed paper confetti in the shape of feathers and snowflakes to lay dormant all winter and burst to life in the spring!
Snowing Cloud Seed Shaker
This is a fairly simple project to make out of recycled cardboard. We used “cloud” paint because my children are obsessed with it, but cotton batting would be more environmentally friendly and mean the whole thing could be composted. The seed confetti is cut into feather and flake shapes in honor of Frau Holle. If you opt to make your own seed paper you may want to form it in little molds as it is hard to make thin sheets of paper without a lot of practice.
Materials:
- cardboard
- hot Glue
- white seed paper (buy ready made or make your own- look for seeds that like cold stratification)
- scissors
- white craft paint
- white glue
- shaving foam
- foam brush
- velcro (optional)
Method:
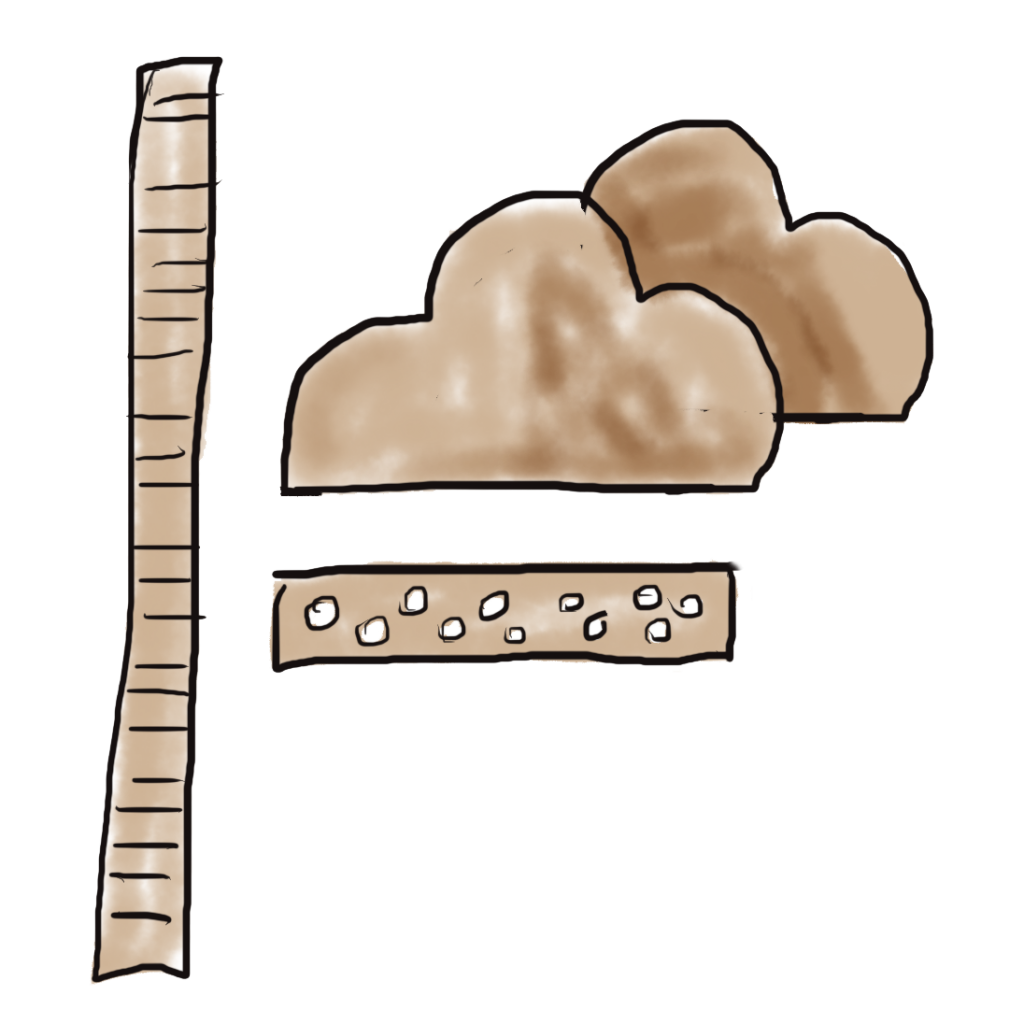
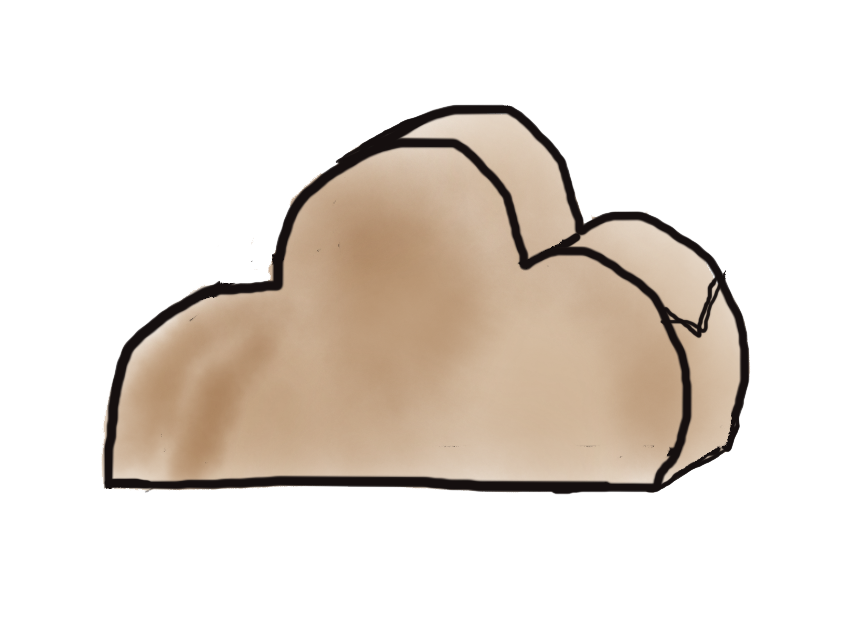
Cut two identical cloud shaped pieces from cardboard. make sure they have a flat base like the picture. Cut a strip of cardboard that is 2.5″ thick and the same length as your cloud base. Punch holes in it (for the seed confetti snow) with a craft punch or carefully with scissors. Cut two long 2.5″ thick strips of cardboard and carefully score one side of it. (this makes it easier to bend around the curve of the cloud.)
Glue the base onto both side of the cloud. Bend the long strip around the cloud and make sure you like the fit and then glue it into place. The seams don’t have to be perfect as they will be covered. If you want to leave a flap for putting the confetti in see the next step. (Otherwise you’ll have to stuff it into the bottom holes. )
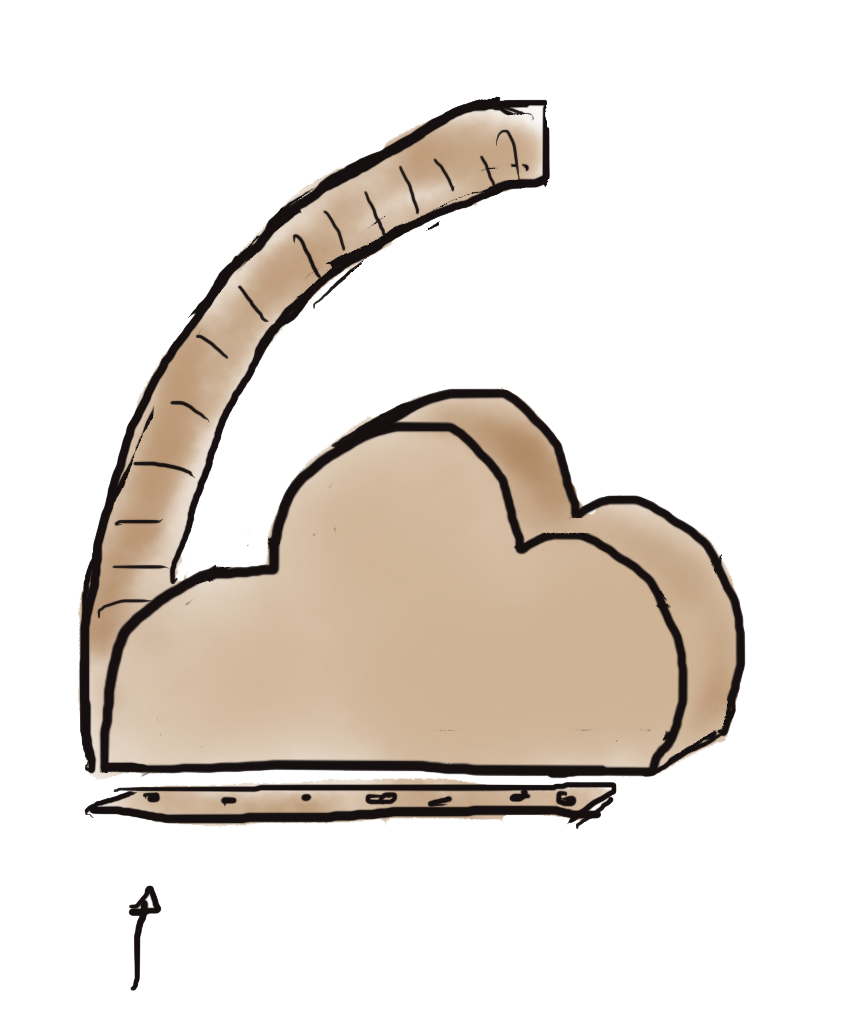
If you want to leave a flap for easier filling, overlap one of your cardboard strips on the side of the cloud. (where the “V” is in the drawing) Place velcro on both sides of the joint.
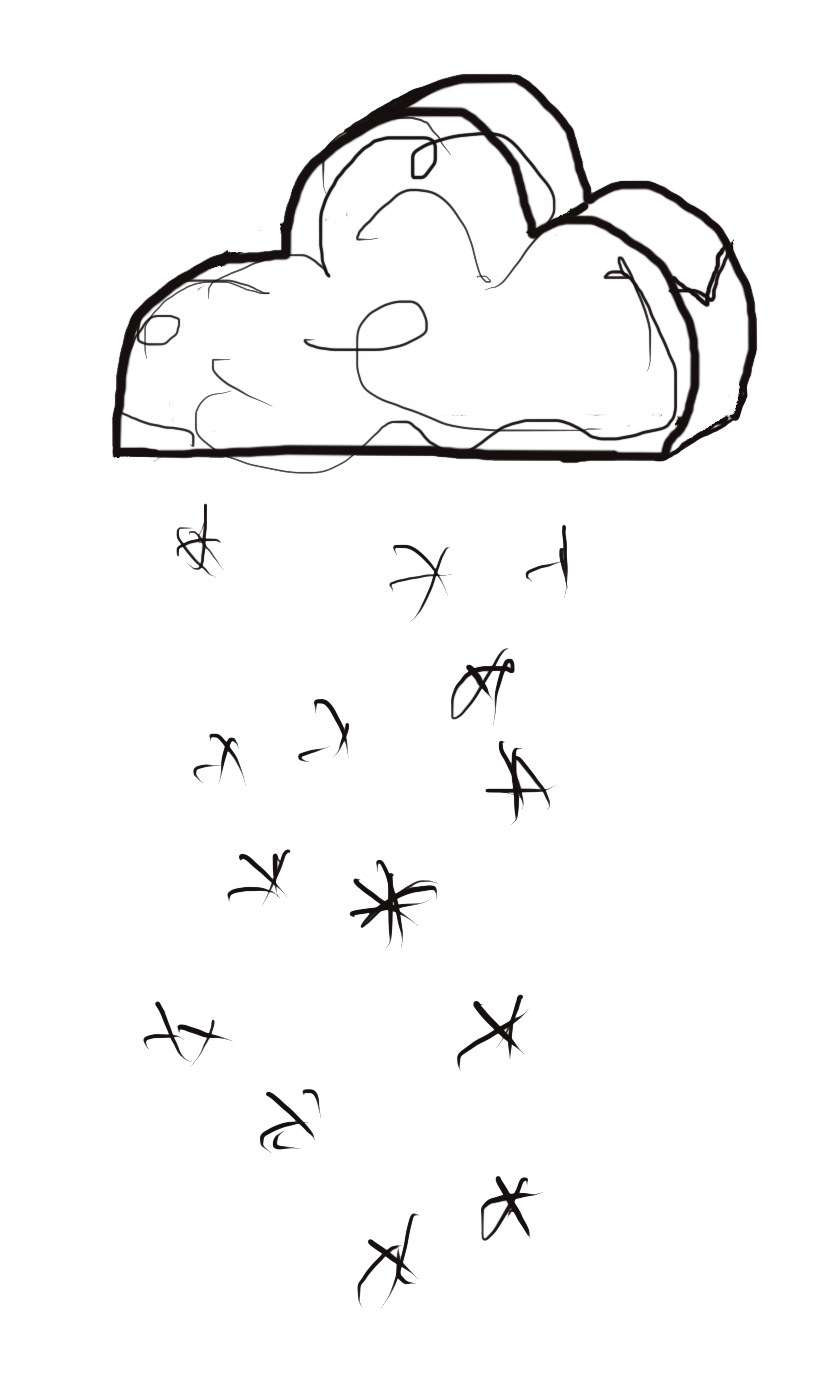
After the cloud is assembled, paint the whole cloud white. Then mix your cloud paint. Mix 1 part white glue with 3 parts shaving foam and smush around with a foam brush. Paint it onto all side of the cloud except the bottom (with the holes) quite thickly and allow to dry. You can give it as much swoopy cloud texture as you’d like, but it will smooth out somewhat as it dries. (Alternatively, cover in a sheet of cotton batting)


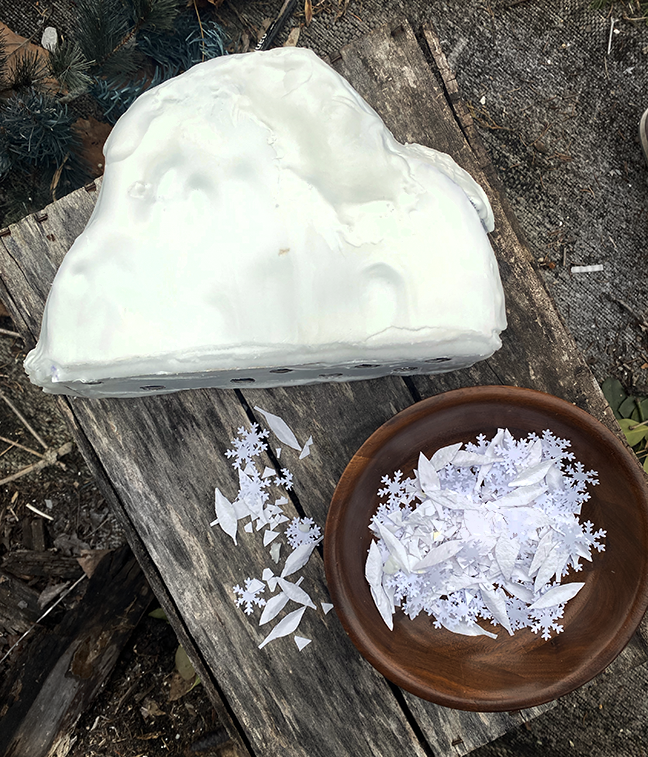
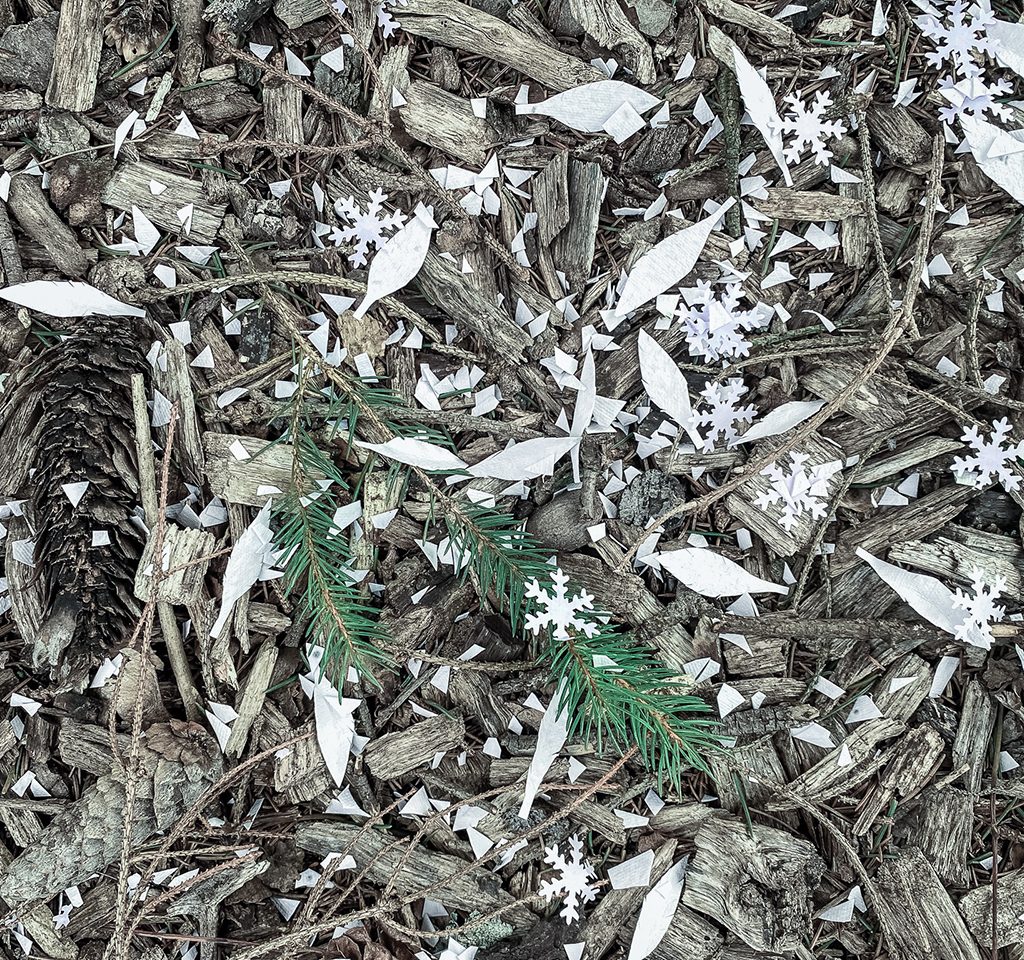
Cut your seed paper into feather and snowflake shapes. I freehanded the feathers as they are a pretty simple shape and used a craft punch for the snowflakes. You can also just cut the seed paper into random confetti shapes. If your craft punch won’t cut through the seed paper, just make confetti and then cut some snowflakes out of regular paper for effect.
Fill your cloud shaker and shake your feather and snowflakes seed confetti all over a garden bed. Don’t forget to check back in the spring!
[…] Get the full instructions here. […]