Picture Book Buds are a fun and easy way to incorporate literacy into nature study. Read a book (you can even read it outside!) and then enjoy the related activity and snack suggestions!
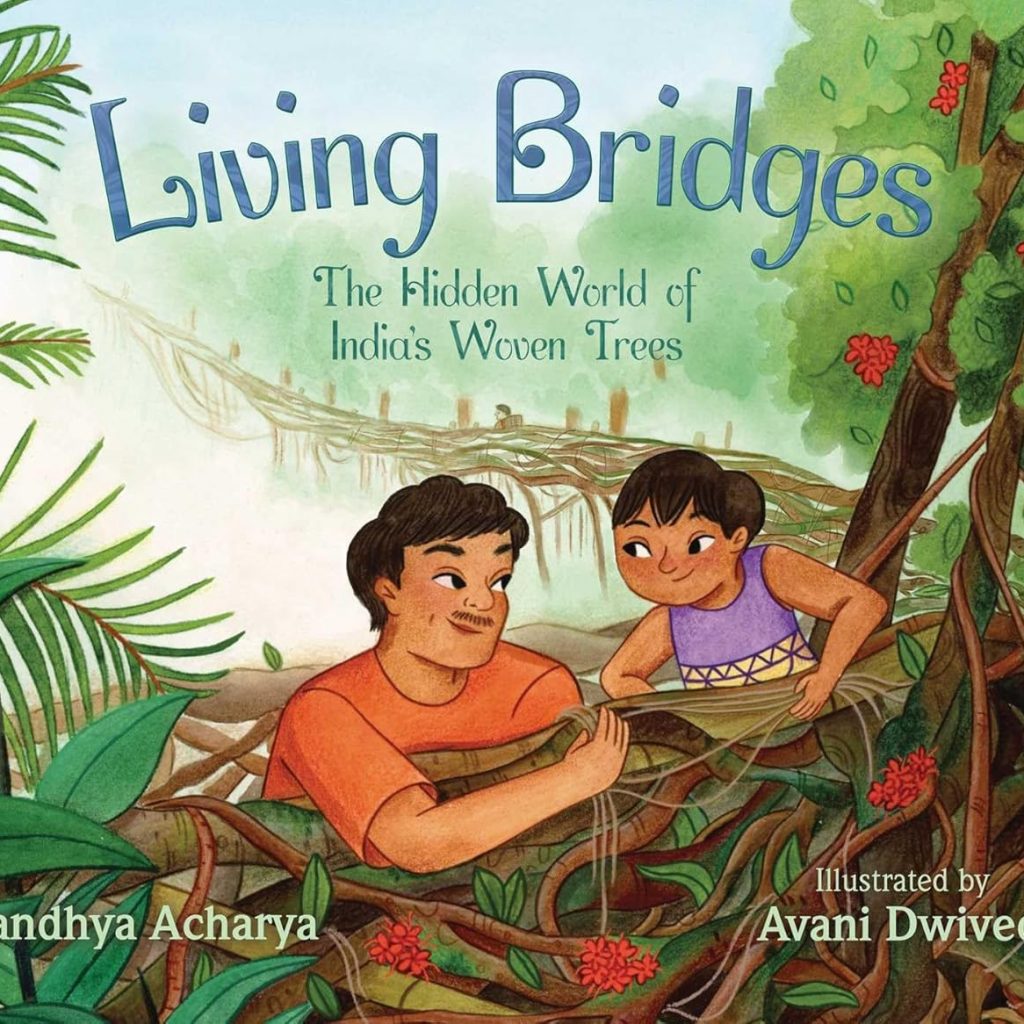
Living Bridges: The Hidden World of India’s Woven Trees
Written by: Sandhya Acharya Illustrated by: Avani Dwivedi
I was excited about Living Bridges: The Hidden World of India’s Woven Trees the minute I heard it was coming out– what a fun topic for a picture book! I didn’t learn about the living bridges of India until well into adulthood, but I was immediately transfixed and I can only imagine how amazing knowledge of these bridges must feel for kids. The story walks through the process of making and tending the bridges, or jingkeieng jri, in broad strokes and tells the story of conserving them through the eyes of a child. It also tells us about deep connections to the community, the love that has gone into the brudges, and their impact over generations of people. I love the focus on how the bridge is alive and supporting wildlife alongside the people who depend on it. The child is inspired to protect and preserve these amazing structures and puts together trash clean-ups with the local community, a universal environmental message that kids anywhere can connect with.
jingkeieng jri: the term for “living root bridges” in Khasi (the language of one of the indigenous communities in Meghalya India where the story is set.)
Thank you to Simon Kids for providing this book for review consideration. All opinions are my own.
Craft:
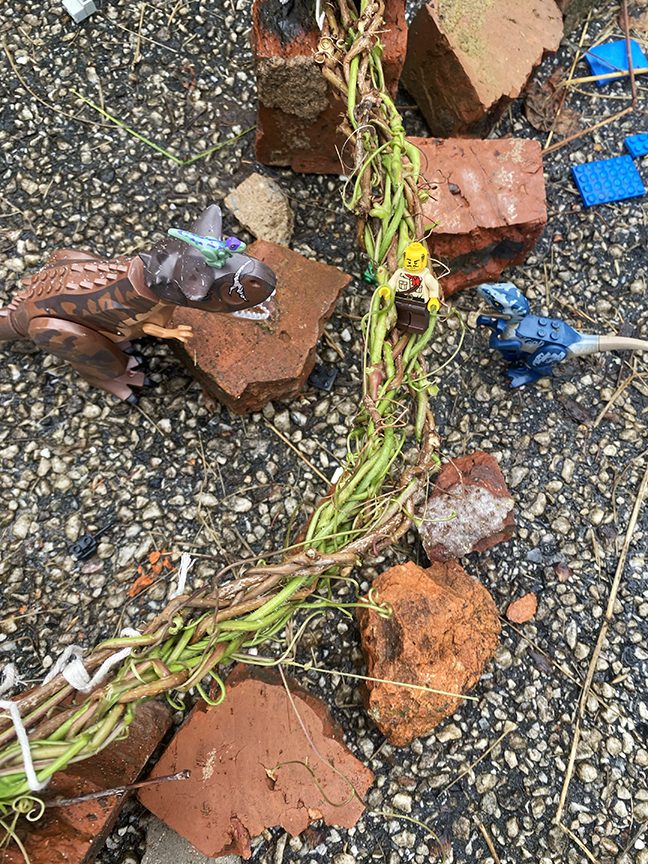
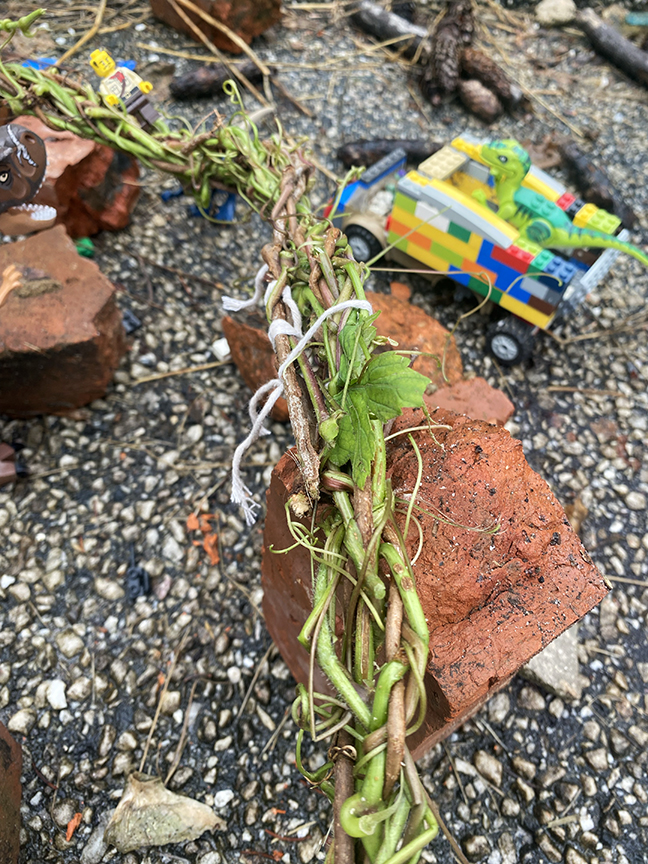
Vine Bridges for Toys
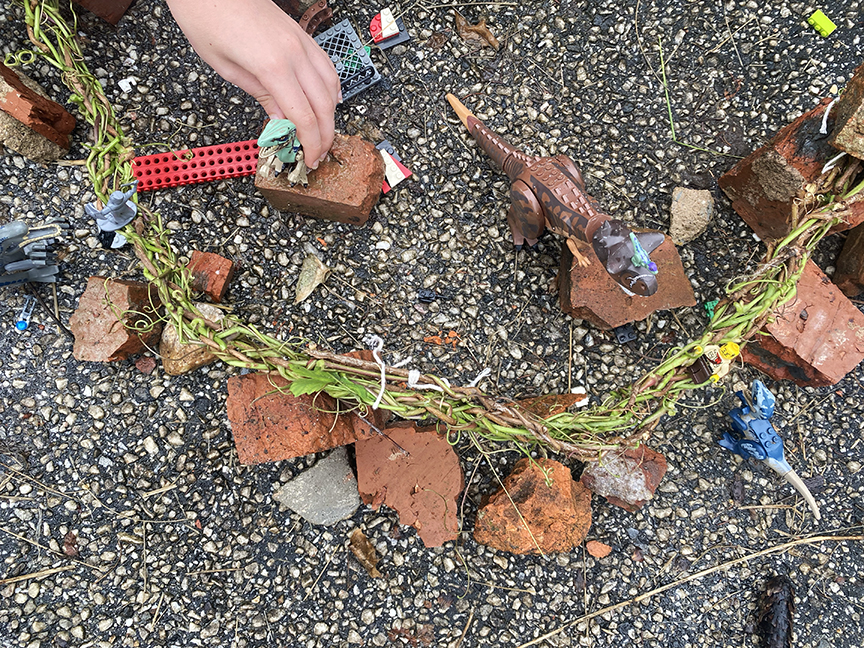
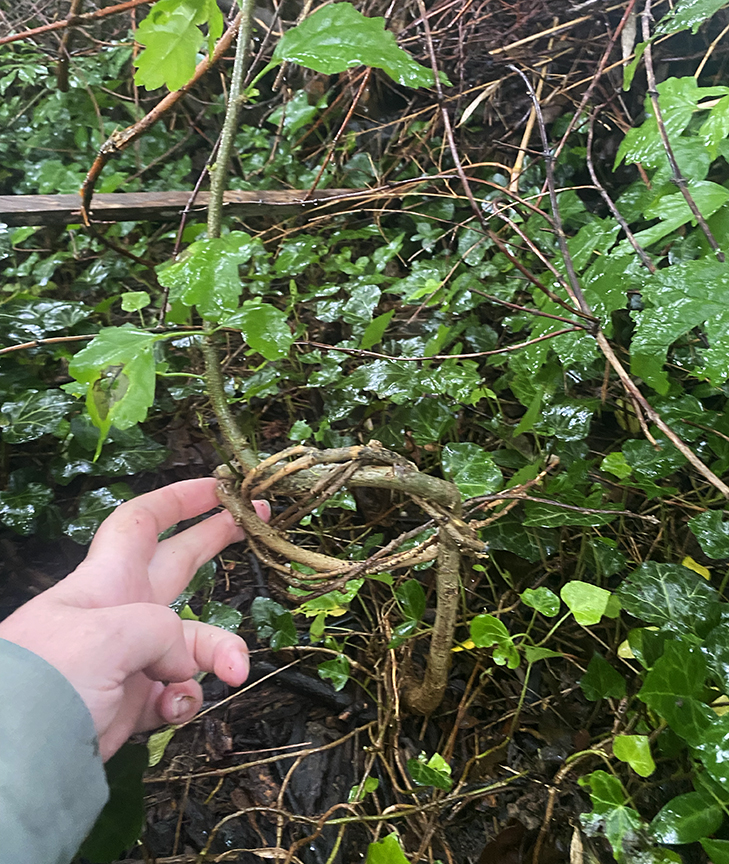
When I am designing projects for kids that deal with monumental structures and artworks like the living bridges, I like to scale them down to toy size to make them more approachable. Connect this activity to something your kids already enjoy, whether that’s fairy houses, legos or some other toy. My kids build entire lego villages outside, but if your’s don’t thins is a great way to gently nudge towards more outdoor play. Making the bridges is pretty simple and straightforward. Younger friends will need help tying them off and support braiding if they’ve never done it before. They can be made as long or short as desired. If you have a mixed age group or older kids, you can level up to a more complicated multi strand braid or use living branches. (More on that below!) I always use invasive vines for this (and many related projects) in fact I find it to be an incredible incentive for kids at weed warrior type clean up days. In fact, the last clean-up I went to I literally (and spontaneously) had a line of kids patiently waiting for me to show them how to twist the vines into a simple wreath (which is a great alternative project if bridges don’t resonate for your group) I would never have guessed that wreaths would be so exciting for kids– I had to institute a one wreath per kid rule because it was getting out of hand– and they found every last scrap of porcelain berry that had been choking the trees in pursuit of more wreaths. My favorite vine to use is the aforementioned porcelain berry, both because it weaves well (you can also make baskets with it,) and because it is very plentiful and very invasive where I live. Ivy and Japanese honeysuckle will also work well, or any non native invasive vine that is prevalent in your area. (Just watch out for poison ivy/oak!)
Materials:
- vines (porcelain berry, ivy, honeysuckle etc.)
- string
- clippers
Method:
First, collect vines. You can usually find a variety of invasive vines growing up and over trees in semi- wild areas.
Strip the leaves off your vines and sort them into groups of three or four vines of similar length.
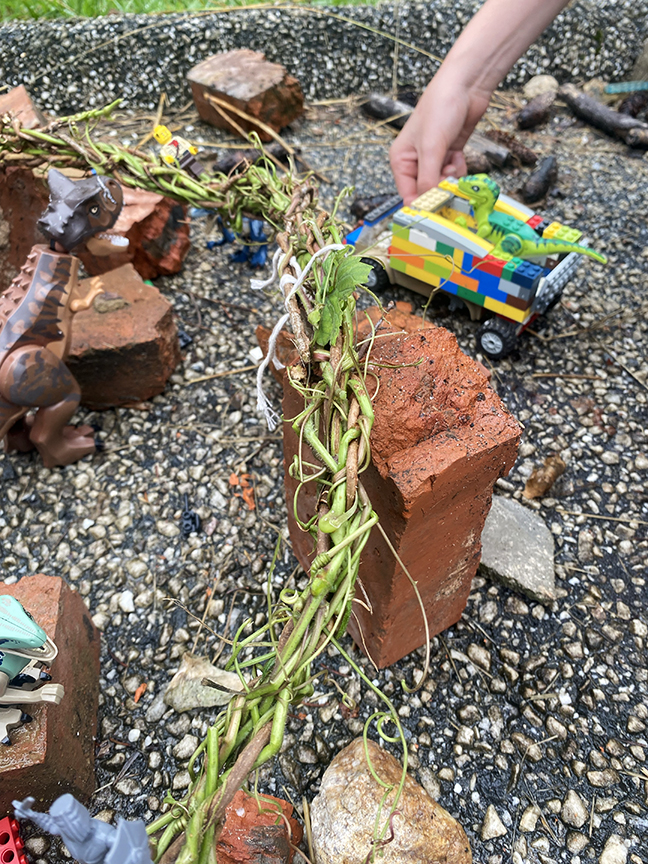
Tie the ends of the vines together with string and braid them together. When you reach the end, tie them off with another piece of string. A 4-strand braid will be slightly wider than a 3-strand braid.
If desired, braid three braided pieces together again to make an even thicker bridge. (This is easier than learning a more complicated multi-strand braid, but that would work as well if older kids are participating.)
Prop your bridges onto bricks, sticks or whatever is a part if the playscape and let toys scamper across it!
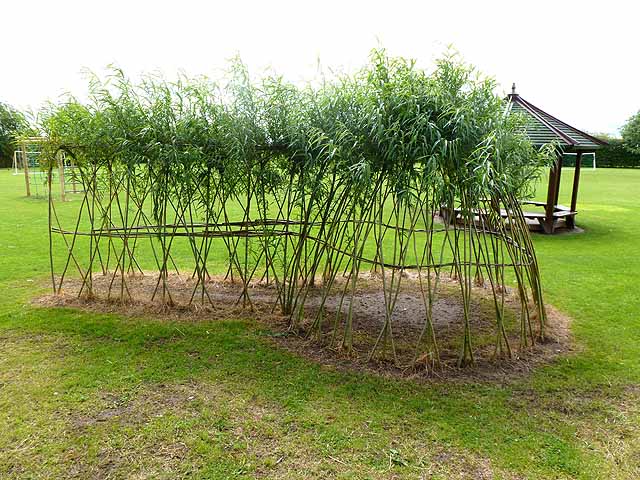
Weaving Living Branches
This is a thing I started doing with the invasive Rose of Sharon that sprouts all over my yard without thinking about how it connected to the living bridges. Their roots are too strong for me to pull out and there are hundreds of them… so I started braiding them into sculptures. I didn’t know if it would kill them or if they would keep growing in their new form, but figured it was a win/win either way. They mostly did keep growing and now look pretty interesting. This is definitely an older kid project, not so much because it’s all that hard, but because its pretty long term. It will take at least a year to start to fuse together. I’m sure that there are other plants will work, but Rose of Sharon is the only one I have experimented with personally. (And please don’t plant it for this project, because it is horribly invasive, experiment with other plants instead.) Another plant that is traditionally shaped into structures and shapes like the ficus in the story is willow. (However, willow grows in temperate areas, while ficus does not) So, if you really want to take on a big project, try your hand at making a living willow fort!
Snack:
Blue Worm Wigglers
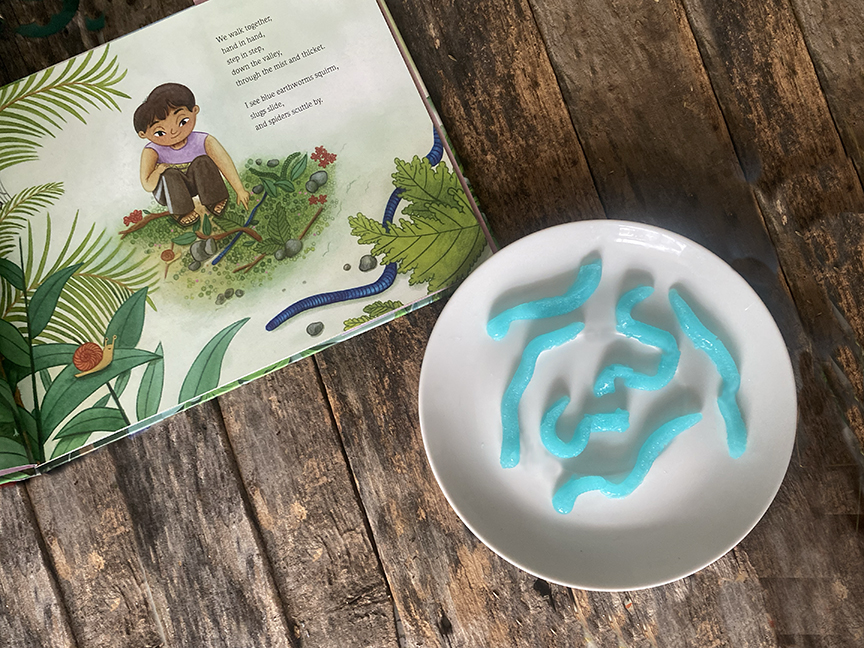
I was immediately struck by the blue worms in Dwivedi’s illustrations, as were my kids. This led to a bunch of googling blue worms. It turn out Indian blue worms, or Perionyx excavatus, are very real. How blue they really are was not conclusive though, so if you are familiar with Indian blue worms I’d love to hear about it! Because we were already fixating on these beautiful blue worms, we decided to make them into a snack, which is maybe weird, but I was barely held the kids off long enough to take a picture so they were a big hit. These are more often made with plastic straws, but I could not bring myself to use single use plastic straws for a snack celebrating a environmental book, not are they something I ever keep on hand, so I used a silicone mold instead. If you have some straws that would be wasted otherwise, or if you want to experiment with paper straws they should work too!
Ingredients:
- 1 package of blue jello
- 2.5 TBS unflavored jello
- 3 cups boiling water
- 3/4 cup heavy cream
Method:
In a heat proof bowl, combine the jello and gelatin and stir in the boiling water until completely dissolved.
Set the bowl in the fridge for 15-20 minutes until the jello is cool. Stir in the cream.
Spoon into the molds and place back into the fridge until completely set 8 hours to overnight.
Carefully pop out of the mold and serve!
Conservation:
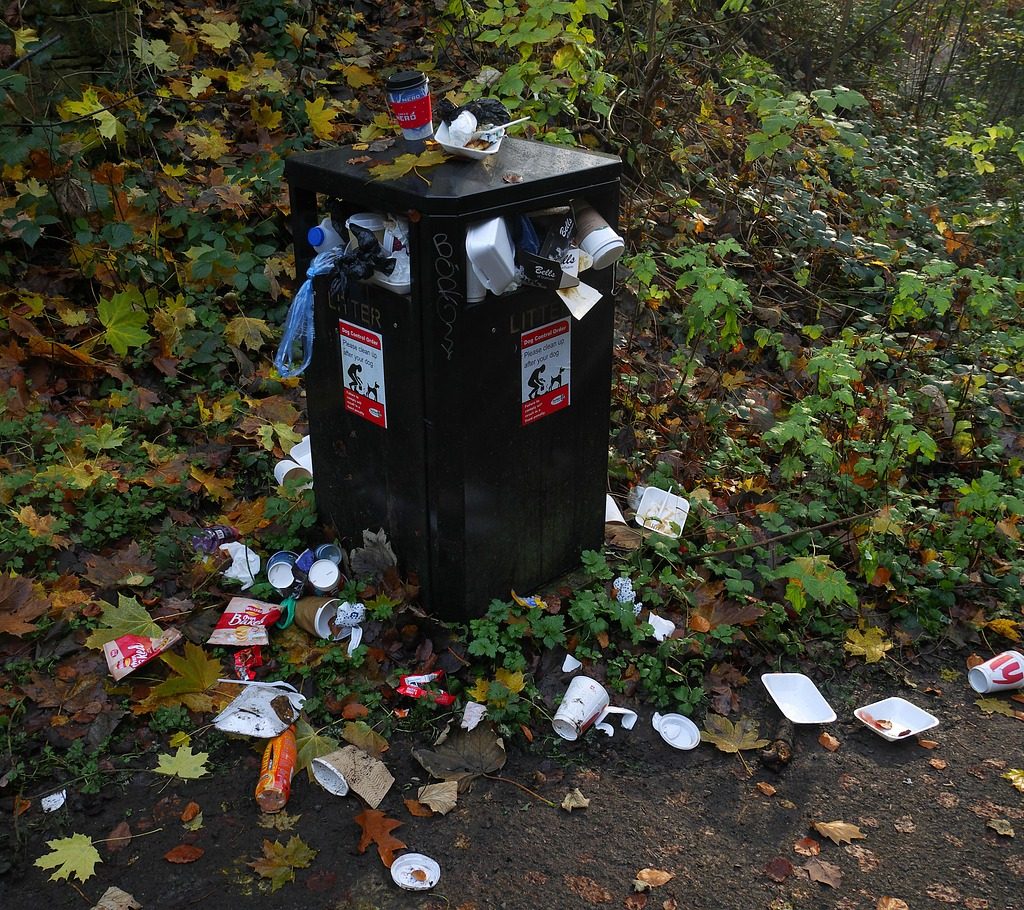
Plan a Trash Clean up in Your Neighborhood!
Unfortunately the trash problem that the child from the story faces is pretty universal, so make some change in your own backyard! You can get together with neighbors or friends and clean up trash in your neighborhood, a nearby park, or some other special natural place that is important to you. You could try plogging (picking up trash while hiking,) recording your cleanups, or even make some art with the trash you clean up. The important thing is to have fun and leave the earth a little better than you found it!